Backup and Restore from the UI
-
In the application, go to the Software Update.
-
Upload files to the AppViewX server.
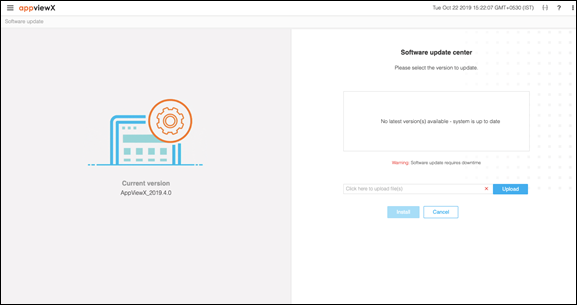 You can upload multiple files to the AppViewX server.
 - Once, the upload is done, click Install to complete the installation process.
-
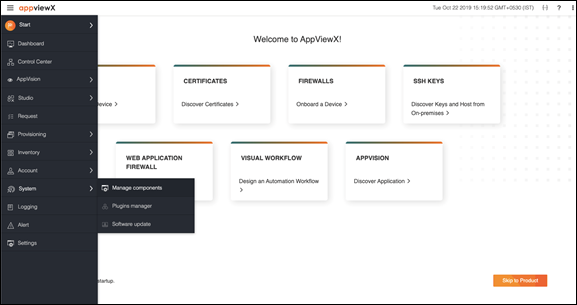
To take snapshots of the instance, navigate to the Manage Components
sections as shown below:

-
Click Create a backup to create a backup. Choose Now as shown in
the following image if you want to take the backupimmediately. You can also
choose between Daily/Weekly/Monthly/Yearly if you want to schedule a
backup.
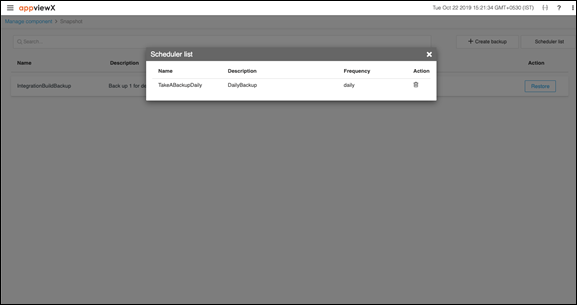
 You can view scheduled snapshots if you select the scheduled list option. Here, you can remove the scheduled snapshots.