Installing the Agent
To install the agent,
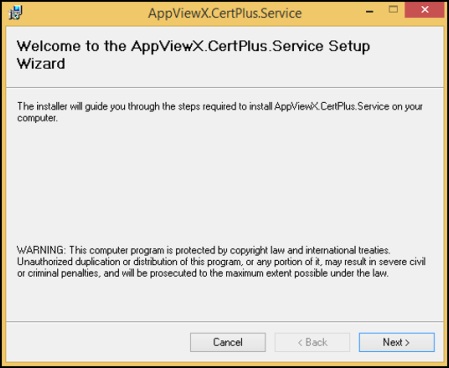
- Click the AppViewX.CertPlus.Setup.msi file to install the AppViewX Windows Agent.
-
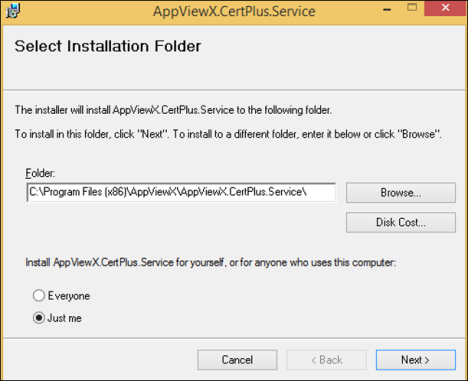
Select the users for the service by selecting Everyone if the service
must be used by other user accounts such as an account apart from the login
account used for installing the service.
-
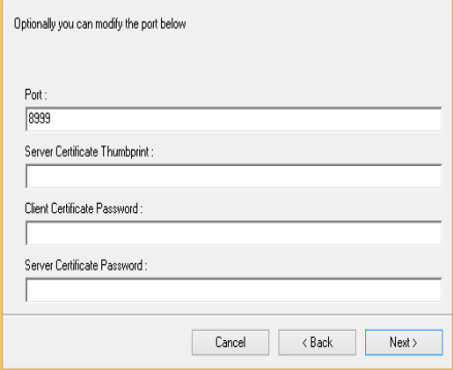
Enter a custom port for accessing the service. The default value is 8999, which
can be modified if required. By default, the Thumbprint value is the
certificate shared with the installer. Enter a custom "Thumbprint" value while
using a custom certificate.
-
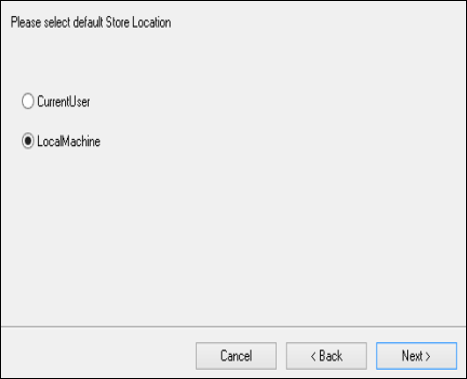
Select the certificate store from and to which the certificates must be
discovered and pushed by AppViewX. This configures the gateway to communicate to
the appropriate Certificate store. While managing the IIS servers, the
certificates are placed in the local machine store.
-
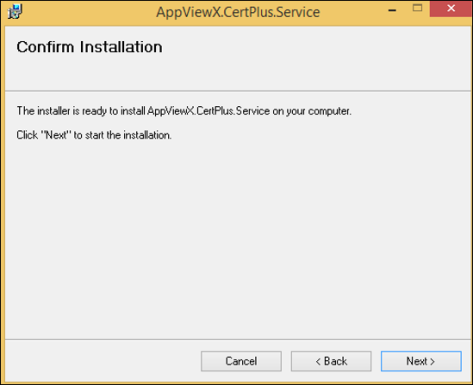
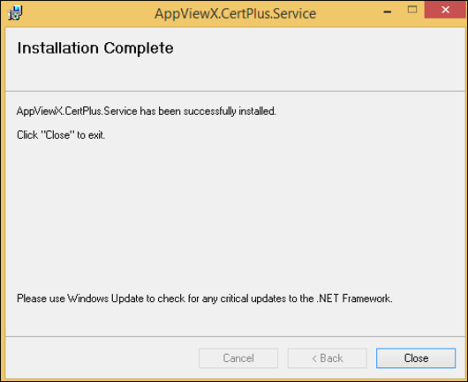
Proceed with the installation to bind the service with the certificates
installed.
-
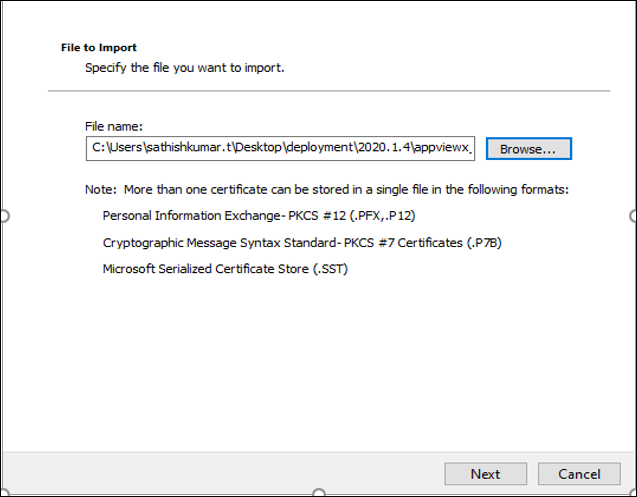
To test the installation, Import the client authentication certificate
“ClientCertificateGateway.pfx” from the installation folder, with “appviewx” as
the password.
-
Go to the following URL: https://%3CIP/Hostname%3E:%3CPort%3E/appviewx/rest/help. For example, https://10.10.10.10:8999/appviewx/rest/help. The
above page confirms the accessibility and installation of the service.

- In case, a different client authentication certificate is being used, ensure that the CRL mentioned in the certificate is reachable from the AppViewX Windows gateway hosting server.
- Go to AppViewX>> Settings>> Certificate to register the gateway with AppViewX.
-
Register the gateway with the URL format as follows: https://%3CIP/Hostname%3E:%3CPort%3E/appviewx.
For example: https://10.10.10.10:8999/appviewx