Create AVI GSLB service
By running this workflow, you can create a GSLB service in AVI devices. Provide the Domain names according to the subdomains configured on the device, Health Monitors, and application persistence profiles for the GSLB service. The pool members can either be an IP or existing virtual service.
To run this workflow,
- Go to
 Menu > Request > View/Run.
The Workflow Catalog page appears.
Menu > Request > View/Run.
The Workflow Catalog page appears. -
In the Workflow Catalog page, hover over the Create AVI GSLB service
workflow.
The Run and Schedule buttons are shown.
- Click the Run
 button.
The Form Input page opens:
button.
The Form Input page opens: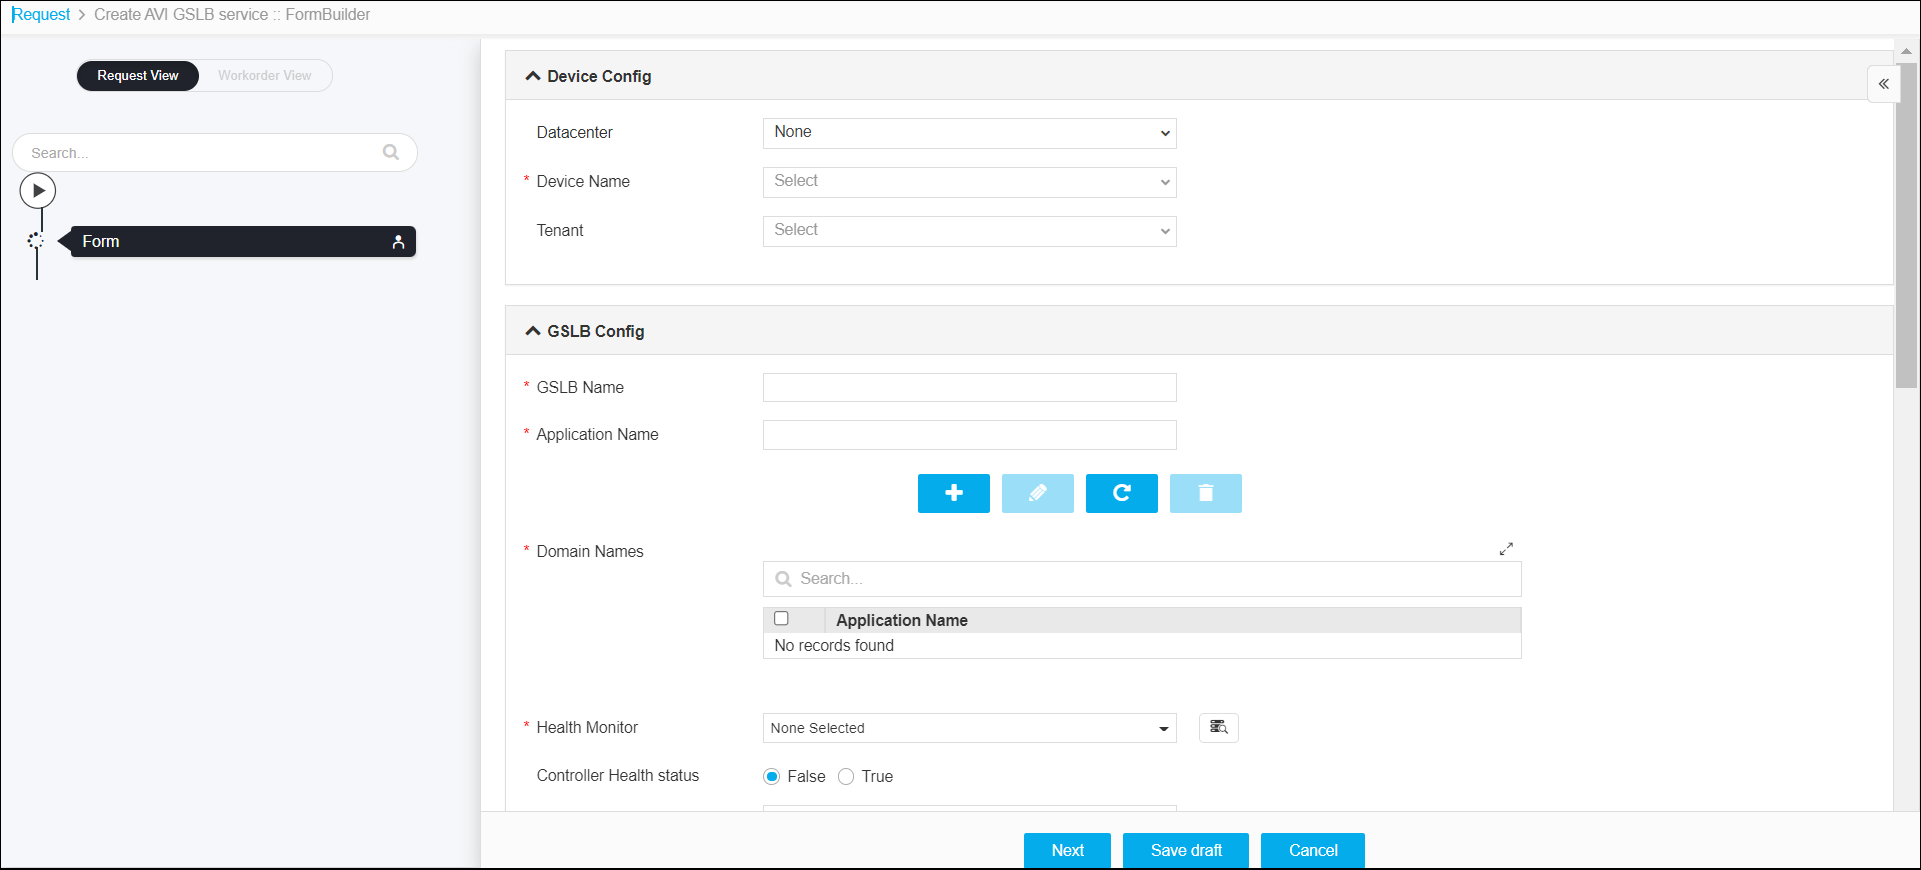
- Enter or select the field information in the Device Config section of Form
Input.
- The following table provides the field description for the Device Config
section of Form Input:
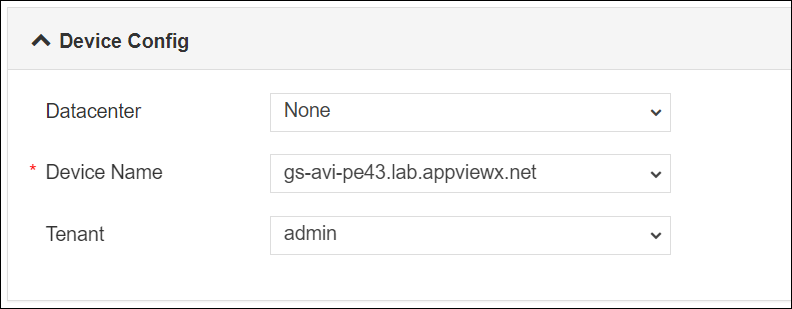
Field Description Datacenter Displays the list of datacenters of the devices, which are created in the Device Inventory. Select the datacenter of a device from the drop-down option for which this request is to be created. For the devices, which are created without a datacenter in the Device Inventory, select the datacenter as None. *Device Name Displays the list of devices associated with the selected datacenter. If the datacenter is selected as None, the devices that are created without datacenter details are listed. Select the desired device from the drop-down option. Tenant A tenant is an isolated instance of Avi Vantage. Each Avi Vantage user account is associated with one or more tenants. The tenant associated with a user account defines the resources that users can access within Avi Vantage. When a user logs in, Avi Vantage restricts their access to only those resources that are in the same tenant. Select a tenant from the drop-down list. -
Enter or select the field information in the GSLB Config section of Form
Input.
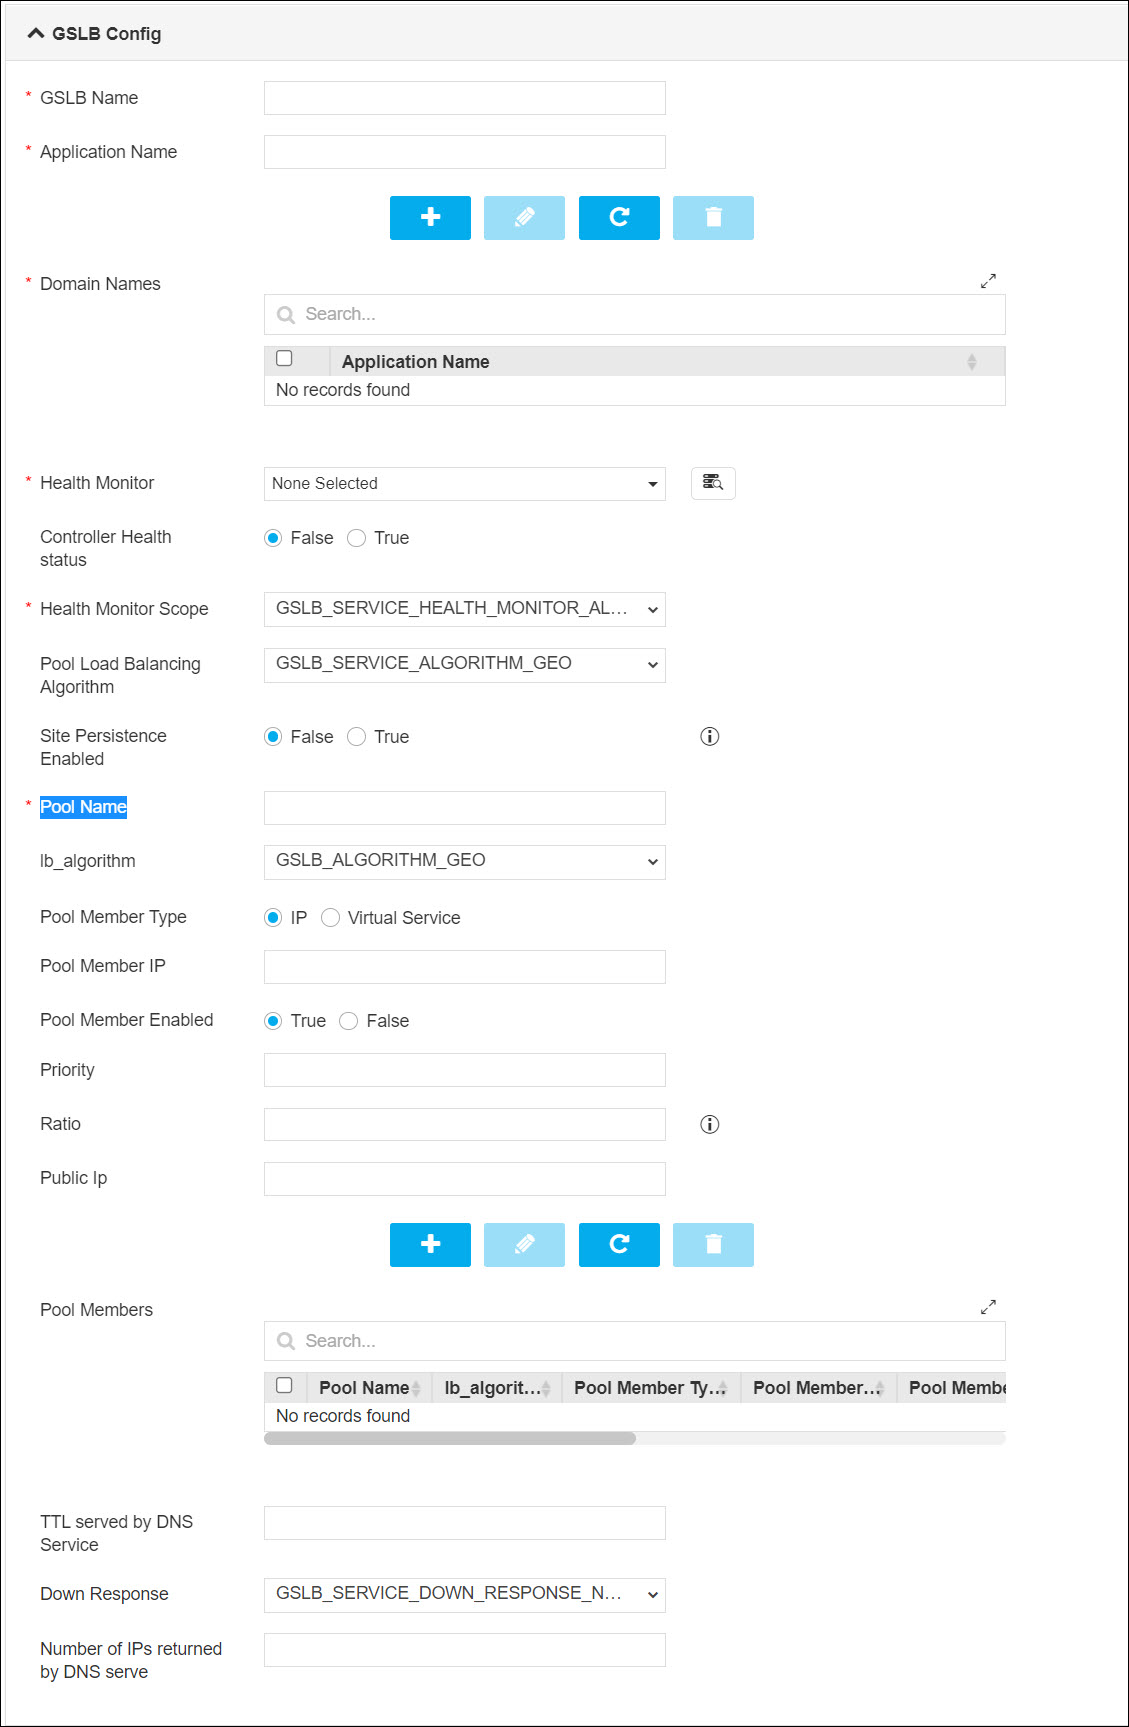
-
The following table provides the field description for the GSLB Config section
of Form Input:
Field Description *GSLB Name Enter GSLB name. *Application Name Enter the name of the application associated with the object. *Domain Names Make use of the following buttons to add and manage application name.

*Health Monitor An association between a health or performance monitor and an entire pool, rather than with individual pool members. This eases the task of configuring health and performance monitoring for multiple web servers. To get the list of health monitors, click the Retrieve  button, and then
select the objects from the drop-down option.
button, and then
select the objects from the drop-down option.Controller Health status Select the health status. The possible values are:
-
False (default)
-
True - enables you to verify the proper operation of your system and ensure your hardware and software function at peak efficiency.
*Health Monitor Scope Select the health monitor scope from the drop-down list. Pool Load Balancing Algorithm Select the pool load balancing algorithm from the drop-down list. Site Persistence Enabled Click the True radio button to enable site persistence and when a local DNS makes repetitive requests on behalf of a client, the system reconnects the client to the same resource as previous requests. *Pool Name Enter the pool name. lb_algorithm Select the lb_algorithm from the drop-down list. Pool Member Type Select the virtual configuration type. The possible values are:
-
IP
-
Virtual Service
Pool Member IP Enter the IP address or virtual service. Based on the selection that is made in the Type field, enter the IP address or retrieve and select a virtual service from the drop-down list. Pool Member Enabled By default, the pool member is enabled. To disable the pool member, click the True radio button. Priority To specify a priority, you must activate priority group usage when you create a new pool or when adding or removing pool members. When activated, the system load balances traffic according to the priority group number assigned to the pool member. Ratio The system selects a pool based on the ratio that you assign to the pool. Enter the ratio of the pool. Public Ip Enter the public IP address. Pool Members The pool members can be added or managed by using the following buttons:
TTL served by DNS Service Specify TTL (time to live) settings for Infoblox host records and resource records. TTL is the time that a name server is allowed to cache data. After the TTL expires, the name server is required to update the data. Down Response Select the down response from the drop-down. Number of IPs returned by DNS serve Enter the number of IPs that are returned by the DNS service. -
-
Click the Submit button.
Note:
- If you want to save this form to edit it later, click the Save Draft button, and then click Ok in the Confirmation popup window. The form will be saved as Open request under Request > My Request.
- If you want to cancel this form, click the Cancel button.
-
Click Ok to submit the form.
The validation starts automatically and reaches the Review stage.Note:
- If there is any failure at this stage, start a new request by providing the correct data.
- Alternatively, select the failed request and clone it. Update the correct input data in the form input, and submit the workflow again.
-
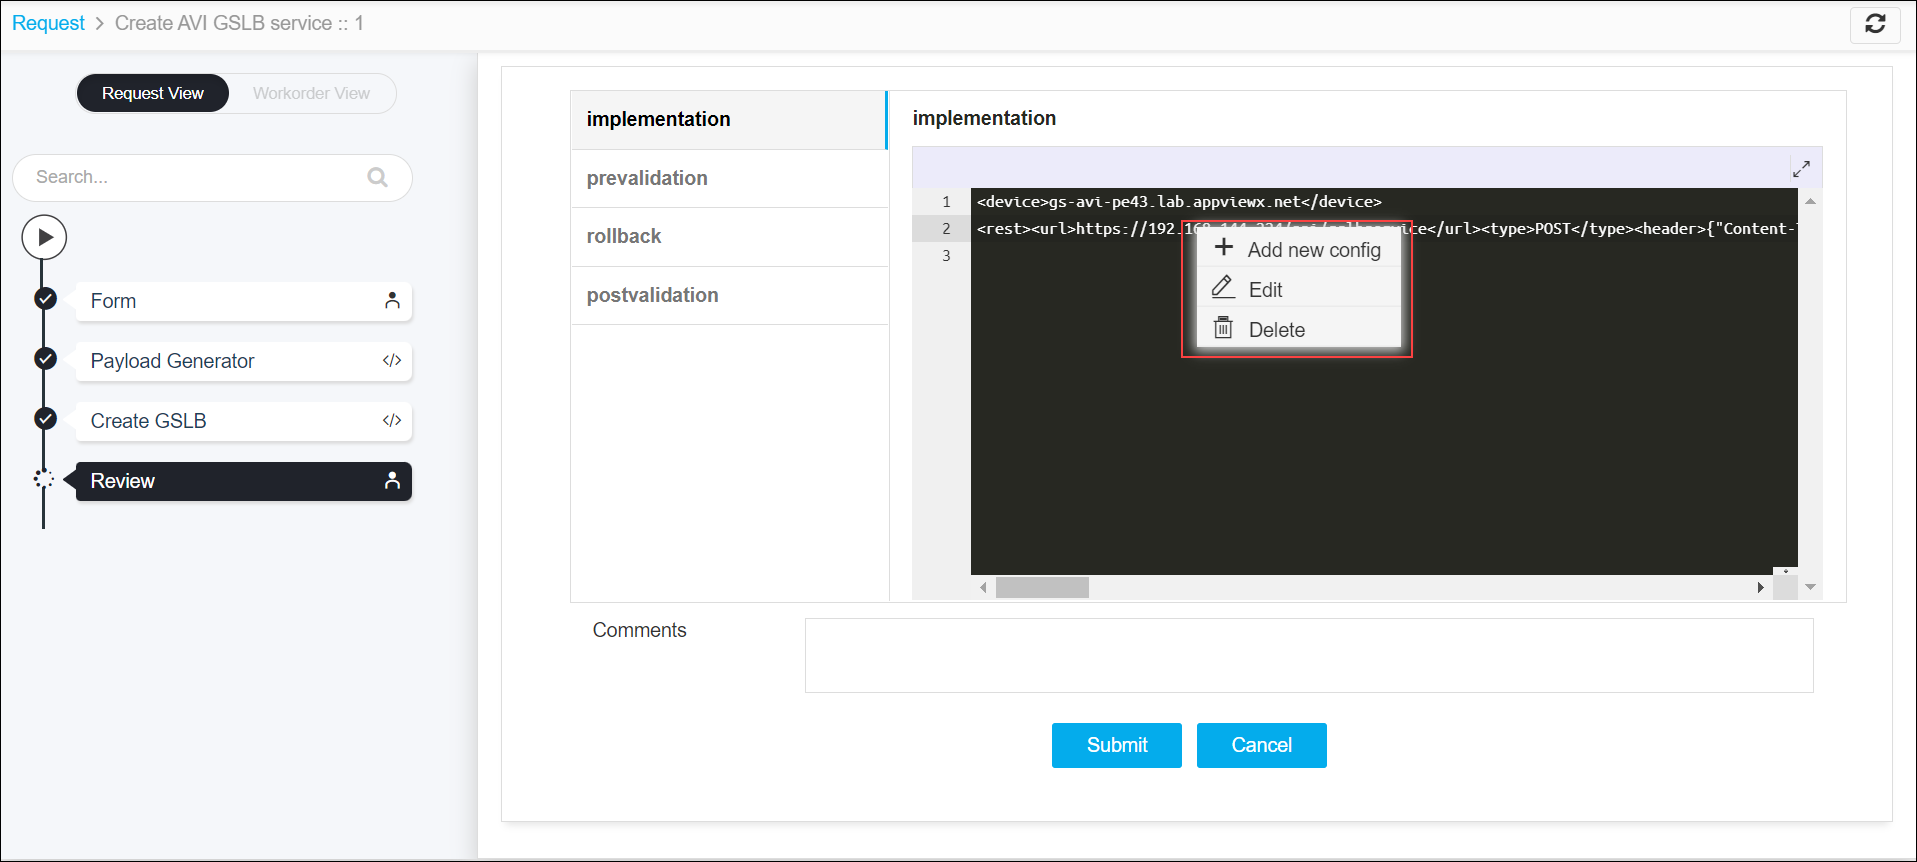
Review the input data under the implementation, rollback, and
postvalidation tabs:
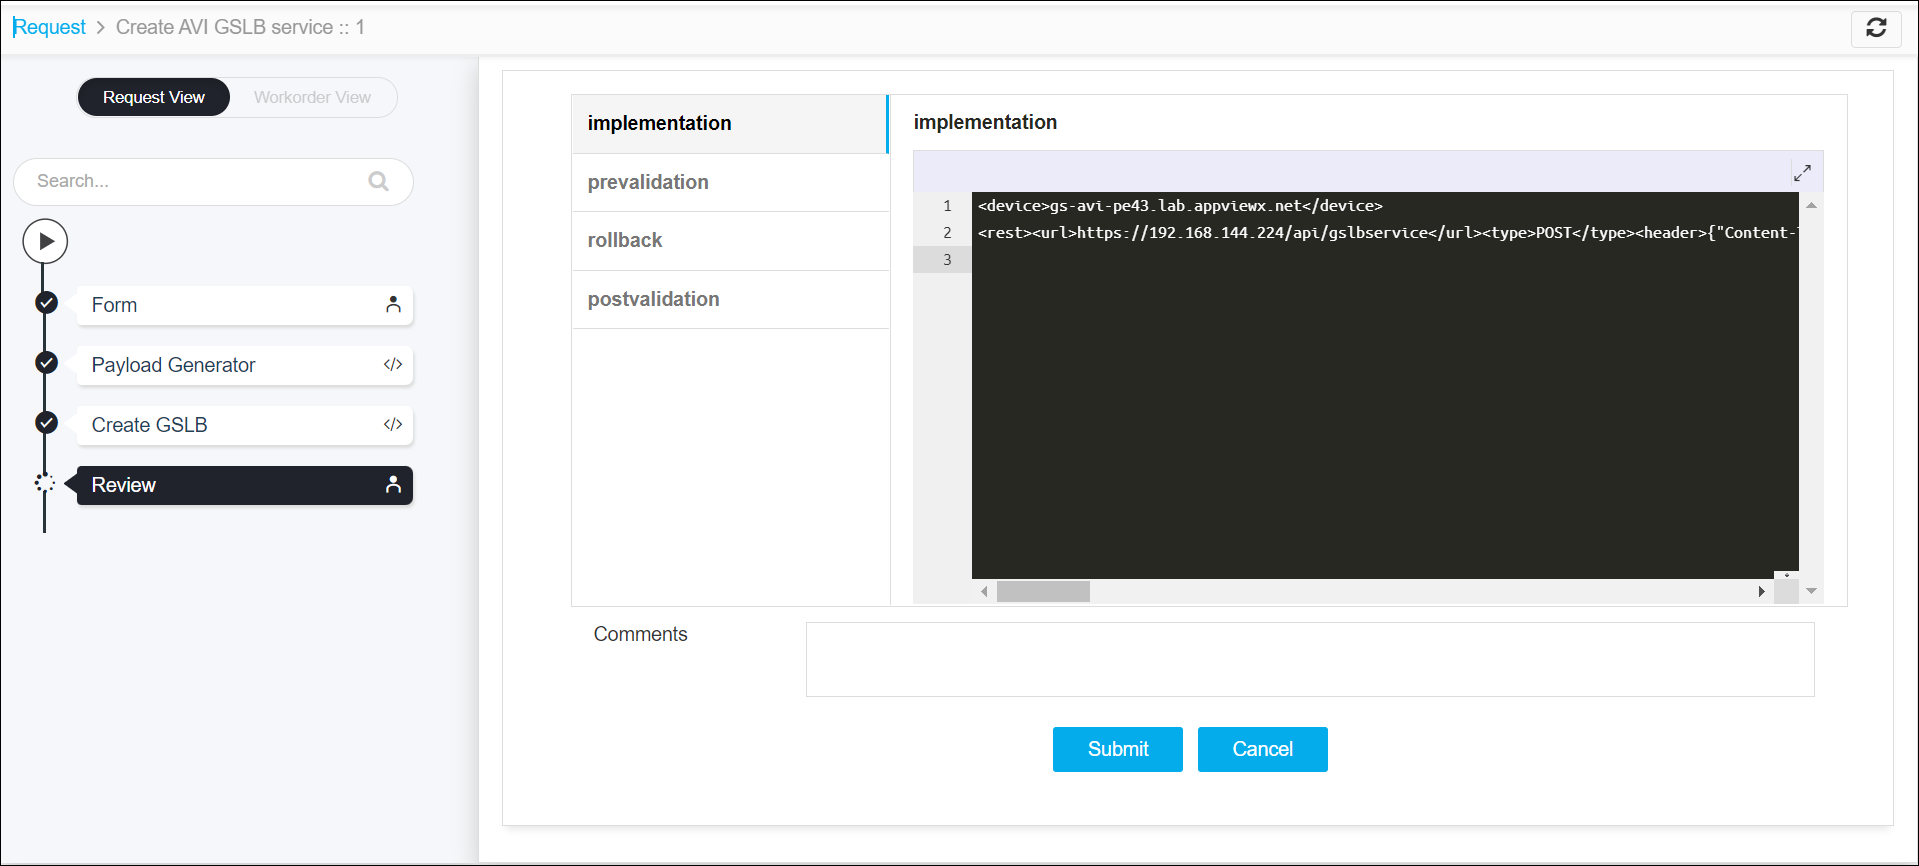
-
(Optional) If you need to update any data at this stage, you can do so by clicking the
right-side of the mouse on the data and selecting the desired option.
-
After the review, click the Submit button.
The Confirmation popup opens.Note: To stop running the workflow creation, click Cancel.
-
Click Ok to continue the workflow creation.
It takes a while to complete the request.
-
The workflow is created and the email is triggered to the configured email IDs.
 Note: The stages of the request are shown in the left-side of the screen. To view a particular stage of the request, click the respective stage.