Running Software Upgrade on Standalone Devices
To run this workflow,
- Go to
 Menu > Request > View/Run.
The ADC OOB workflows are listed.
Menu > Request > View/Run.
The ADC OOB workflows are listed.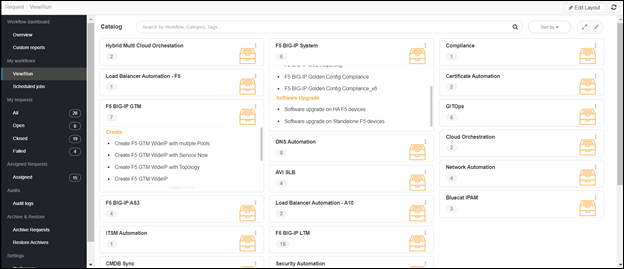
- In the Workflow Catalog page, hover over the Software upgrade on Standalone F5
devices workflow.
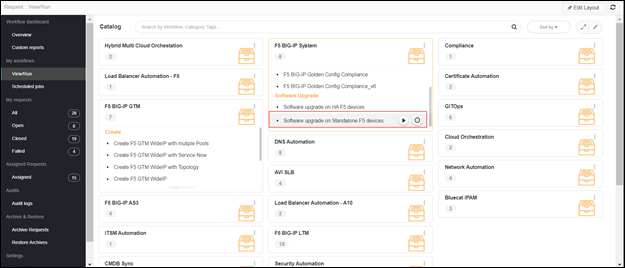
The Run and Schedule buttons are shown. -
Click the Run
 button.
The Form Input page opens:
button.
The Form Input page opens: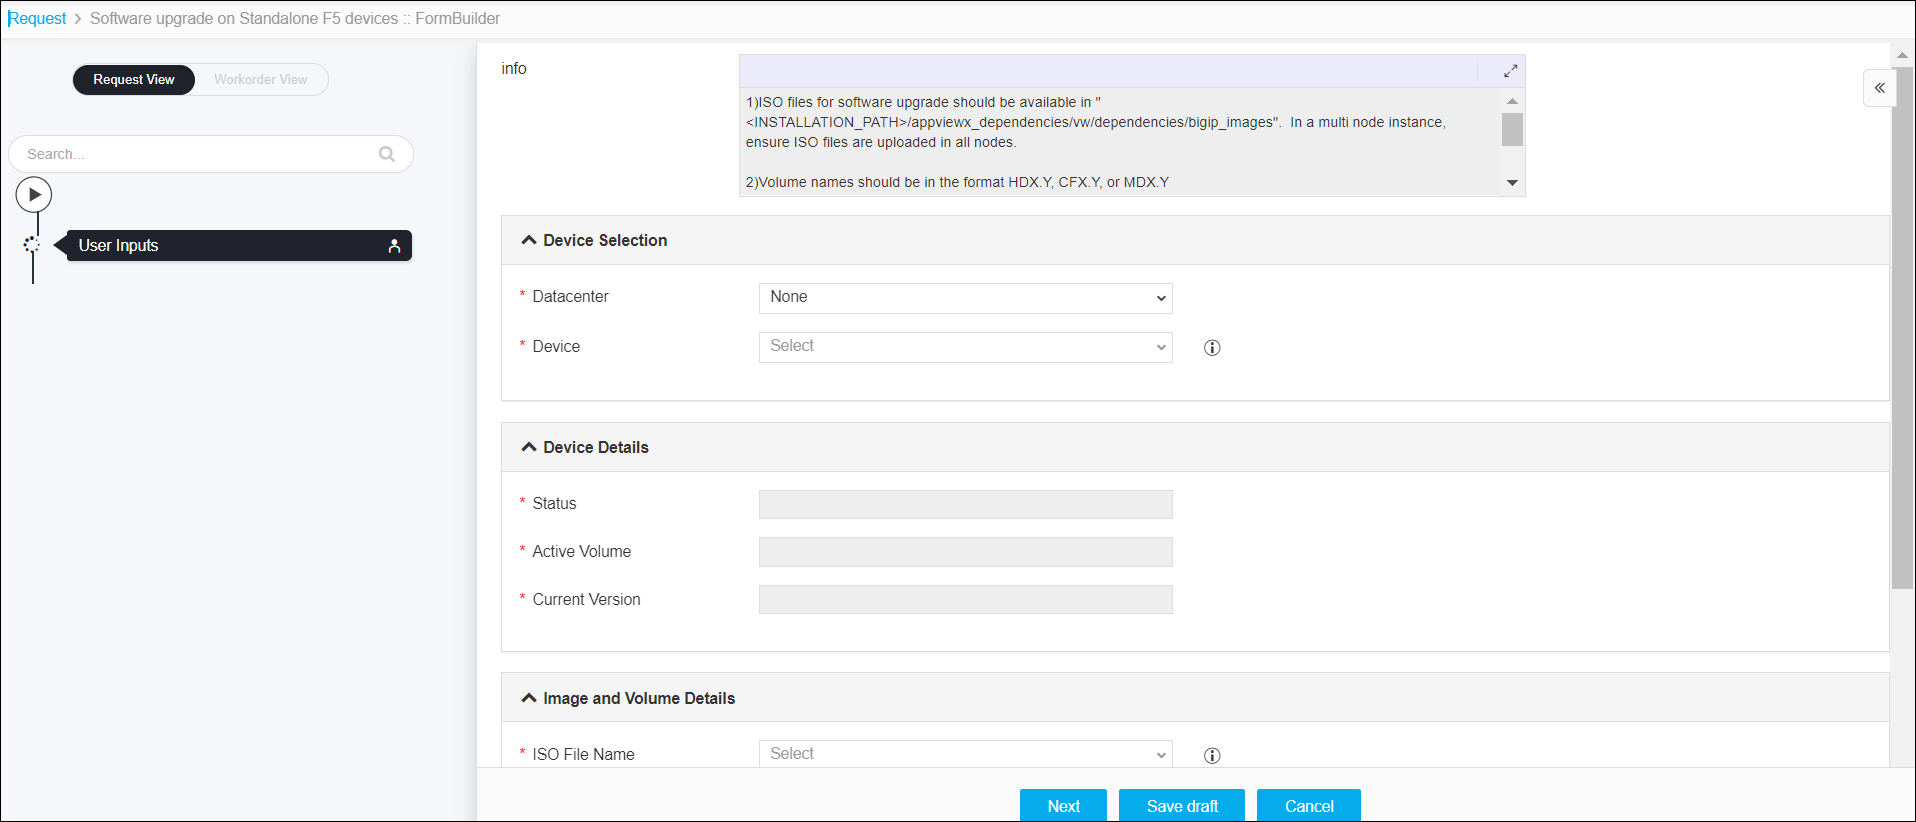
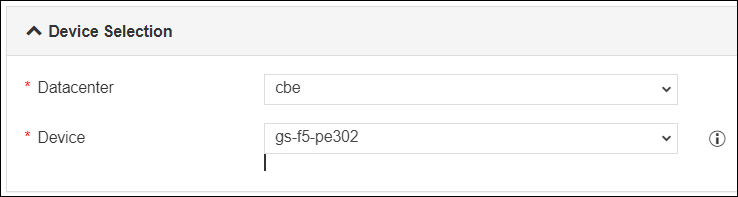
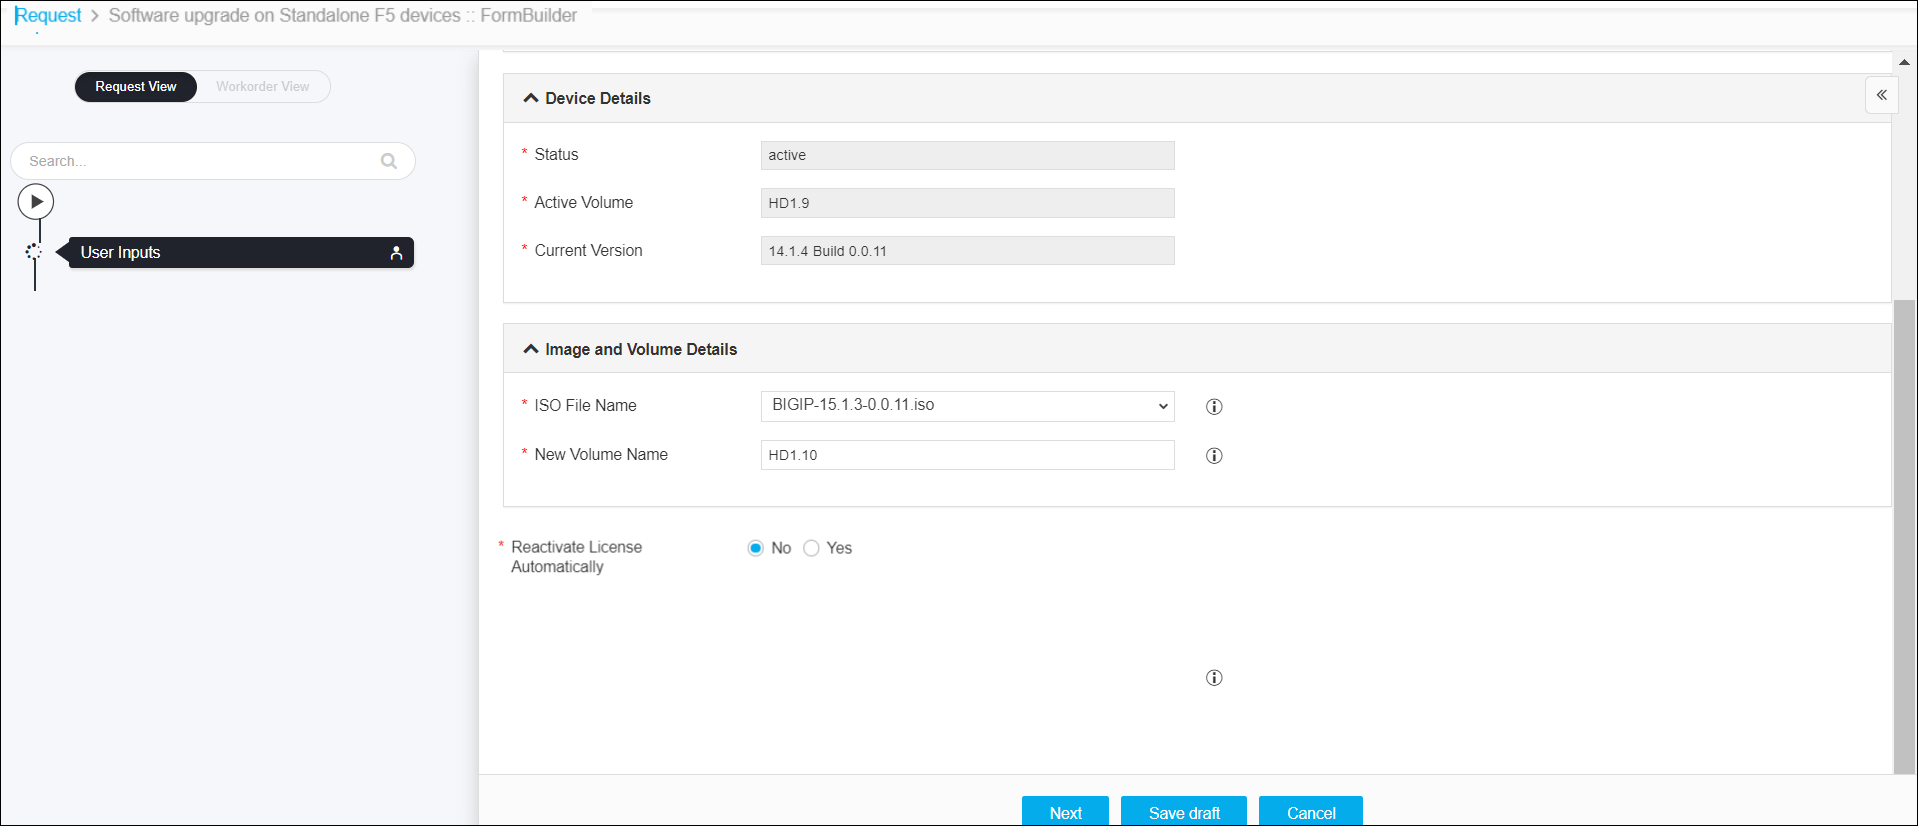
- Enter or select the field information in the Device Selection section of Form
Input.
- The following table provides the field description for the Device Selection
section of Form Input:
Field Description *Datacenter Displays the list of datacenters of the devices, which are created in the Device Inventory. Select the datacenter of a device from the drop-down option for which this request is to be created. For the devices, which are created without a datacenter in the Device Inventory, select the datacenter as None. *Device Name Displays the list of devices associated with the selected datacenter. If the datacenter is selected as None, the devices that are created without datacenter details are listed. Select the desired device from the drop-down option. -
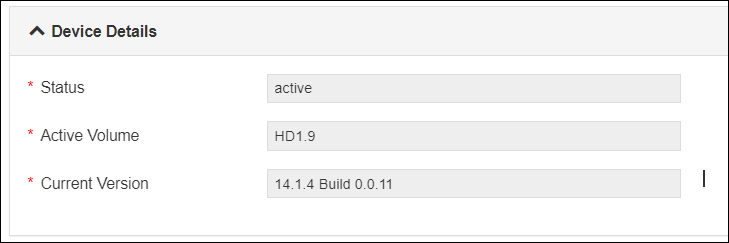
The Status, Active Volume, and Current Version of the device in
the Device Details are loaded automatically.
-
Enter or select the field information in the Image and Volume Details section of
Form Input.

-
The following table provides the field description for the Image and Volume
Details section of Form Input:
Field Description *ISO File Name Click the retrieve button and then select a desired ISO file name from the dropdown list. *New Volume Name Enter the new volume name. The format of the volume name must be in the form of HDX.Y, CFX.Y, or MDX.Y. -
Select Renew License. The possible values for Renew License are:
- No – This option does not allow you to renew the license. By default, this option is selected.
- Yes – Select this option to generate
-
Click the Next button.
The Confirmation popup opens.Note:- · If you want to save this form to edit it later, click the Save Draft button, and then click Ok in the Confirmation popup window. The form will be saved as an Open request under Request > My Request.
- · If you want to cancel this form, click the Cancel button.
-
Click Ok to submit the form.
The software upgrade starts. It takes a while to complete the software upgrade.Note:
- A request is created for this workflow. To view the request, navigate to Menu > Request > All.
- If there is any failure in running this workflow, start a new workflow by providing the correct data.
- Alternatively, clone the request, update the correct input data in the form input, and submit the workflow.
-
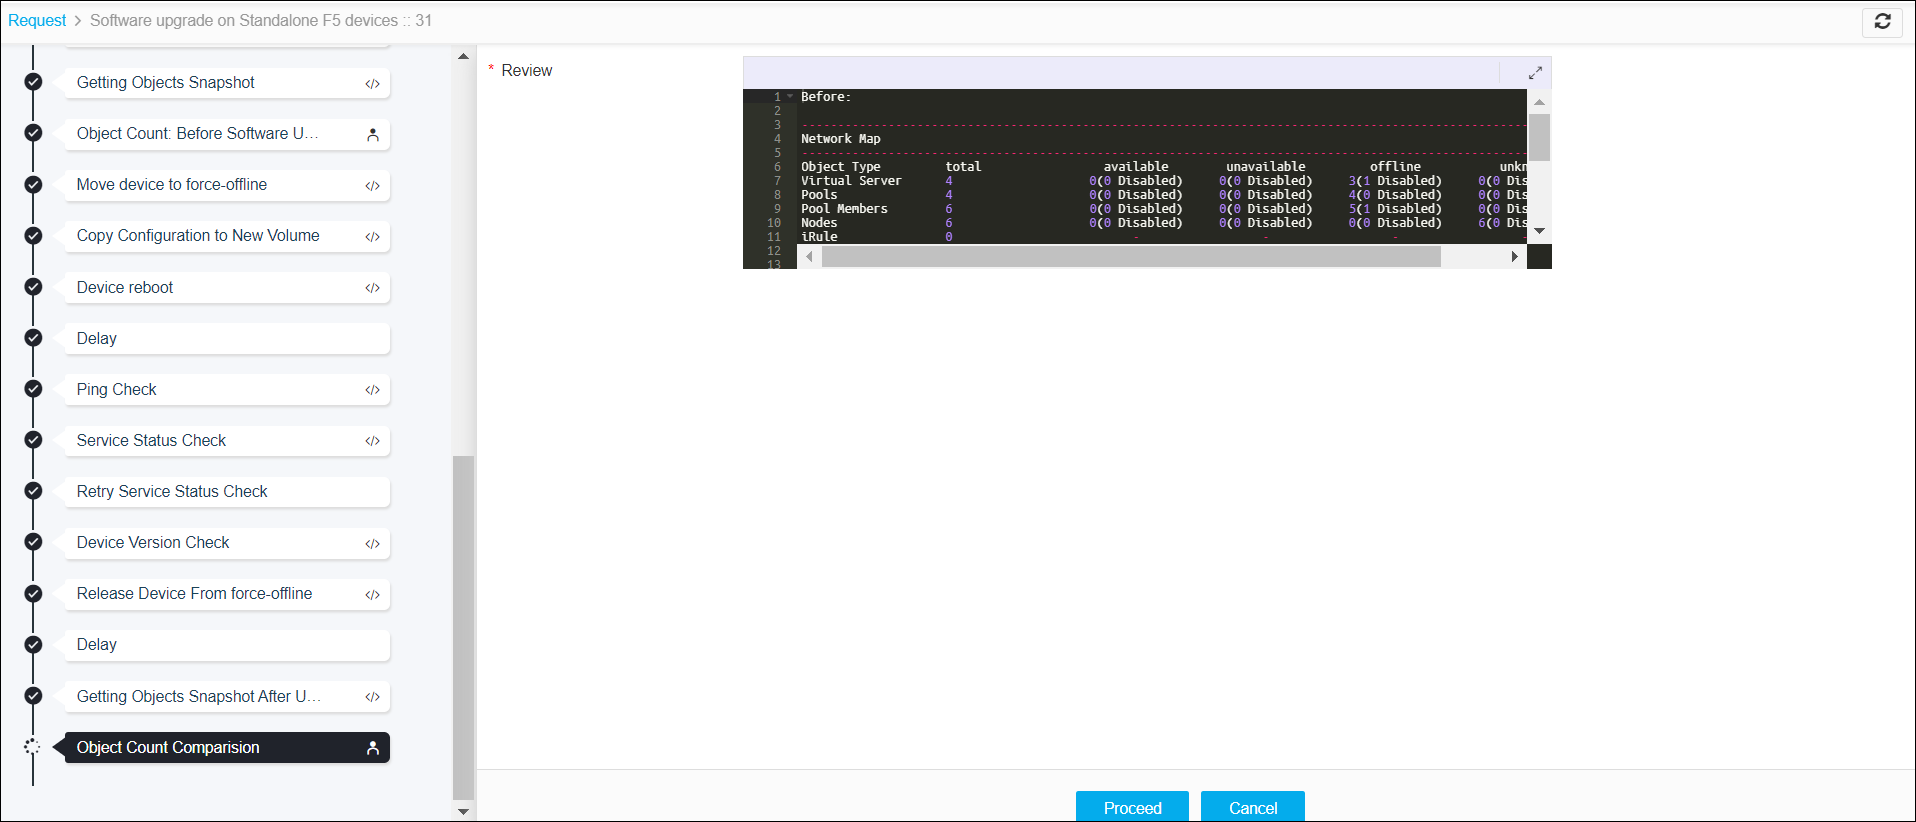
After the manual check, click the Proceed button.
 The Confirmation popup opens.
 - Click Ok to submit the form.
-
After the Object Count Comparison, click the Proceed button.
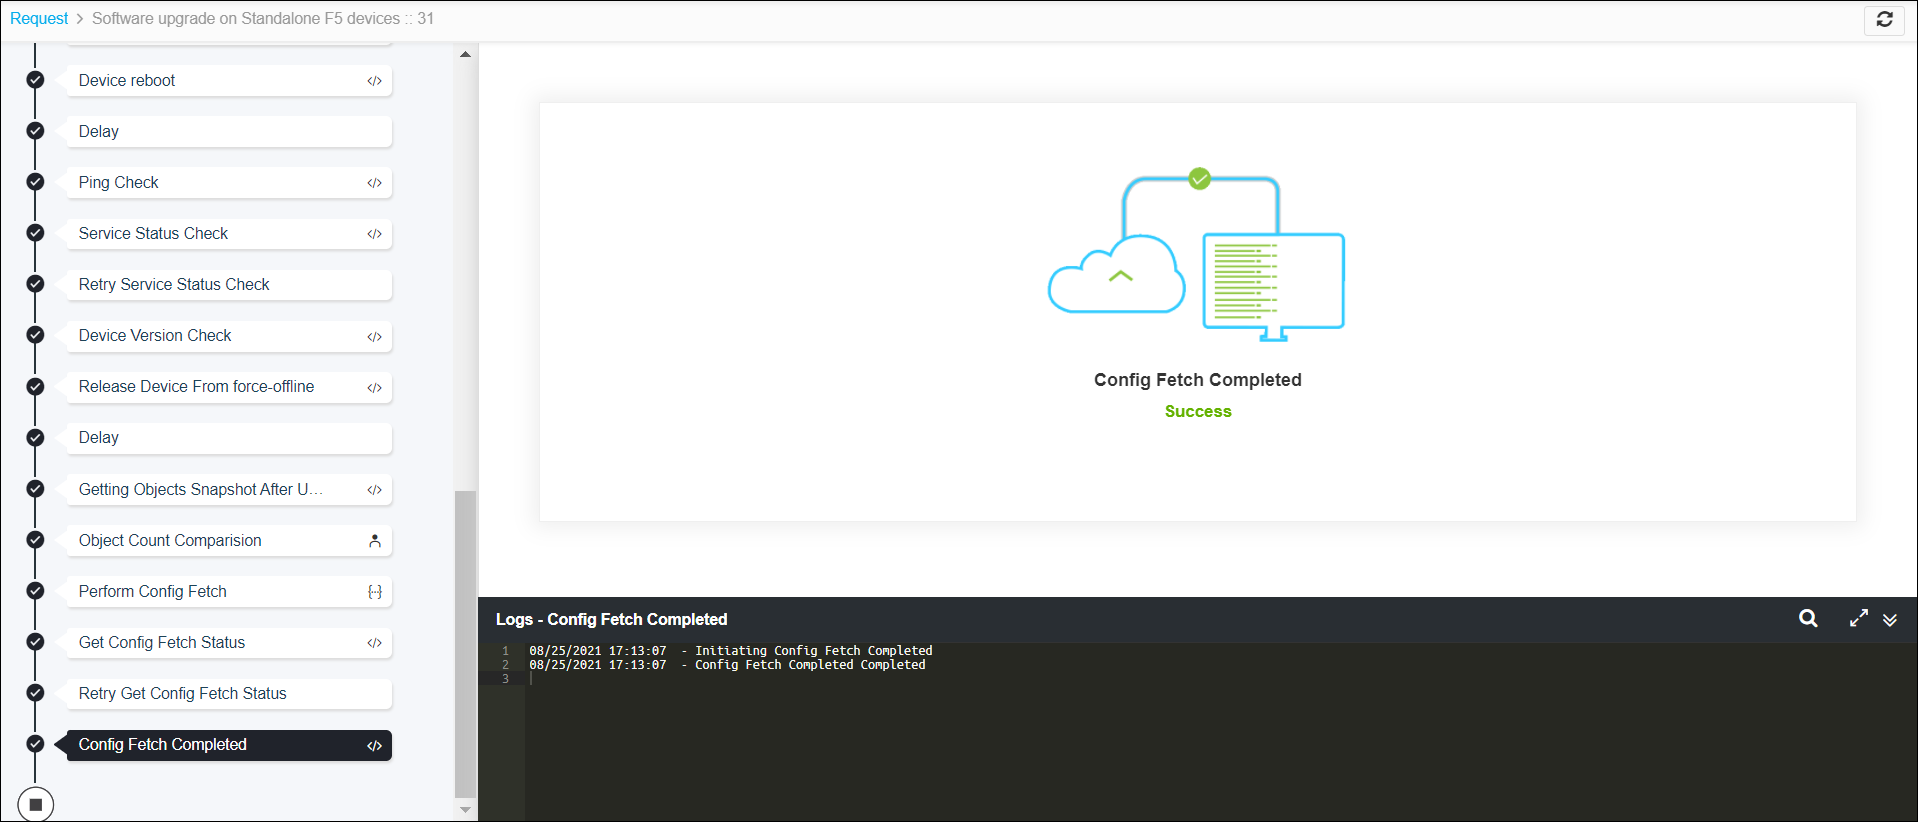
The Confirmation popup opens. -
Click Ok to submit the form.
The implementation process for software upgrade is completed:
-
In case the request has to be reverted, perform the following steps:
- Go to the Menu > Request > All.
- Right-click the row on your desired Request ID.
-
Select the Rollback option.
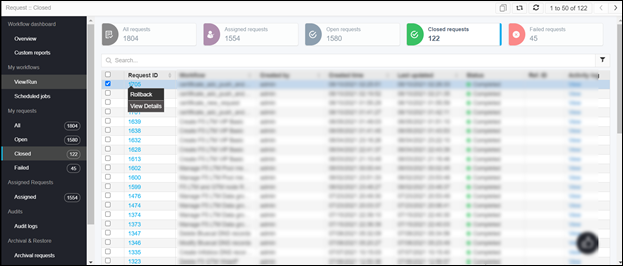
- Select Yes on the Rollback confirmation dialog.
- A new request is triggered for performing rollback.