Web App Vulnerability Remediation
This workflow create/selects a ASM Policy in F5 WAF Device to assess and remediate vulnerabilities
To run this workflow,
-
Go to
 Menu > Request > View/Run.
The Workflow Catalog page appears.
Menu > Request > View/Run.
The Workflow Catalog page appears. -
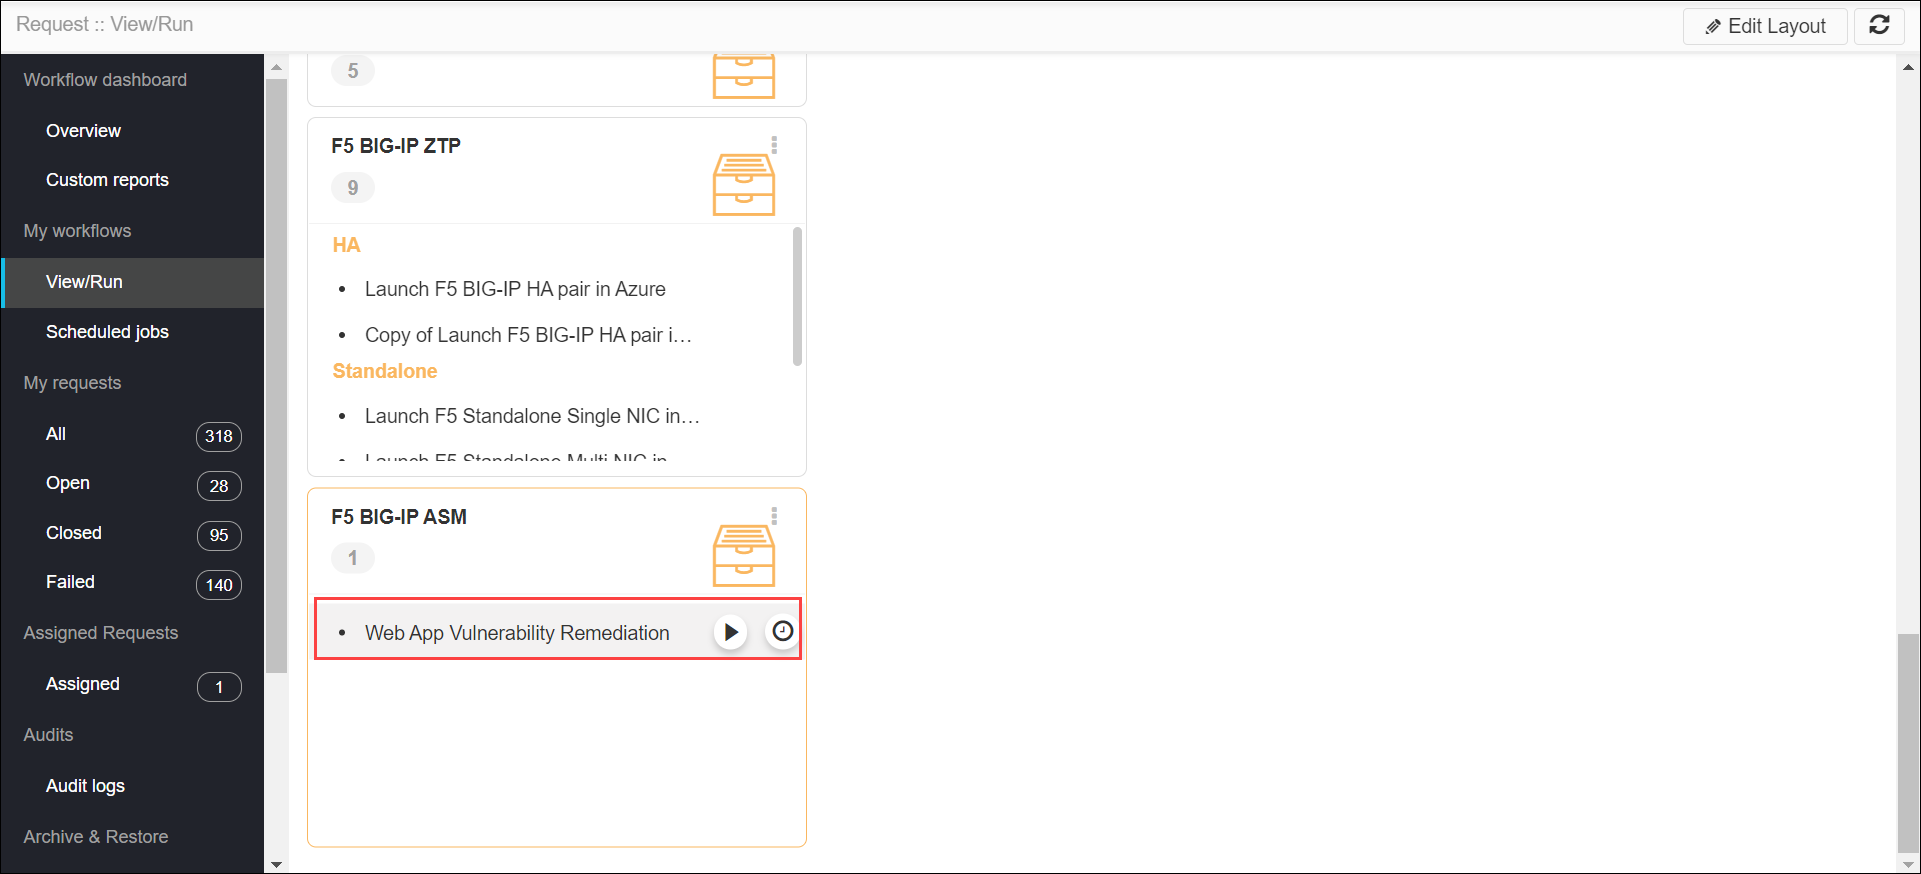
In the Workflow Catalog page, hover over the Web App
Vulnerability Remediation workflow.
The Run and Schedule buttons are shown.
-
Click the Run
 button.
The Form Input page opens:
button.
The Form Input page opens: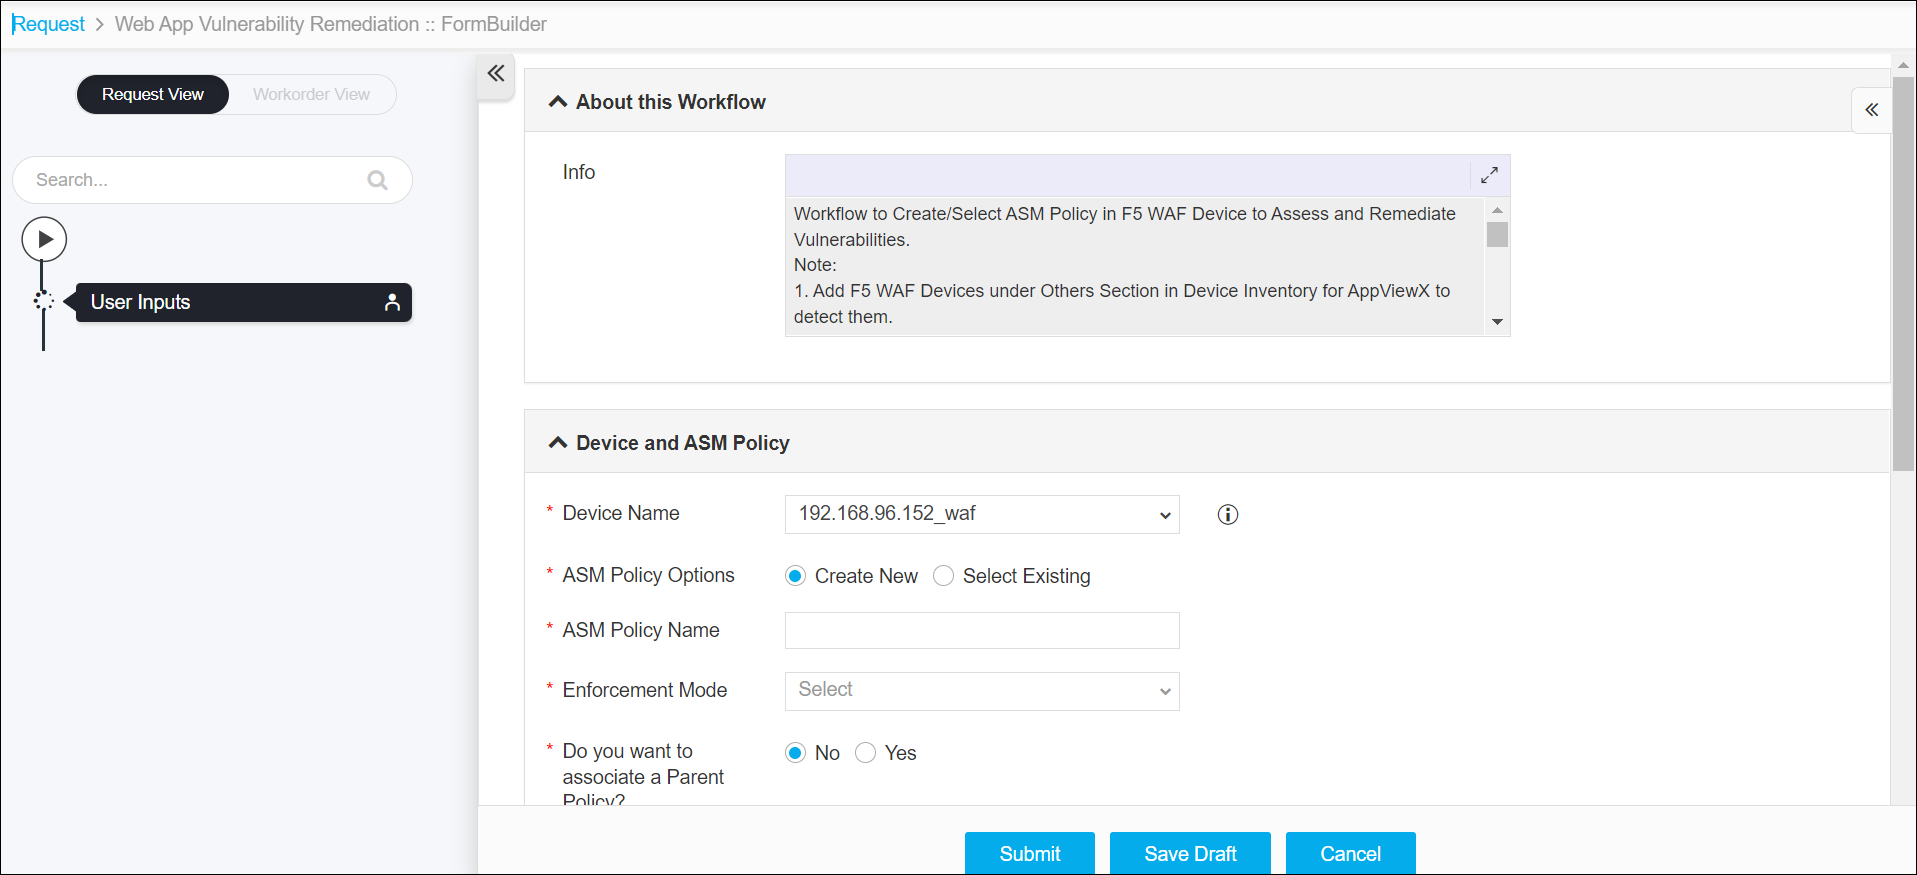
-
Enter or select the field information in the Device and ASM
Policy section.
-
The following table provides the field description of the policy details:
Field Description *Device Name Select a device from the dropdown list for which the policy has to be created. *ASM Policy Options Options to create a ASM policy. The options are: -
Create New - select this option to create a policy newly and enter/select the following policy details:
-
ASM Policy Name - enter the name for the policy.
-
Enforcement Mode - select a enforcement mode from the dropdown list.
-
Do you want to associate a Parent Policy - select Yes to associate a parent policy. Otherwise select No (default option).
-
Do you want to associate VIPs to the Policy - select Yes to associate VIPs to the policy, and then select the desired VIPs from the Virtual Servers dropdown option. Otherwise select No (default option).
-
-
Select Existing - select this option to use the already created policy, and then select a policy from ASM Policy dropdown option.
-
-
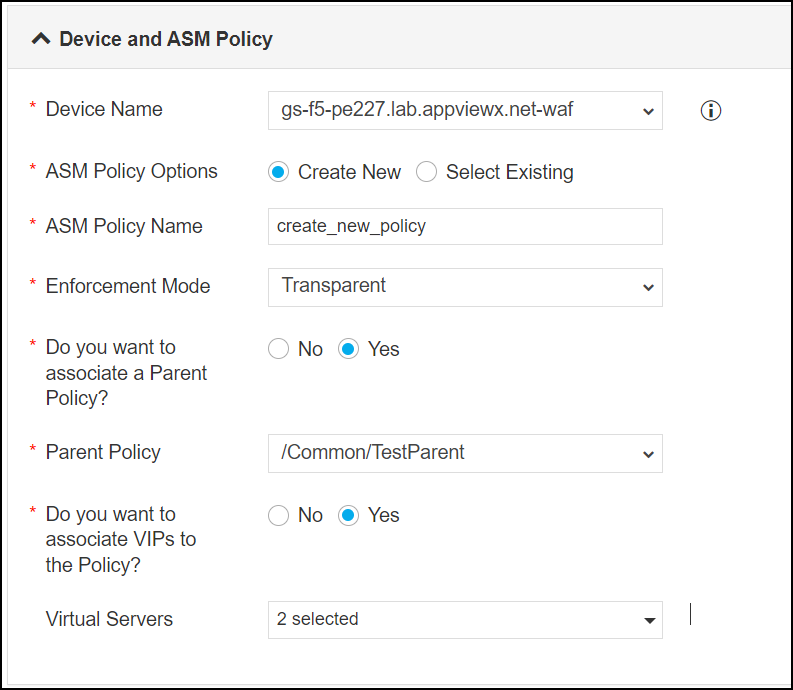
Select the field information in the Upload Vulnerability Scan
Report section.
-
The following table provides the field description of Upload Vulnerability
Scan Report:
Field Description *Assessment Tool Select a assement tool from the dropdown list. *Vulnerability Scan report Upload a vulnerability scan report in the .xmlformat. -
Enter the email ID in the Email field in Send Assessment
Report section.
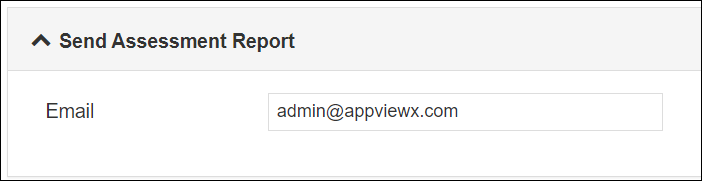
Once the workflow is complete, the generated report will be sent to this email ID. More than one email ID can be added with comma separated. -
Click the Submit button.
The Confirmation popup opens.Note:
- If you want to save this form to edit it later, click the Save Draft button, and then click Ok in the Confirmation popup window. The form will be saved as Open request under Request > My Request.
- If you want to cancel this form, click the Cancel button.
-
Click Ok to submit the form.
The validation starts automatically and reaches the Review stage.Note:
- If there is any failure at this stage, start a new request by providing the correct data.
- Alternatively, select the failed request and clone it. Update the correct input data in the form input, and submit the workflow again.
-
View the vulnerability status under the Vulnerability Stats tab.
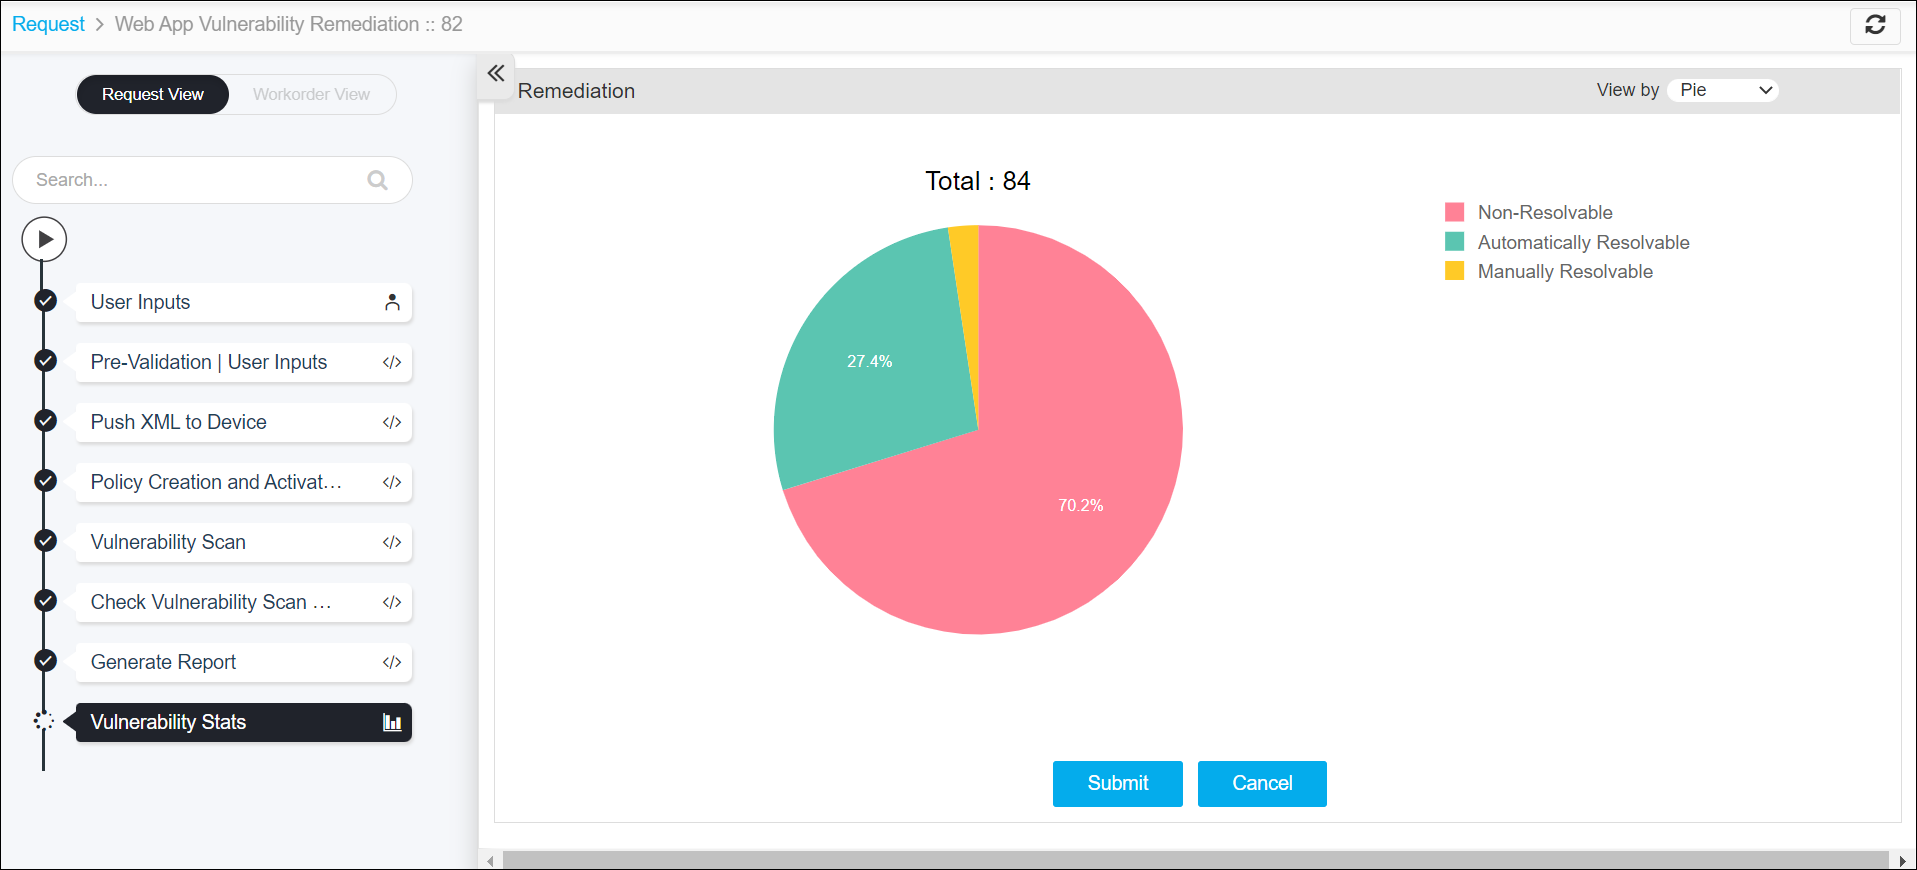
The view of this report can be changed from Pie chart or Donut view by selecting the option from the View by drop-down option. - Click the Submit button.
-
View the vulnerability report under the Vulnerability Report tab.
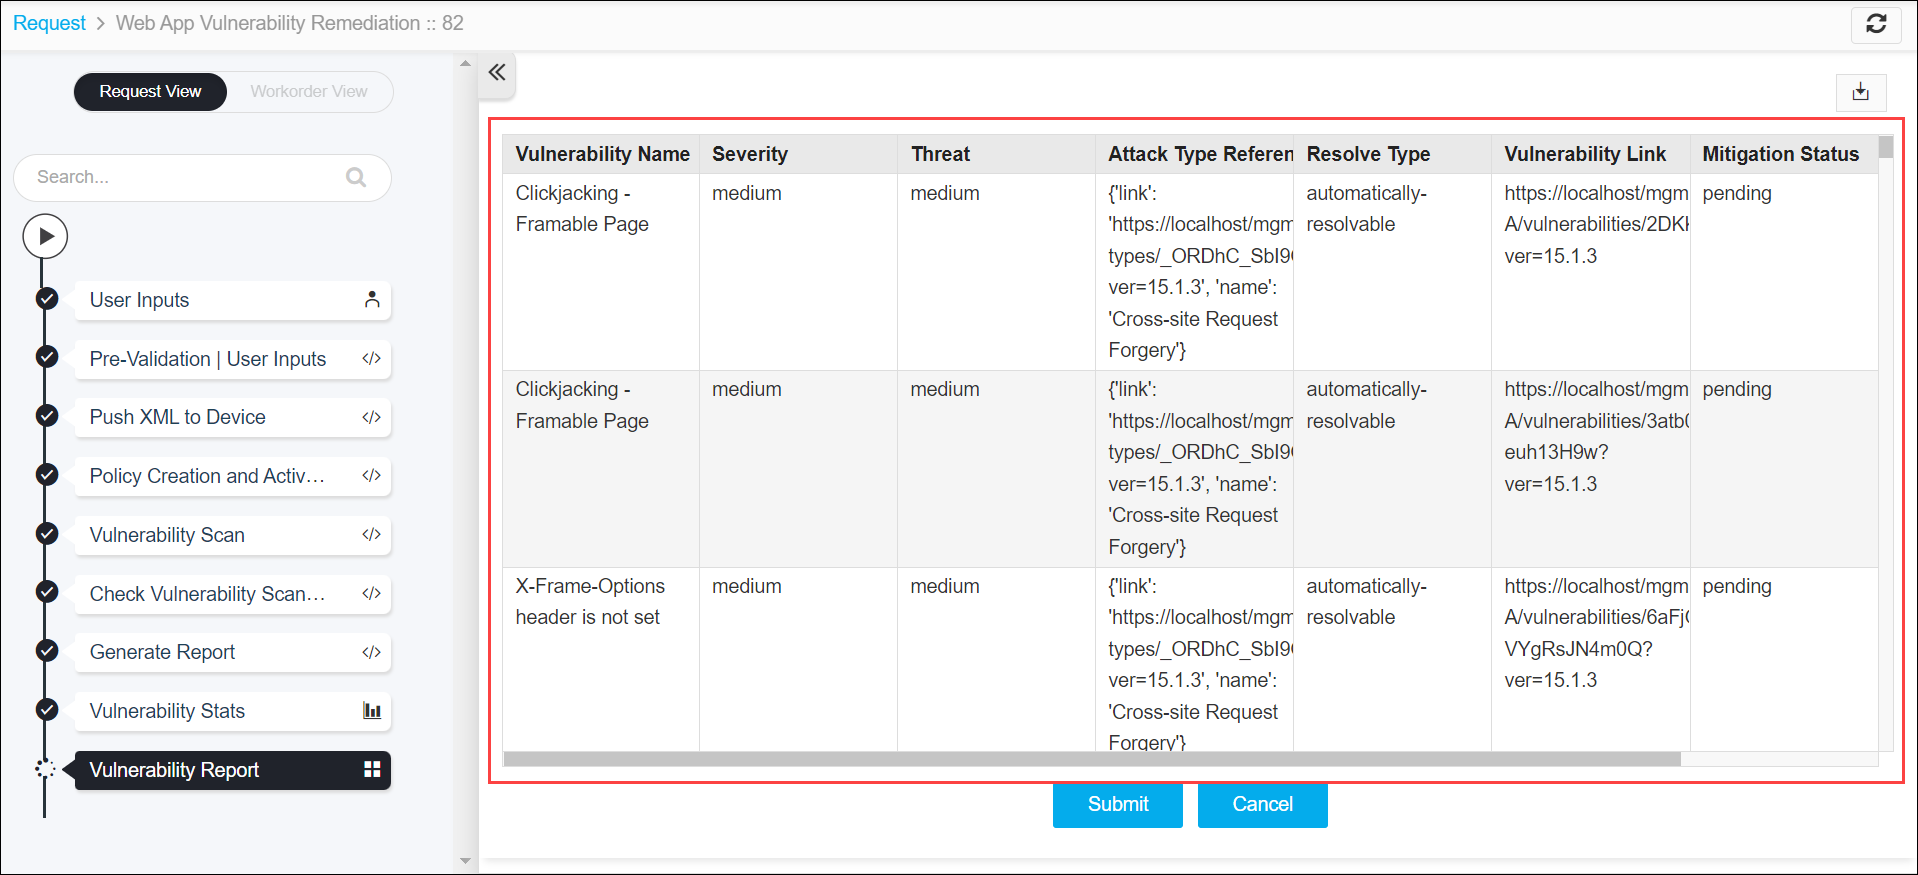
The report can be downloaded by clicking the Download ( ) button.
 - Click the Submit button.
-
The workflow reached the Choice to Remediate stage. At this stage, you
can select option to resolve the vulnerabilities automatically or not.
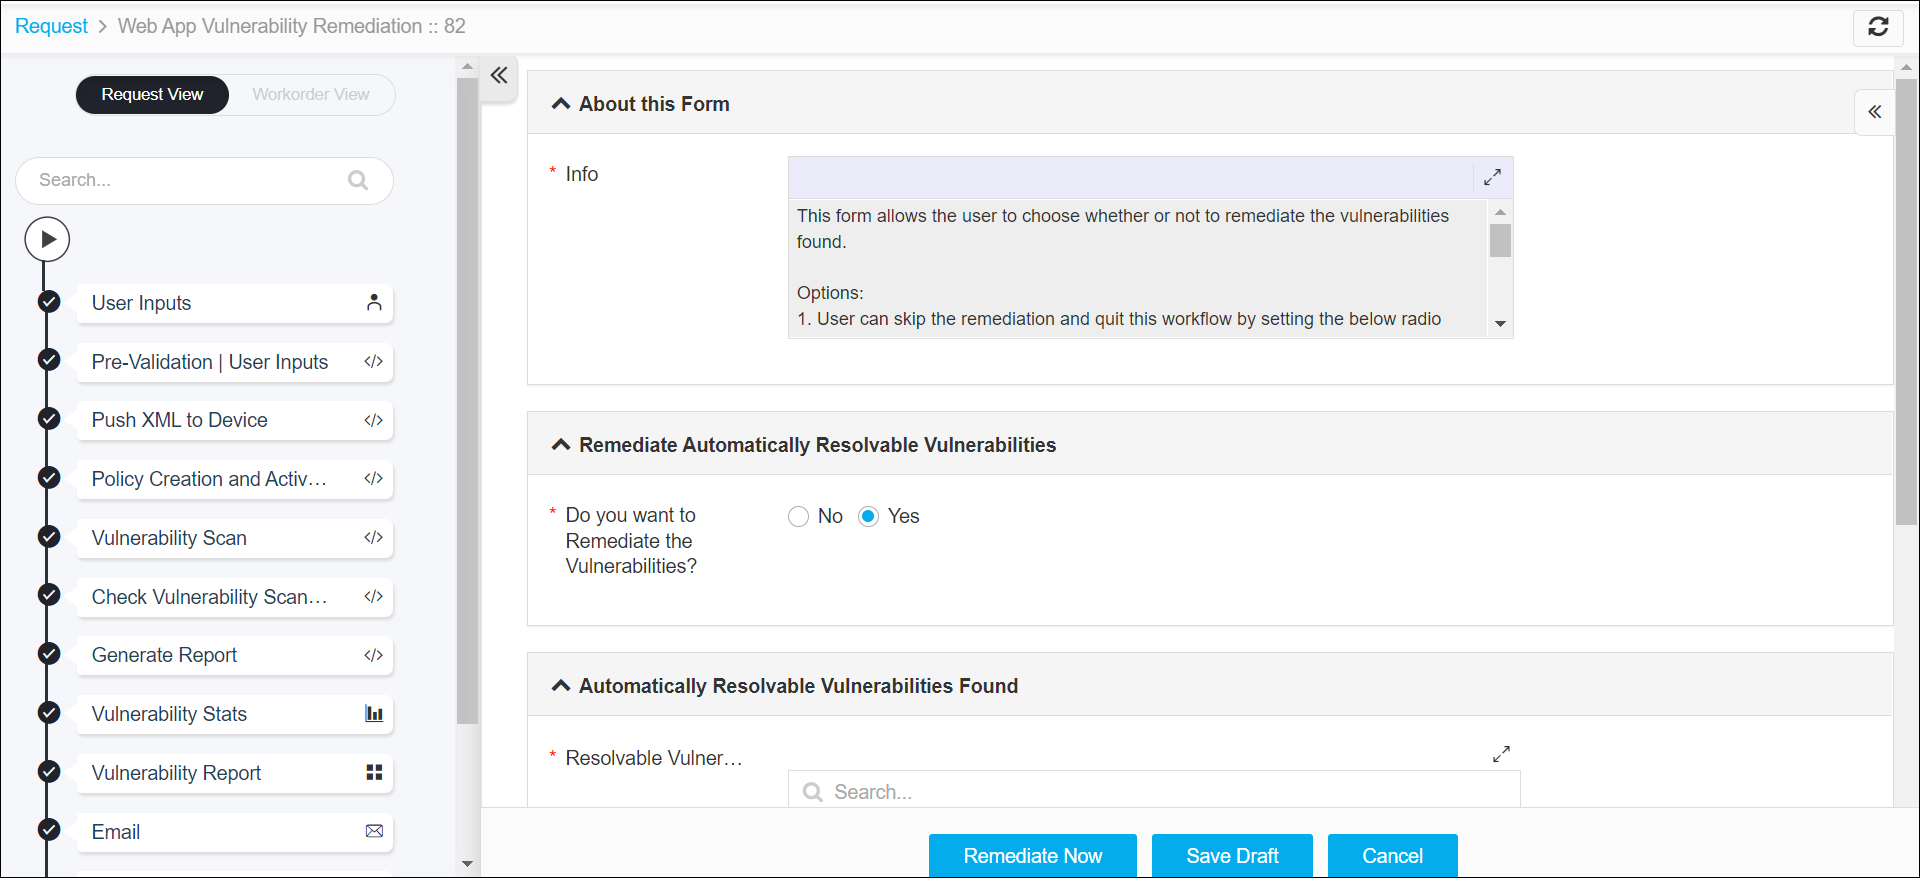
If you select-
Yes option, the identified vulnerabilities will be resolved.
-
No option, the vulnerabilities will not be resolved.
-
- Click the Remediate Now button.
-
View the remediation summary under the Remediation Summary tab.
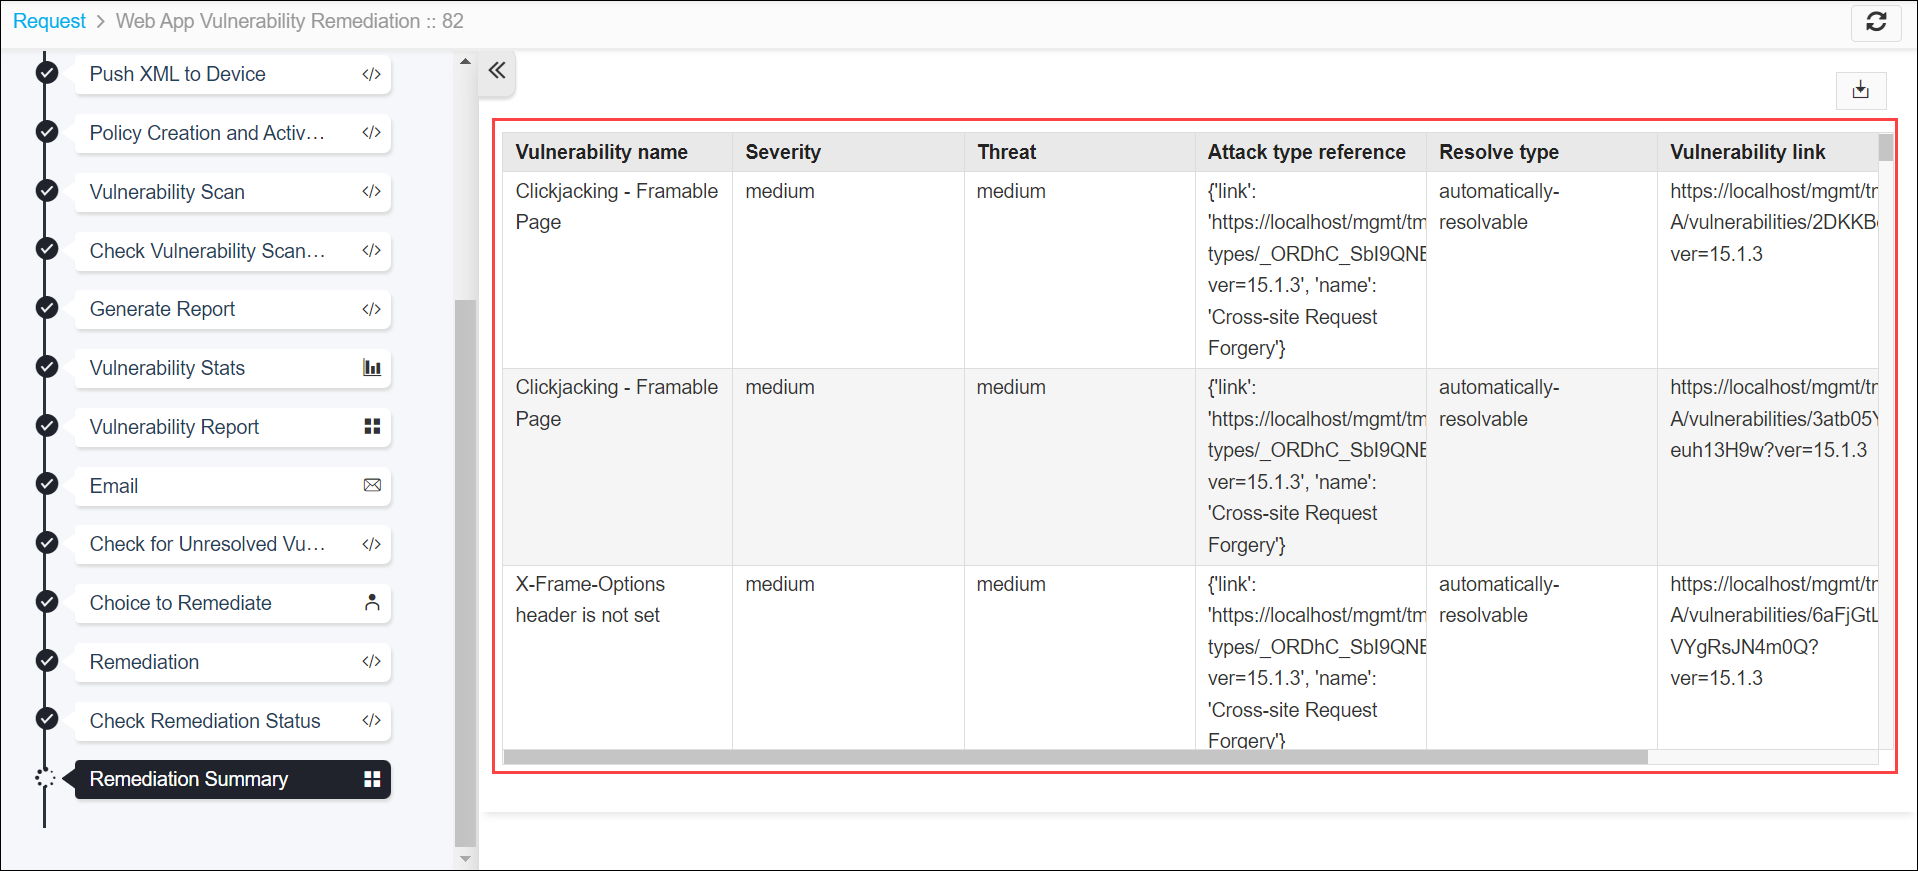
The report can be downloaded by clicking the Download () button. -
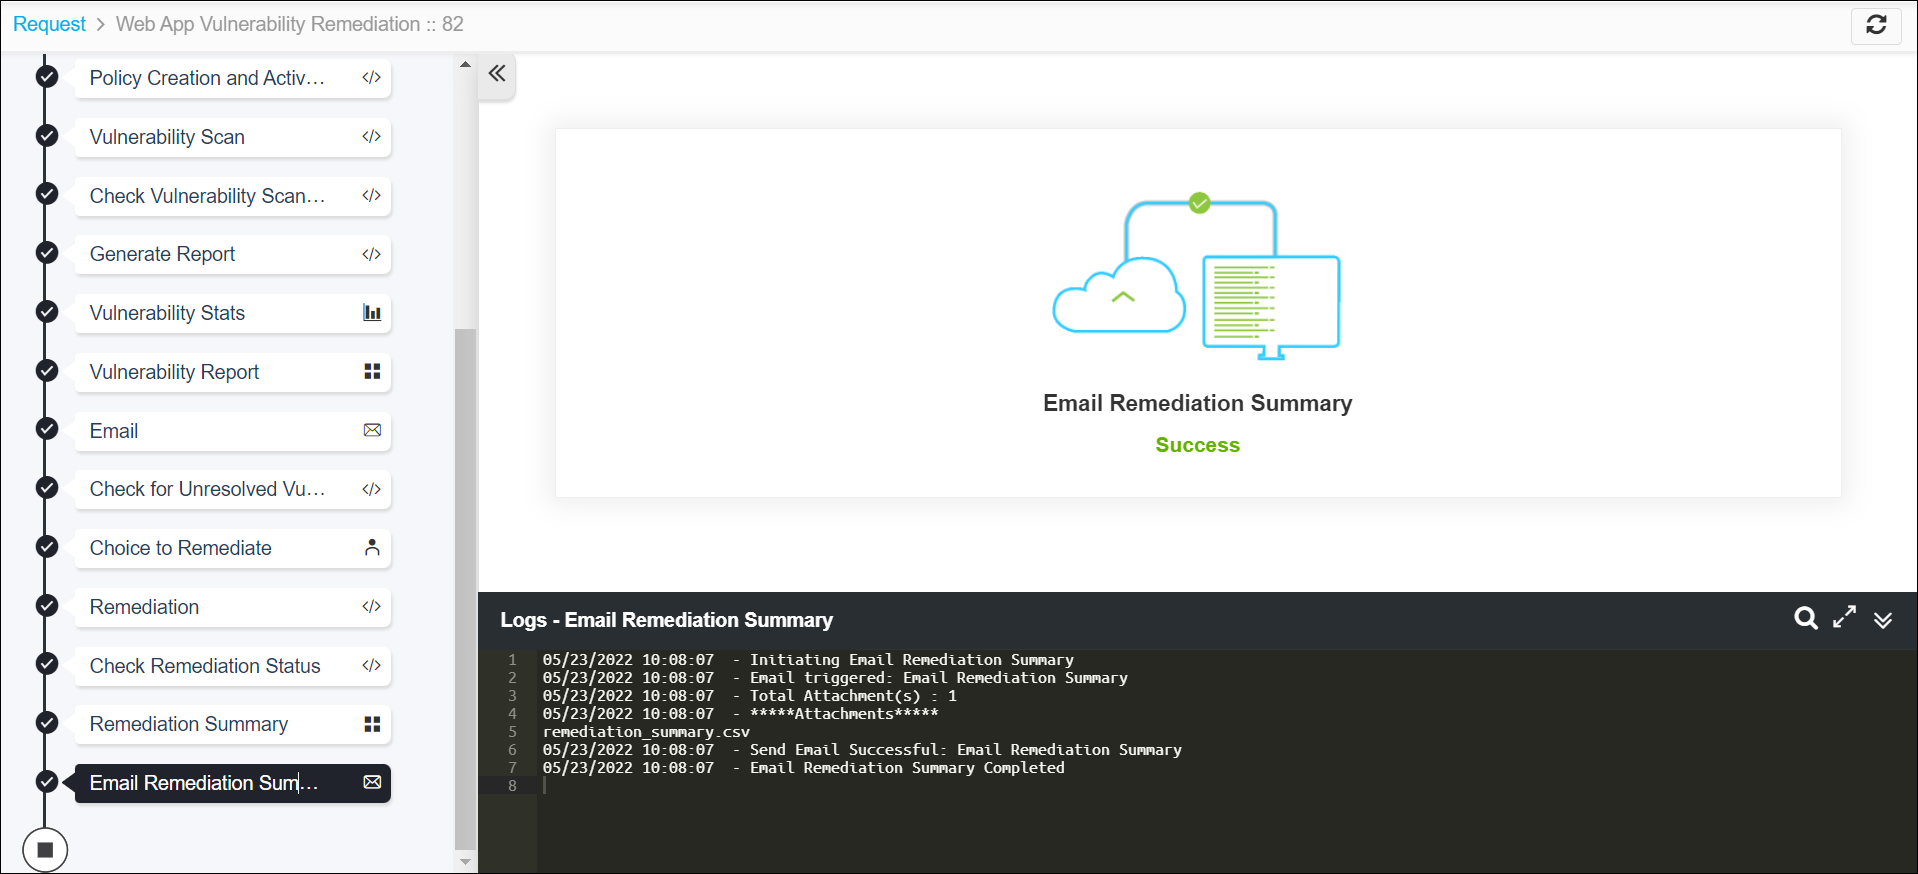
It takes a while for the workflow completion and the email is triggered with
remediation report.
Note: The stages of the request are shown in the left side of the screen. To view a particular stage of the request, click the respective stage.