Creating Dashboard
To create a dashboard,
- Log in to AppViewX application with valid credentials.
- Click the menu button located in the upper left corner of the screen.
The left navigation pane appears.
- Click Dashboard in the left navigation pane.
- Click the add button in the command bar.
The Create dashboard/widget pop-up window appears.
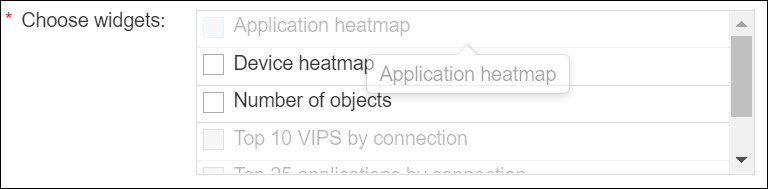
- Enter or select the field information in the Create dashboard/widget
pop-up window.
.png)
The following table provides the field description to create a Dashboard:
Field Description *Dashboard name Name of the Dashboard. *Select solution ADC is the select solution. *Widget type Type of the Widget. The possible Widget types are:-
Custom - choose this option to create a customized Widget.
By default, this option is selected.
-
Default- choose this option to select the default Widget.
*Select widget Customized widgets appear in the drop-down menu. Select the appropriate widget. *Widget name Name of the Widget. Note: The asterisk (*) symbol indicates mandatory fields. -
- To create a Dashboard/Widget, click Create.
Note: To discard the changes, click Cancel.