Reissuing Server Certificate
To reissue a server certificate,
- Log in to AppViewX application with valid credentials.
- Click the menu button located in the upper left corner of the screen.
The left navigation pane appears.
- Click CERT+.
The CERT+ left navigation pane appears.
- Expand CERTIFICATE ACTION.
-
Select Reissue Certificate, and then
Server.
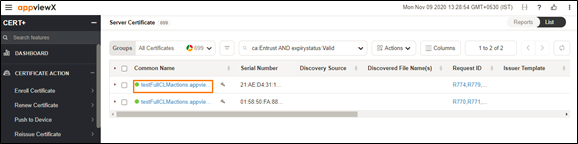
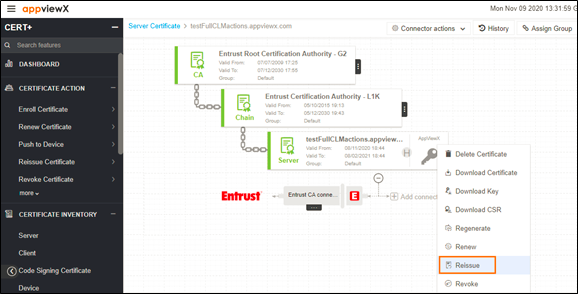
The Server Certificate page appears.
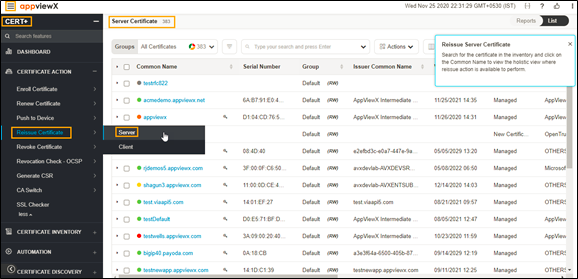
- Click the Common Name of the certificate to navigate into the holistic
view.
- Hover over the vertical eclipse icon on the certificate.
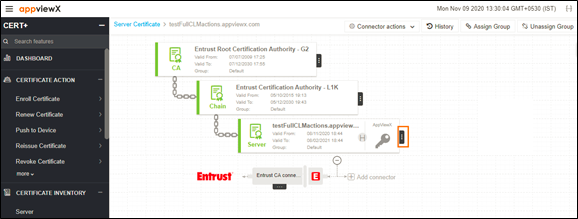
- Click Reissue from the drop-down list.
- In the Server Certificate > Reissue page, if
required, user can edit the Subject Alternate Names.
Also, the Key Type, Bit Length, Vendor Specific Details,
Attachments, Generic Fields,
Vendor-Specific Details, and Custom
Attributes can be modified.
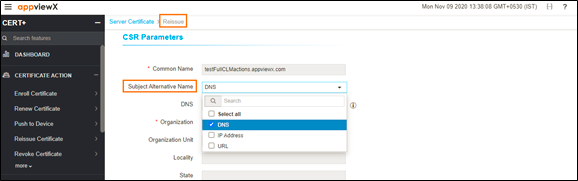
- Click Reissue.
- In the Reissue pop up window, provide the Reason and
Comments.
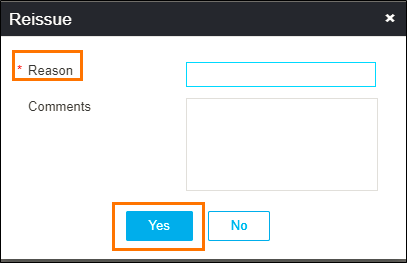
- Click Yes.
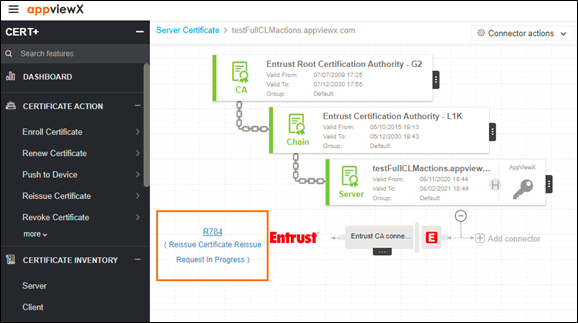
The reissue process is initiated.
-
Note: If an Approval Required checkbox is enabled on the Certificate Policy page, the request goes to Approve and Implementation stages.Click Approve button to proceed.
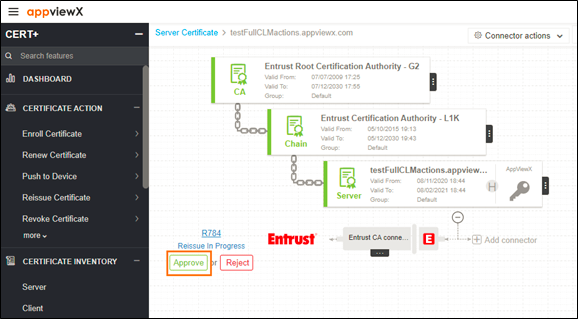
- In the Approve pop-up window, provide the
Comments.
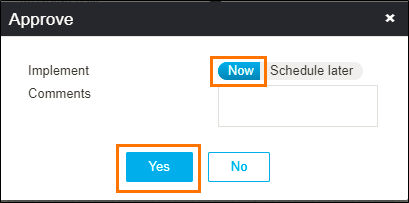
- Click Yes.
- Click Schedule later if the workflow request has to be approved
automatically in the future.
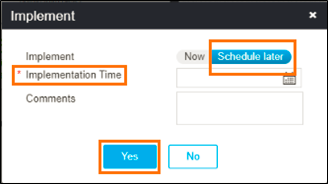
- Click Implement.

- In the Implement pop-up window, provide the
Comments.

- Click Yes.
- Click Schedule later if the workflow request has to be implemented
automatically in the future.
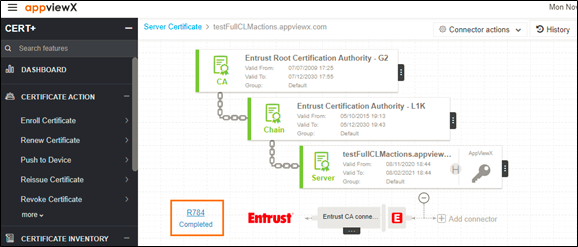
- After the reissue action is completed, the status updates to Completed.