Configuring Policy Details
To configure policy:
- Log in to AppViewX application with valid credentials.
- Click the menu button located in the upper left corner of the screen.
The left navigation pane is displayed.
-
Click CERT+.
The CERT+ left navigation pane is displayed.
- Expand GROUPS & POLICIES.
-
Click CA Policy.
The CA Policy home page is displayed.
.jpg) Note: CERT+ is packaged with default policies they are Default and Certificate-Gateway.
Note: CERT+ is packaged with default policies they are Default and Certificate-Gateway. -
Click + Create on the top-right of the page.
The CA Policy: Create page is displayed.
 The following table provides the field description in the Policy Details section:
Table 1. Policy Details - Field Description Table Name Description *Policy name Provide a unique name to identify the CA policy name.
Note: No special characters other than ‘.’, ‘-’,’_’ are allowed. The name should not start with special characters.Description Provide a description of the policy. *Policy Enforcement Type Select Strict (or) Suggestive. By default, Strict is selected.
Strict - This enforces the standards defined in the policy where a user cannot modify any parameters.
Suggestive - This suggests users with policy parameters. A user can modify suggested values if required.
Certificate Requests Need Approval When enabled, it will enforce the peer approval process for any requests made for new/renew/regenerate/reissue or revocation of certificates. Peer approving the request is defined in the approval workflow. Enable Access to Private Key When enabled allows the user to download private keys from the holistic view. Enable certificate push-bind access for a read-only user Enabling the option might allow the user with the read-only user group to perform certificate push, bind, and rollback operations from the holistic view. Validate issuer and root certificate for compliance Enabling the option would validate if the Issuer and Root of the certificate are also compliant with the standard defined in the policy. Note: The asterisk (*) symbol indicates a mandatory field. - You can configure the Policy Details section based on your organization's standards.
-
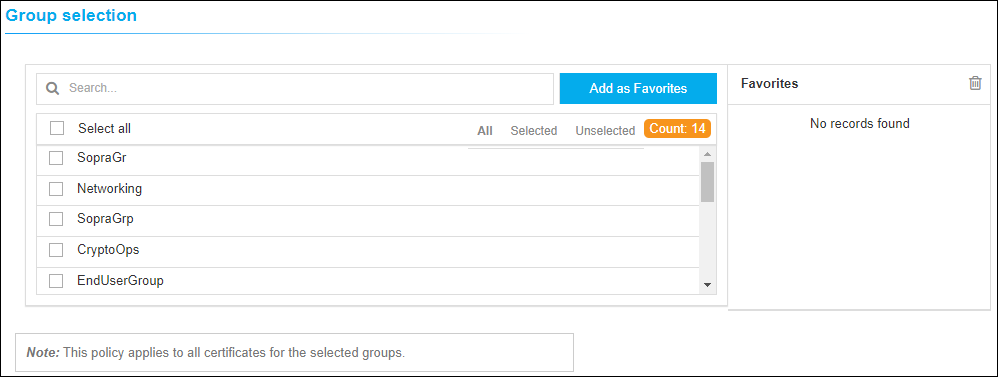
In the Group selection, select one or more groups to map
to the policy.
-
Under the Compliance Check section, you can enable
the Perform Compliance check option to perform an
immediate compliance check.
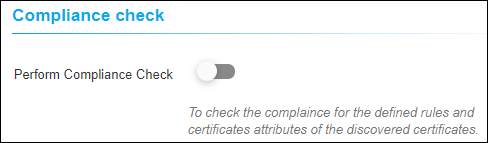 Note: Scheduled Compliance check will run periodically based on the Job scheduler settings.