Create a Role
To create a role,
- Log in to AppViewX application with valid credentials.
- Click the menu button located in the upper left corner of the screen.
The left navigation pane is displayed.
-
Navigate to Account, and then click
Role from the list.
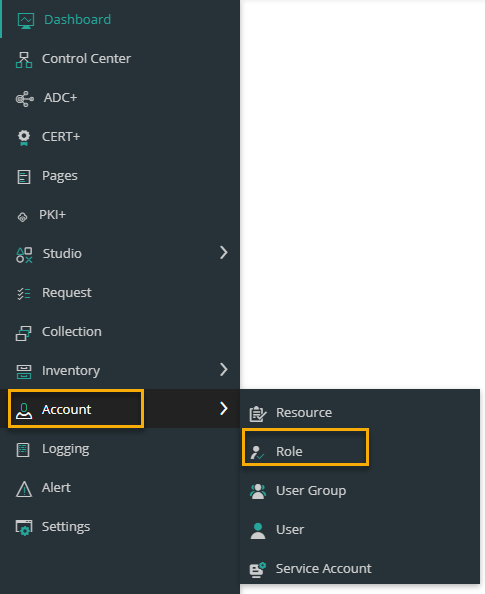 The Role page is displayed.
.png)
-
Click the
 icon in the command bar to
create a new role.
The Add page is displayed.
icon in the command bar to
create a new role.
The Add page is displayed.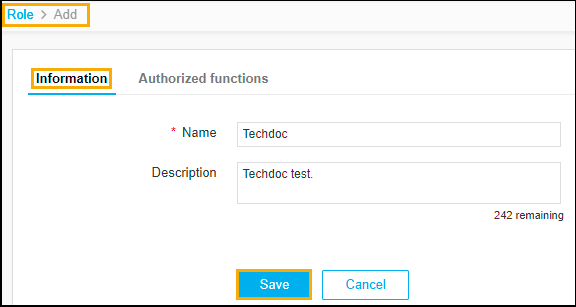
- The following table describes the options available on the Add page:
| Field | Description |
|---|---|
| * Name | Enter the name of the role. |
| Description | Enter a brief description of the role and granular-level access associated with the resource. Note: You can enter a maximum of 255 words in the field. |
|
Note: The asterisk (*) symbol indicates a
mandatory field.
|
|
-
Click Save.
The pop-up message is displayed as Role added successfully.
-
Click the Authorized functions tab.
The Authorized functions page is displayed.
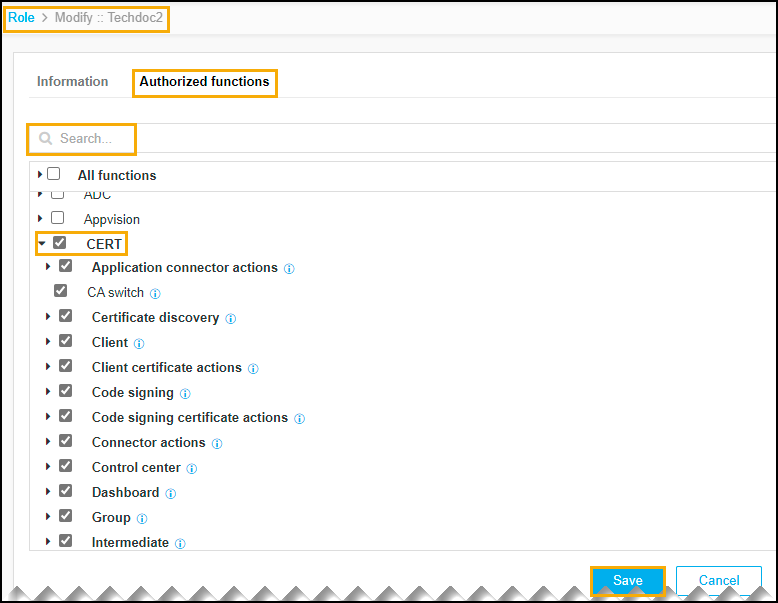
- Select the checkboxes beside each of the functionalities that you want to associate with the role.
-
To assign the functions at a more granular level:
- Click the expand icon beside a function check box.
- Select the individual sub-options within that function.
- You can select CERT, which automatically assigns all sub-options or you can expand the CERT function and select only the sub-options you want to assign.
- Click Save.