Create a User
To create a user,
- Log in to AppViewX application with valid credentials.
- Click the menu button located in the upper left corner of the screen.
The left navigation pane is displayed.
-
Navigate to Account, and then click
User from the list.
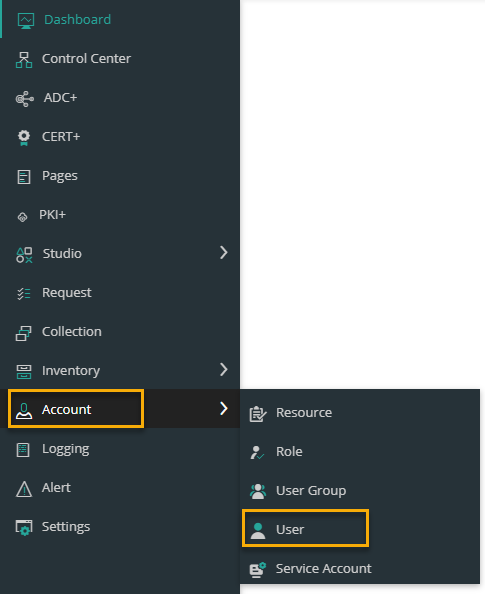 The User page is displayed.
-
Click the
 icon in the command bar to create a new user.
The User Add page is displayed.
icon in the command bar to create a new user.
The User Add page is displayed.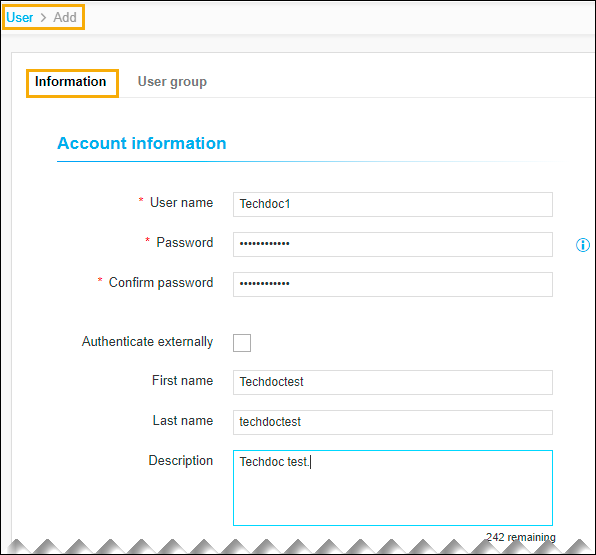
- Enter the required details in the Account Information and Contact Information sections.
-
The following table describes the options available on the Information tab:
Table 1. Information Tab Field Details Section/Fields Description Account Information *User name Enter the desired username. *Password Enter the secured password, following the below criteria,
- Have at least one uppercase and one lowercase character
- Have at least one numeric character
- Have at least one special character ~!@#$^&*_-+=|().
- Must have 6 to 24 characters long
- Not contain the user name
- Not contain the same character more than three times in a row (for example, aaaaL1$)
- Not contain blank spaces.
*Confirm password The password to confirm the entered Password field and match with it. Authenticate externally Select the Authenticate externally checkbox if you want authentication handled by an external enterprise server, such as LDAP, RADIUS, or TACACS, that is configured with AppViewX. First name Enter the first name of the user. Last name Enter the last name of the user. Description Enter a brief description of the user group and granular-level access associated with the user group.
Note: You can enter a maximum of 255 words in the field.Contact information Preferred mode of contact Enter the mode of contact from the drop-down list. The available options are,
- Email address
- Phone number.
*Email address Enter the valid email address. Phone number Enter the valid phone number.
Note: If you select the mode of contact as Phone number, phone number is mandatory to update.Note: The asterisk (*) symbol indicates a mandatory field. -
Click Save.
The pop-up message is displayed as User added successfully.
- Click the User Group tab to add the user to a group.
-
Select the check box beside each of the user groups that you want to
add the user to.
Note: A user can be assigned to more than one group in the system. A user assigned to more than one group inherits all of the permissions of all of the groups to which he or she is added.
-
Click Save.
The pop-up message is displayed as Updated successfully.