Migration Process
-
To ensure compatibility for data restoration on the new server, it is necessary
to upgrade your existing server.
- Upgrade your existing server to either 2020.3.0 FP10 or 2022.1.0 (Ganga) FP3 if you are currently using a lower version. This upgrade will make your data compatible for restoration on the new server.
- If you are already using 2020.3.0 FP11, there is no need to upgrade your existing server as it is already compatible with the data restoration process on the new server.
- Take a backup of your existing AppViewX installation which is running in CentOS. Refer section below - Taking Backups from the Existing AppViewX Environment
-
Install the new server with RHEL/Ubuntu operating system.
- You have the option to download either the 2020.3.0 FP10 or 2022.1.0 (Ganga) FP3 installer from the release portal and proceed with the installation. Make sure to select the version that is compatible with your current server version.
- In case you have taken a backup from 2020.3.0 FP11, you can install 2020.3.0 FP10 first and then upgrade to 2020.3.0 FP11 to ensure compatibility.
- Restore the backed up data on the system with the newly installed OS. Refer section below - Restoring the Backups
Upgrading the Existing Server for Compatibility
- 2020.3.0 FP10
- 2022.1.0 FP3
However, if your existing server is already running version 2020.3.0 FP11, you can directly upgrade the new server from 2020.3.0 FP10 to 2020.3.0 FP11 before restoring it. This ensures compatibility for the migration process, hence you can skip this step for now.
Refer these guides for upgrading AppViewX
- 2020.3.0 Upgrade Guide - Documentation (appviewx.com)
- 2022.1.0 Upgrade Guide - Documentation (appviewx.com)
Taking Backups from the Existing AppViewX Environment
For an AppViewX 2020.3.0 and above setup (Kubernetes-based)
- Navigate to installer node’s scripts directory - <appviewx_installer_location>/appviewx_kubernetes/scripts/
-
Initiate a backup of the AppViewX Database using the following
command
./mongo_backup.shAfter the backup is taken successfully, the database's backup file and its location are displayed on the screen. Note: Copy this backup file to a safe location for future reference.
 -
Initiate a backup of the Secrets Vault using the command
./vault_backup.shAfter the backup is taken successfully, the database's backup file and its location are displayed on the screen. Note: Copy this backup file to a safe location for future reference.
For a Legacy Setup
appviewx --databasebackupInstalling the New Server
If you have completed the backup process, proceed to install the new server with the chosen version on the supported operating system.
-
Choose the preferred OS or OVA from the supported list.
- RHEL 8 (8.6, 8.7)
- Ubuntu 20.04 LTS
- Ubuntu OVA (with Ubuntu 20.04 LTS)
-
Once you have decided on the OS or OVA, install the AppViewX server by
following the steps below:
- Install 2022.1.3 (Ganga FP3) with OVA - Click here
- Install 2020.3.0 FP10 or 2022.1.3 (Ganga FP3) with installer - Click here
Restoring the Backups
Now, you can proceed to restore the backup on the new server. Please note that if you took the backup from 2020.3.0 FP11 and installed 2020.3.0 FP10 on the new server, you must upgrade the new server to 2020.3.0 FP11 by following these steps to ensure compatibility.
For an AppViewX 2020.3.0 and above setup (Kubernetes-based)
- Copy the backed up file(s), from the step 2, to the new environment’s installer node.
- Navigate to the installer location’s scripts directory - <appviewx_installer_location>/appviewx_kubernetes/scripts/
-
Restore the database through triggering database restoration script by
using the following command:
Example:./mongo_restore.sh <location of mongo backup file>./mongo_restore.sh /home/appviewx/mongo_backup/mongo_backup_Fri_Jul_7_10_14_12_IST_2023.tar.gz -
Wait for the successful completion message.

-
Restore the Secrets Vault through triggering the vault restoration
script by using the following command:
Example:/vault_restore.sh -p <location of vault backup file>./vault_restore.sh -p /home/appviewx/vault_backup/vault_backup_Wed_Jul_28_05_50_40_UTC_2021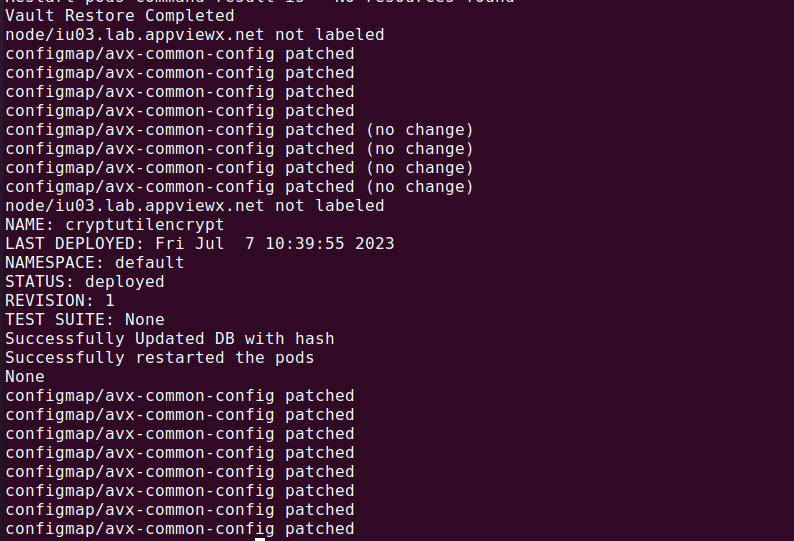
For a Legacy Setup
appviewx --databaserestore /path/of/backup_fileappviewx --databaserestore /home/appviewx/mongo_backup/mongo_backup_Fri_Jul_7_10_14_12_IST_2023.tar.gz