Configuring AppViewX PKIaaS Certificate Authority
You can initialize PKI using:
- PKIaaS - Standard: Select this option for standard initialization using Cloud CA.
- AppViewX PKIaaS Native (PKIaaS - PQC Ready - AVX CA): Select this option for initializing using AppViewX PKIaaS Native CA to enable Post-Quantum Cryptography (PQC) capabilities in your PKI.
To initialize PKI using AppViewX PKIaaS - Standard CA:
- Initialize PKI by contacting [email protected] and get the JSON file.
- Go to
 (Menu) icon > CERT+ > Administration >
Certificate Authority.
(Menu) icon > CERT+ > Administration >
Certificate Authority.The Certificate Authority page appears.
- Select AppViewX PKIaaS from the list on the LHS of the panel and click Configure Now.
- Enter the following fields:
Table 1. Field Description for AppViewX PKIaaS CA page Field Description General Information *Data Center Select the data center through which the communication must happen. CA Configuration *Upload JSON JSON credentials will be provided by AppViewX. Project Id This is automatically populated. Note: Fields indicated with red asterisk (*) symbol are mandatory.The uploaded credentials are validated for required permissions. Upon successful validation, the credentials are used for rotating the keys and the new key is used for CA creation.
- Click Check to see if the connection is successful.
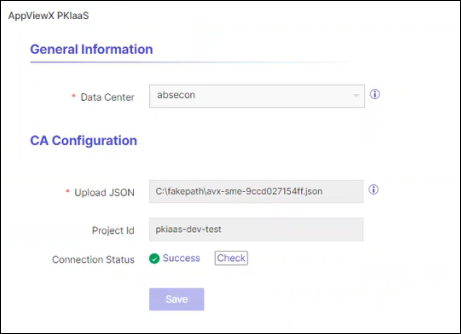
CA communication is validated and the connection status is shown as either Success or Failure.
- Click Save.
To initialize PKI using AppViewX PKIaaS Native CA:
- Go to (Menu) icon > CERT+ > Administration >
Certificate Authority.The page is displayed.
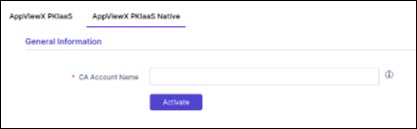
- Select AppViewX PKIaaS Native.
- Provide CA account name and click Activate.
A message that the setup was completed successfully appears.