Integrating Adobe Acrobat
Download Adobe Acrobat
- Download from Download Adobe Acrobat Reader: Free PDF viewer for Windows.
- Install using the Installation Wizard.
Sign PDF Files with Adobe Acrobat using AppViewX CSP
For more information on Certificate based signatures using Adobe Acrobat, refer Certificate-based signatures, Adobe Acrobat.
Prerequisites:
- Run the AppViewX SIGN+ Installer to set up the prerequisites for using the AppViewX CSP.
- Ensure Adobe Acrobat Reader is Installed.
Add Certificate-based Signature to a PDF
-
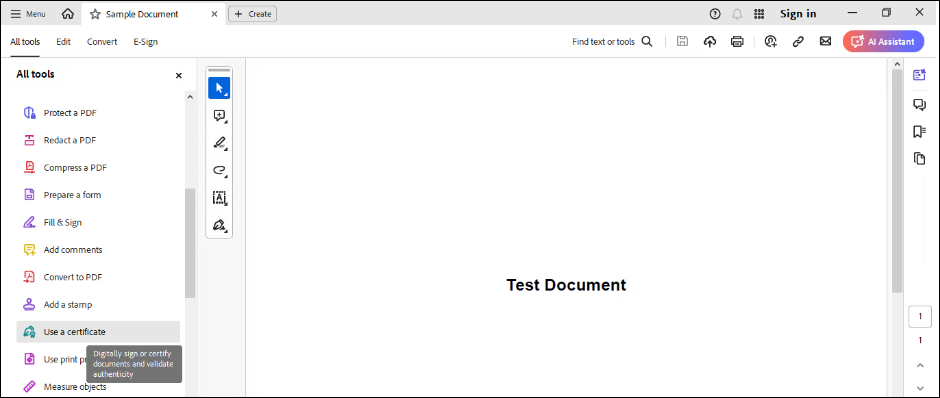
Open the PDF to be signed in Adobe Acrobat and go to All
Tools -> View More ->
Use a Certificate in the Global Bar.
-
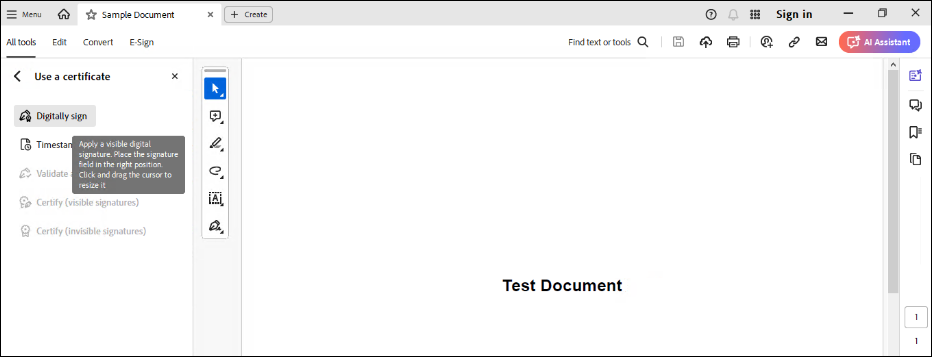
Select the Digitally Sign option to add a
visible digital signature to the document.
-
Use the mouse to draw a designated area for the digital signature
anywhere on the document.

-
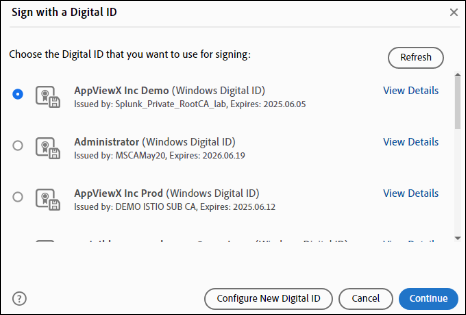
Select the appropriate Digital ID (Signing Certificate selected during
SIGN+ Package download) from the list of installed code signing
certificates in Windows Key Storage. Select the certificate downloaded
and installed through SIGN+_Installer and click
Continue.
-
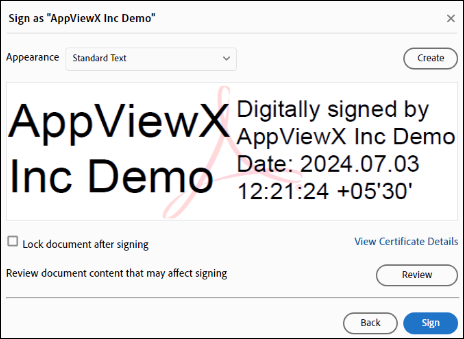
Preview or edit the Digital Signature Display information as needed and
click “Sign.” To customize the appearance, refer to Adobe’s guide on the
Appearance of Digital Signatures.
Note: SHA256 is the default hashing algorithm.
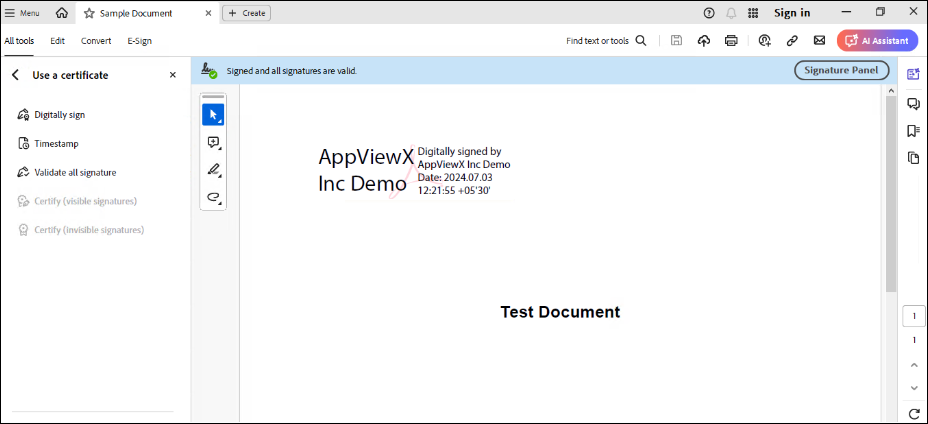
- Save the signed document to your preferred location.
-
The Digital Signature information will appear in the area specified in
Step 3.
View and Verify Digital Signature
-
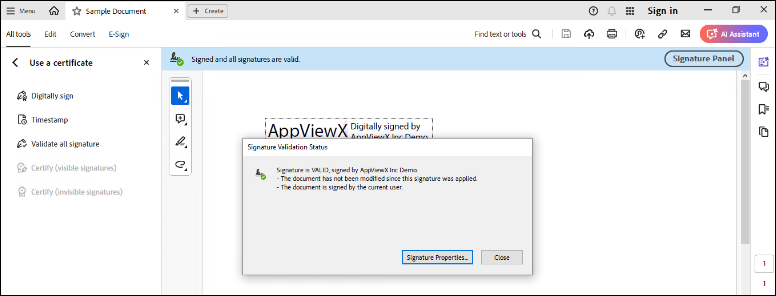
Click the digital signature in the document to access the signature
details.
-
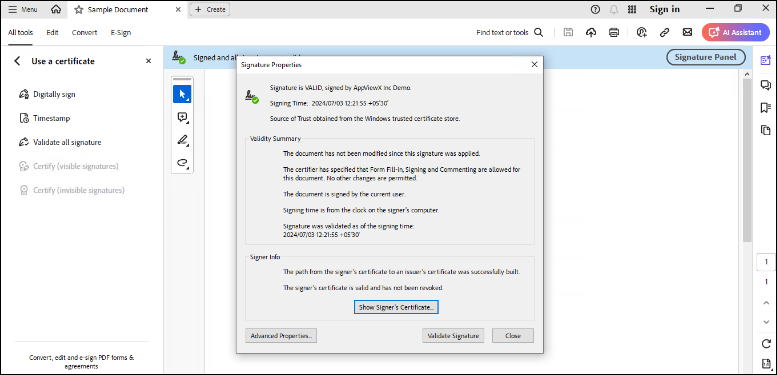
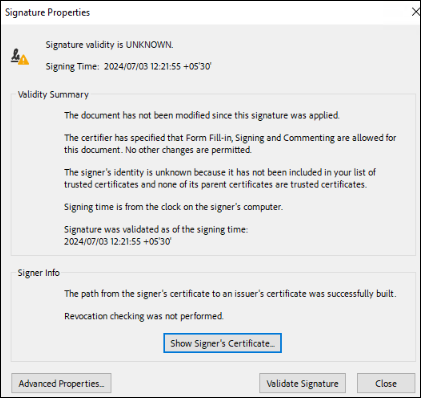
View the digital signature properties for detailed information.
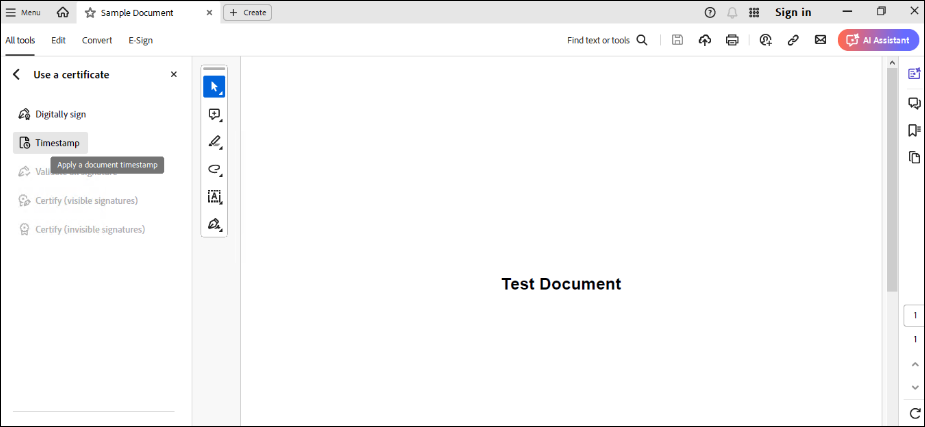
Document Timestamping in Adobe Acrobat
Add Document Timestamping to a PDF
-
Open the PDF to be Timestamped in Adobe Acrobat and go to
All Tools -> View More
-> Use a Certificate in the Global Bar.
-
Select the Timestamp option to apply a document
timestamp.
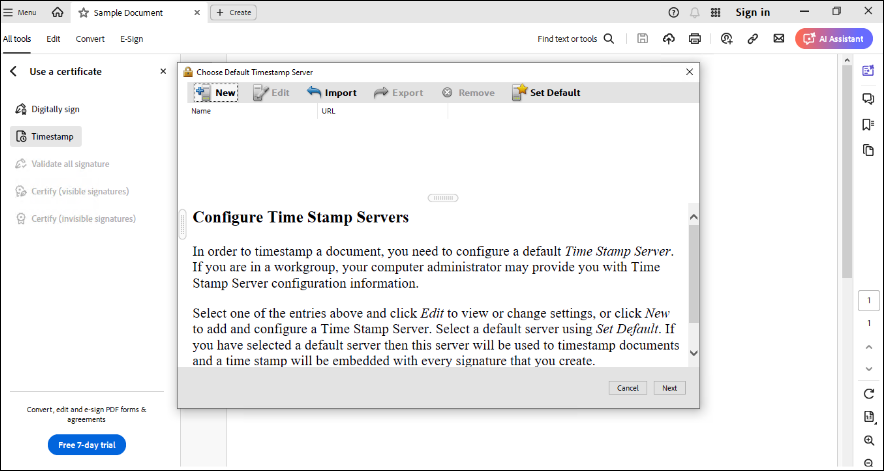
-
Select the New option from the prompt to
configure the default timestamp server.
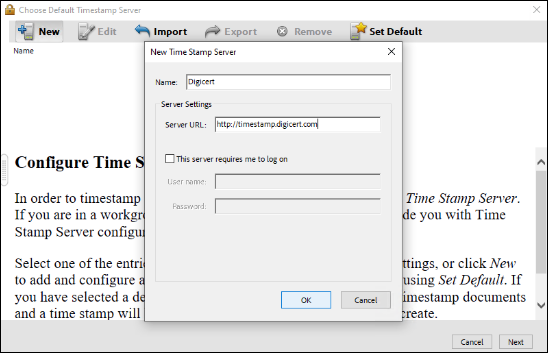
-
Enter the required configurations and click OK
to set up timestamping.
Troubleshoot Signing Errors
Error Encountered While Signing: The Windows Cryptographic Service Provider Reported an Error.
Error message: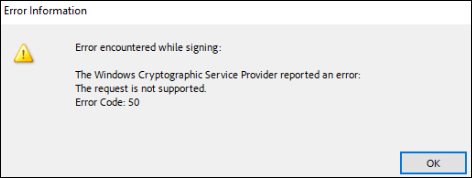
Problem:
This error message can occur due to various reasons, such as connection issues with the server, authentication errors, and other validation messages.
Solution:
For more information on the error message, refer to
AppViewX_CSP_<Day>.log file in
C:\Users\<username>\AppData\Local\Temp
path.
Troubleshoot Signature Verification
At least one signature has problems
Error message:
- Signature Banner

- Signature Panel
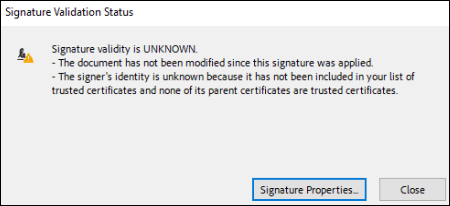
- Signature Properties
Problem:
This error message occurs when the code signing certificate used for signing
is not trusted by Adobe Acrobat.
Note: This error
message might occur only for Private CA Code Signing Certificates. In
case of Public CA Code Signing Certificates, the trust chain would
already be present in Adobe.
Solution:
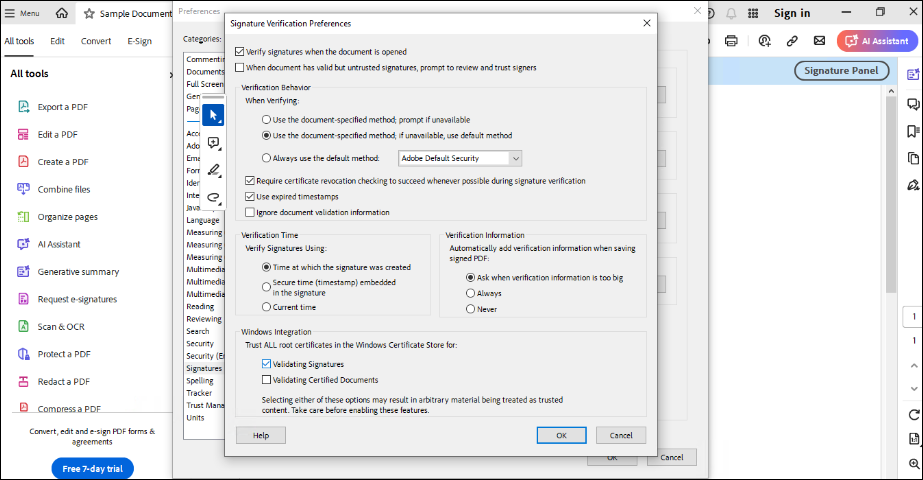
- Navigate to Main Menu -> Preferences -> Signatures ->
Verifications -> More.
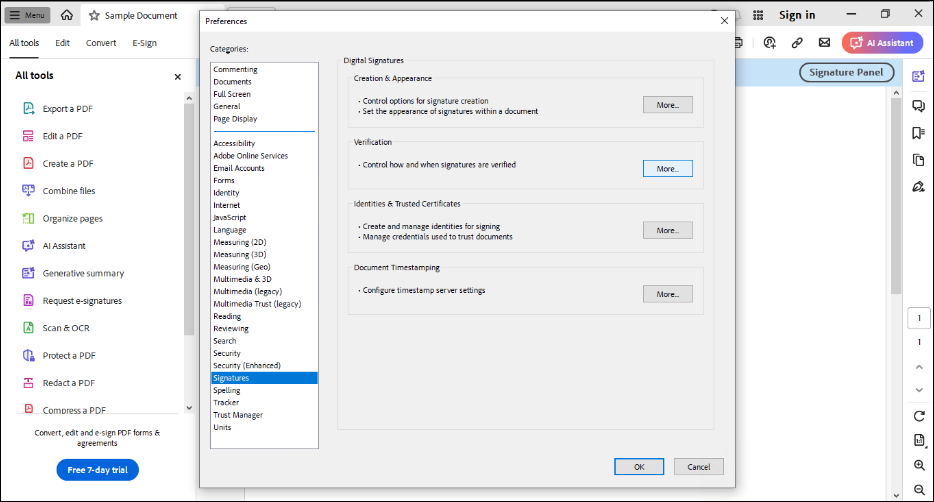
- Select the Validating Signatures checkbox under Trust All
the root certificates in the Windows Store for: