Adding HAProxy Device
To add HAProxy device,
- Login to the AppViewX application with valid credentials.
- Go to
Menu > ADC+ > ASSET MANAGEMENT.
- Perform any of the following:
-
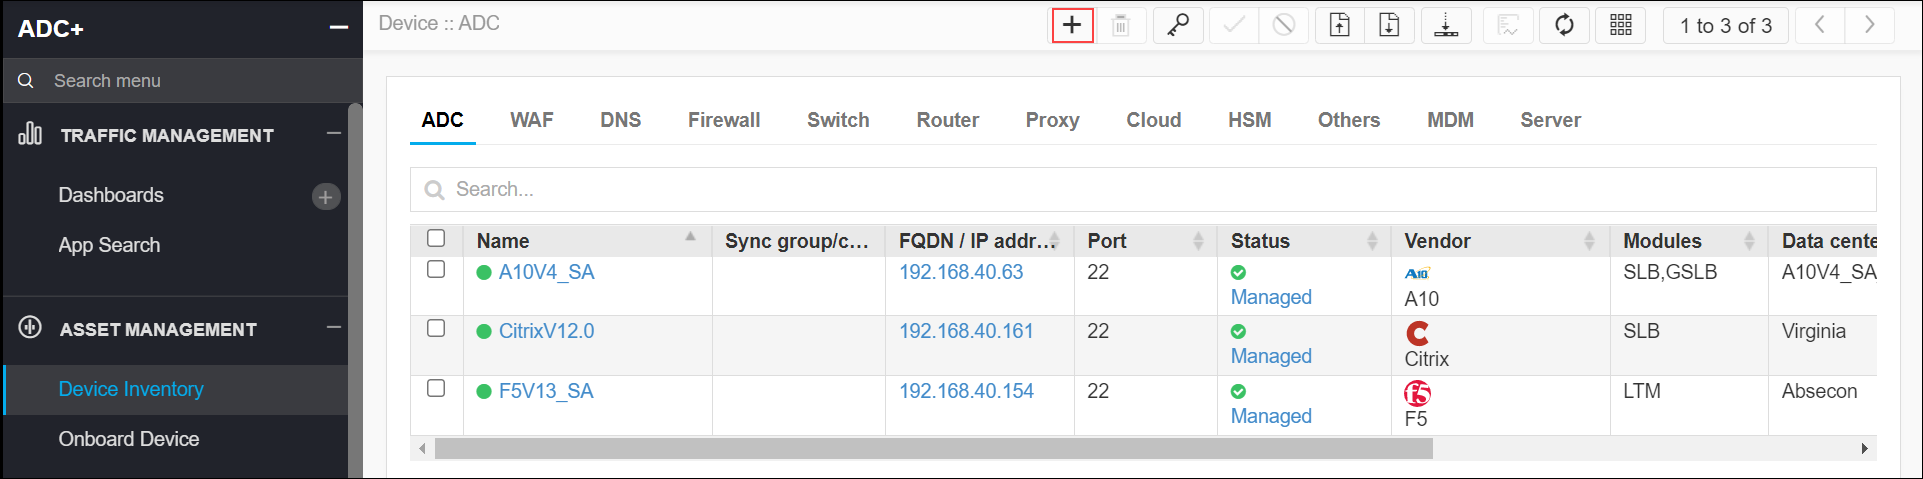
Click Device Inventory, and then select Add (+) icon to navigate to the Device details page.
-
Click Onboard Device in the left navigation panel.
-
-
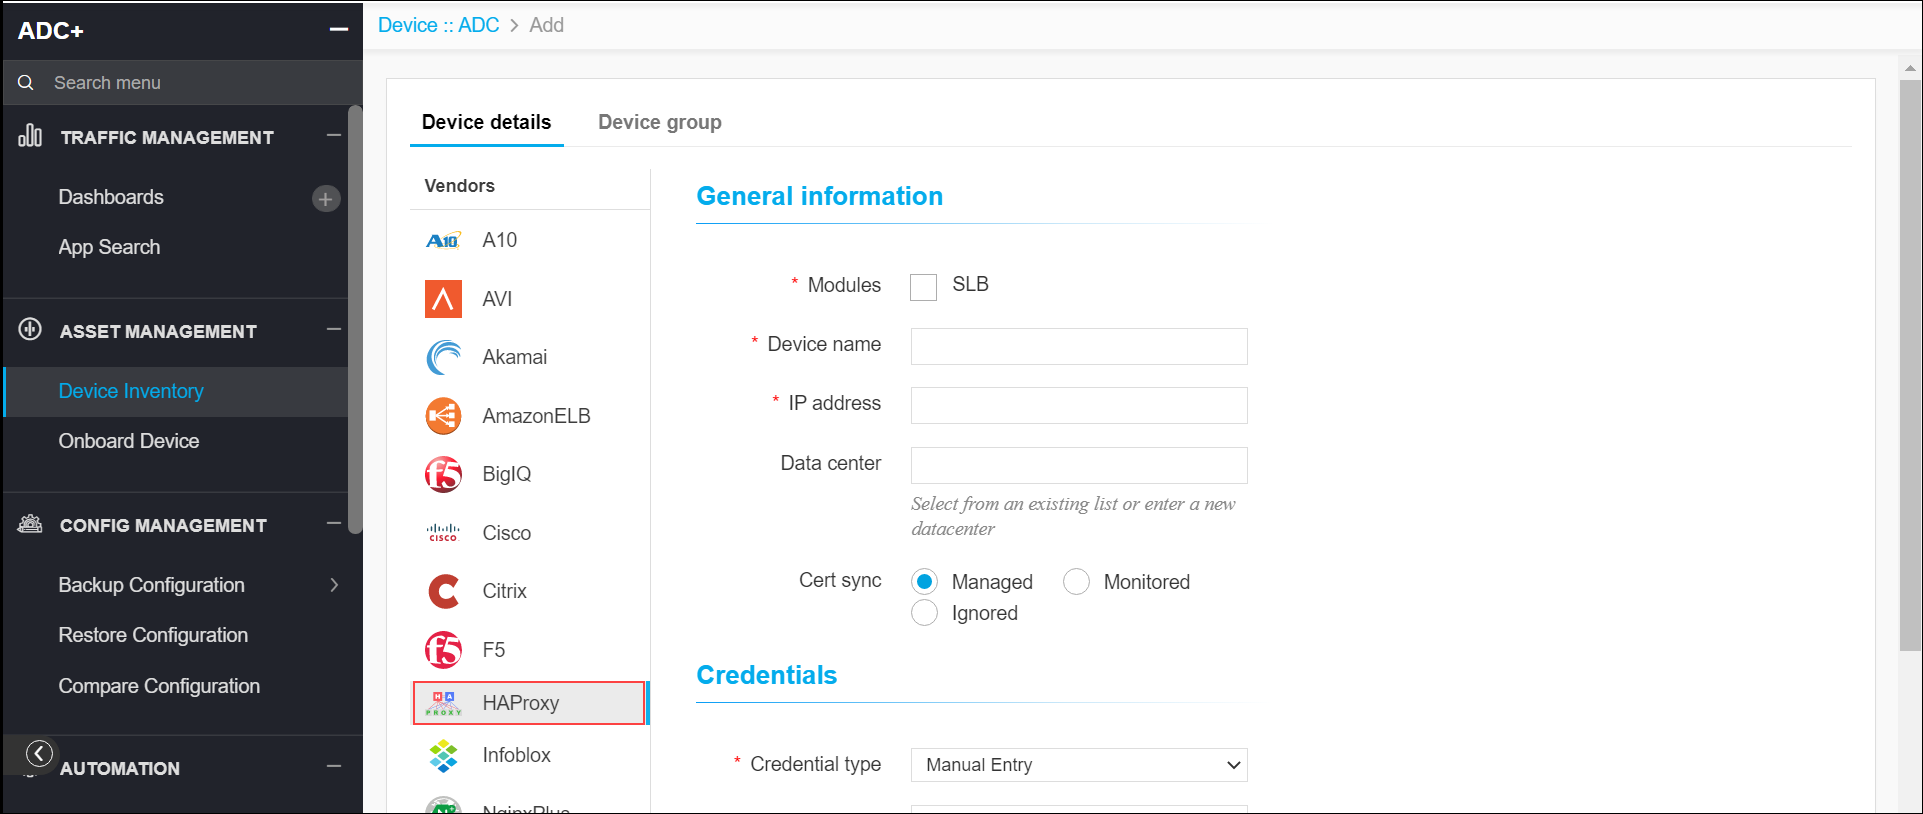
In the Device details page, select HAProxy from the left
sidebar.
-
Enter or select the field information in the General information
section.
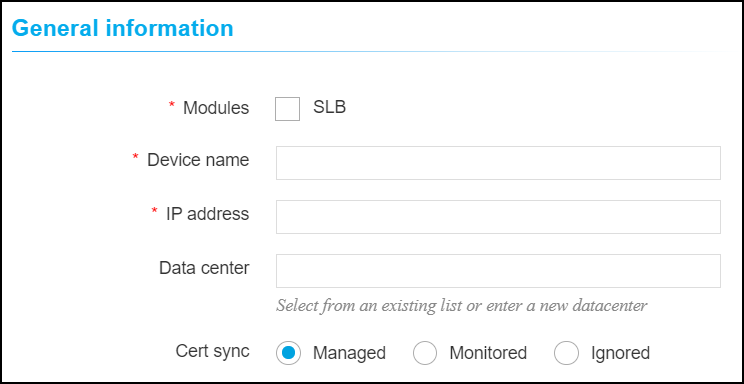
- The following table provides the field description for adding ADC device details in
the General information section:
Name Type Mandatory Description Validation Device name * Text Yes Unique name of the device to be added. Device names can only contain alphanumeric characters, '-' , '_' , '.' , '*' , '|' , '!' and spaces. IP Address * Text Yes The ipv4 address of the device. The IP address should be in the right format. Data center Text No Datacenter name where the device is configured. The default value is Absecon. Data center name can only contain alphanumeric characters, '-' , '_' , '.' , '*' , ':' , '|' and spaces. Cert Sync * Radio button Yes Managed:
The certificates of the device can be managed.
Monitored:
The certificates of the device can be monitored.
Ignored:
The certificate sync can be ignored.
NA -
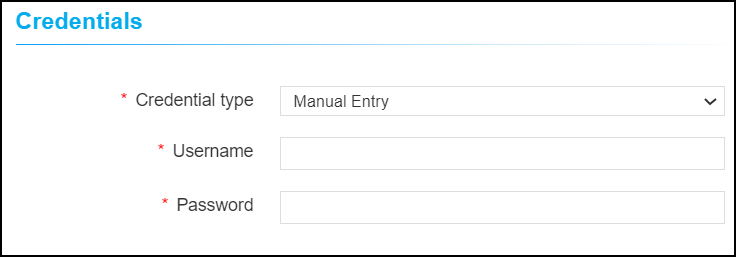
Enter or select the field information in the Credentials section. You can select
Manual Entry or Credentials List.
-
The following table provides the field description for adding ADC device details in the
Credentials section:
Name Type Mandatory Description Validation *Credential type Dropdown Yes Manual entry: The user should enter the username and password. Credential List: The user can select the credential details which are already stored in the credential inventory page.
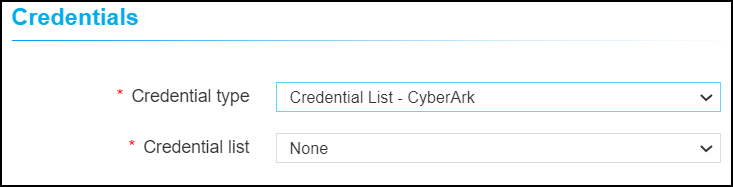
NA *Username Text Yes The user name of the device. NA *Password Text Yes The password of the device. NA - Click Save.