Configuring the SMTP Settings for Google
The SMTP oAuth uses an access token instead of a password to send email. The access token works as a temporary password with fixed validity and has permissions delegated by the user.
To get the access token you must provide details such as username, client-id, secret, Authorization endpoint, token Endpoint and scope. Once these details are submitted, you will be redirected to the oAuth server login page. Once the user authorization is done here, the oAuth server returns the Auth code.
The Auth code is exchanged with the access token and refresh token in the backend and saved in DB.
To configure the SMTP server:
-
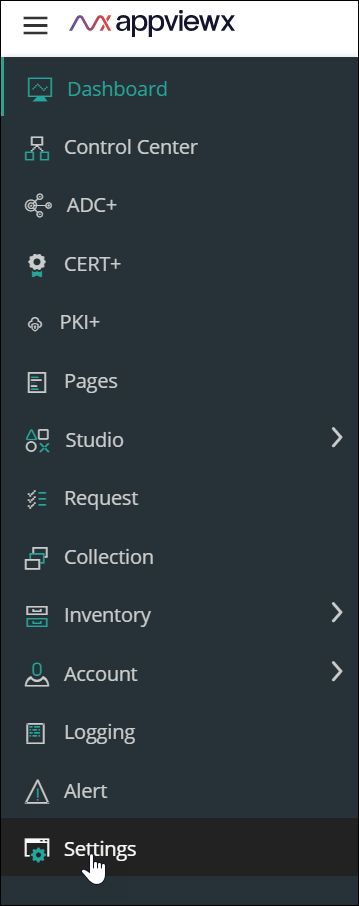
To access the navigation pane, in the top-left corner of the screen, hover the
mouse pointer over the
 icon.
icon.
-
From the menu displayed, click Settings.
- On the Settings page, from the navigation pane on the left, click General.
-
Under General settings, click
SMTP.
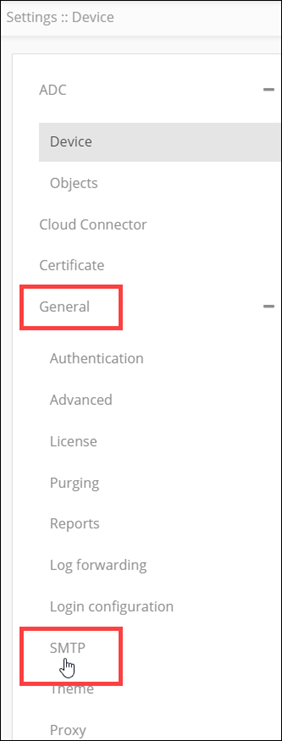 The Settings :: SMTP page is displayed.
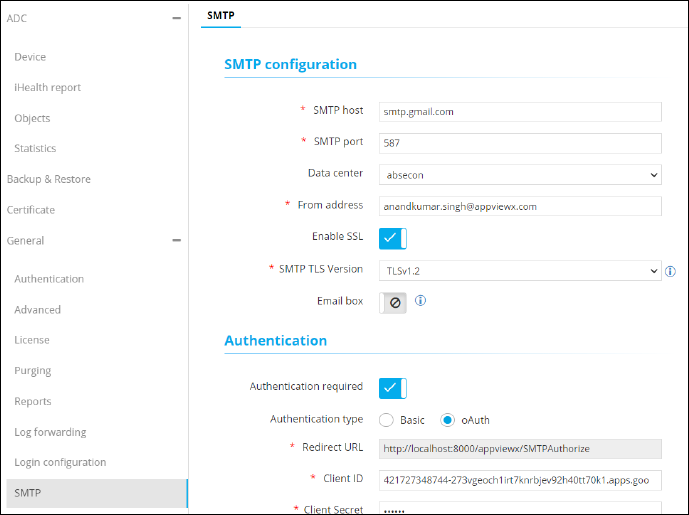
-
In the SMTP configuration section, enter the required field information.
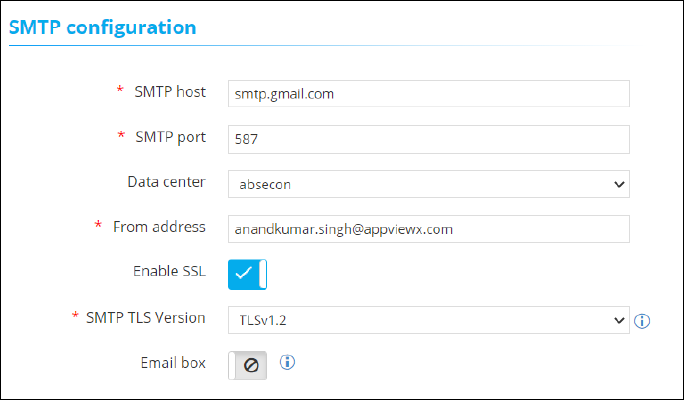
The following table describes the fields in this section:
Field Description *SMTP host Host name of the SMTP server. *SMTP port Port number of the SMTP server. Data center From the options available in the dropdown, select the data center. *From address Enter the email address that will be used to email the logs and alerts. Enable SSL To allow SSL encryption, enable this toggle key. *SMTP TLS Version From the options available in the dropdown, select the TLS version of the SMTP server.
Note: Versions 1.2 and higher are recommended.Email box To use the mailbox feature to read emails in Visual Workflow, enable this toggle key. *Email Email address of the IMAP server used for the mailbox feature.
Note: This field is displayed only if the Email box key is enabled.*Password Password of the IMAP server used for the mailbox feature.
Note: This field is displayed only if the Email box key is enabled.*Host name Host name of the IMAP server used for the mailbox feature.
Note: This field is displayed only if the Email box key is enabled.*Port Enter the Port number.
Note: This field is displayed only if the Email box key is enabled.All * marked fields are mandatory. -
In the Authentication section, enter the required field information.
This table describes the fields in this section:
Field Description Authentication required To enable authenticated mail server communication, enable this toggle. Authentication type Select the Authentication type as Basic.
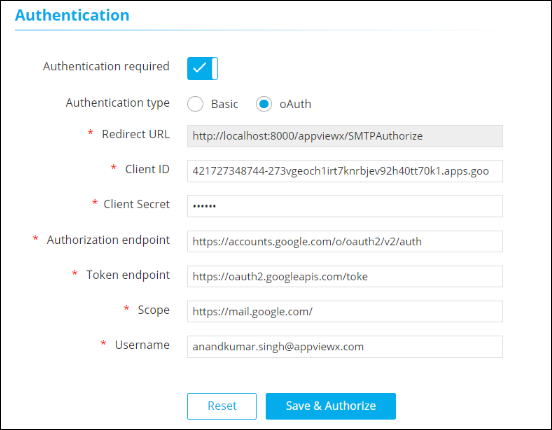
Note: Selecting Basic displays the Username and Password fields.Select the Authentication type as oAuth.
Note: Selecting oAuth displays the fields that are described below.*Redirect URL This field is auto-populated from the address bar of the browser. *Client ID Enter the Client ID that is generated in the oAuth server when the oAuth client is created.
Note: The steps to create an oAuth client are different for Google and Microsoft.For more information on steps for Google, click here.
For more information on steps for Microsoft click here.
*Client Secret Enter the Client Secret that is generated in the oAuth server when the oAuth client is created. *Authorization endpoint Enter the authorization endpoint where the user authorizes and gives permission to the oAuth client to send email on behalf of the user. *Token endpoint Enter the token endpoint to get Access Token and Refresh Token. You can get the endpoint by providing Client ID, Secret, and other relevant values based on oAuth 2.0 specifications. *Scope The permission required to send email.
Note: For Google, enter https://mail.google.com/.*Username Note: This field is enabled only if the Authentication required key is enabled.Username for the authenticated mail server
*Password Note: This field is enabled if you select Basic as your Authentication type.Enter the valid password associated with the username.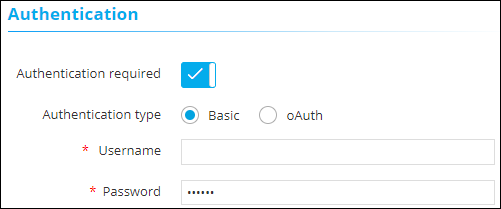
All * marked fields are mandatory. - In the Test email section, enter the email address to which a test email should be sent and click Test.
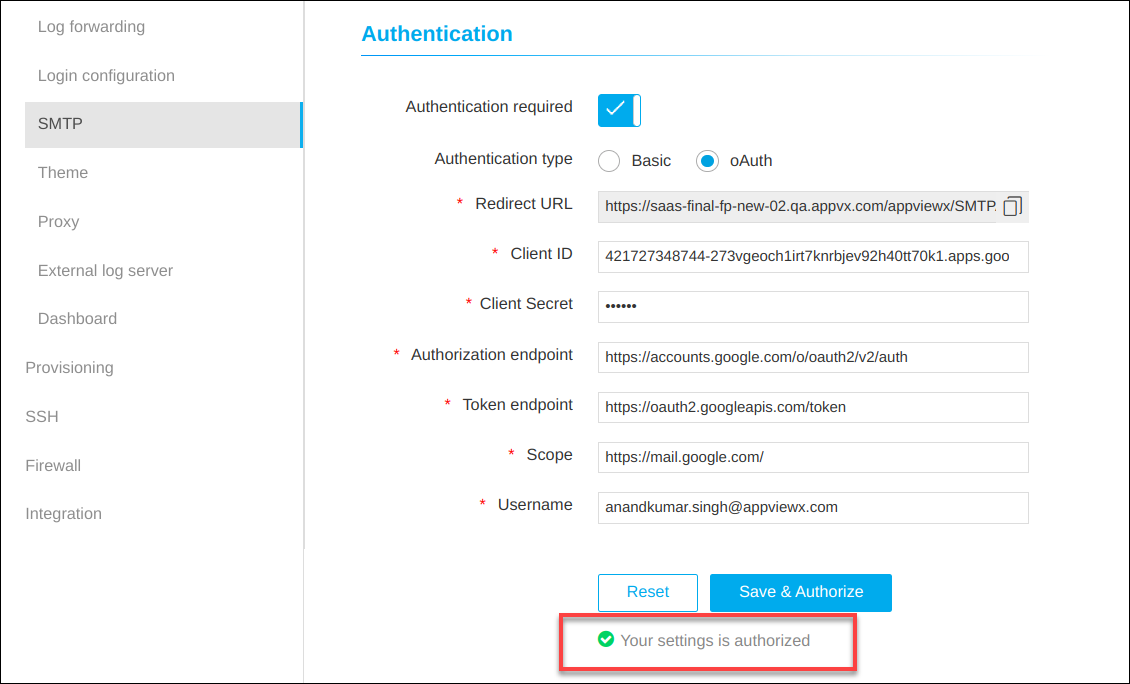
- To save the SMTP configuration settings, click Save & Authorize.
-
Displays confirmation of SMTP Settings Authorized.
A new tab opens asking for sign-in.
Once authorization is done the user receives an Access Token and a Refresh Token from the Token endpoint. The Access token is used for sending email and the Refresh token is used for renewing the Access token upon its expiry.