Configuring Certificate Groups
Prerequisites for Configuring Groups
- Certificate Groups are used to categorize the certificates according to various business units.
- In some organizations, Certificate Groups are also used to assign access permissions. Only privileged users (inherits from Resource > User Group) can view the respective Certificate Groups.
- Users should be assigned to a Role (inherited from Role > User
Group) that has access to perform the below actions:
- View a group
- Assign a group
- Unassign a group
- With these actions, users can assign a group during Certificate Discovery to avoid movement of certificates post-discovery.
- Along with the view, assign, and unassign options, administrators should be
assigned to a Role that has access for additional actions:
- Create/ modify a group
- Delete a group
- Edit Default group
Creating a Group
-
Go to
 (Menu) > CERT+ >
GROUPS & POLICIES >
Groups.
The Group inventory is displayed. CERT+ is packaged with default certificate groups Default and Certificate-Gateway.
(Menu) > CERT+ >
GROUPS & POLICIES >
Groups.
The Group inventory is displayed. CERT+ is packaged with default certificate groups Default and Certificate-Gateway. - Click the + Create button in the command bar to create a new group.
-
Enter the Group Details.
Table 1. Field descriptions for Group Details Field Description *Select Group Hierarchy From the dropdown list, select the parent group to which the new group should be associated: - Default
- Certificate Gateway
- Private CA Certificates
- Public CA Certificates
*Group Name Enter a unique name for the new group. Constraints:- Group name should not begin with a special character and/or a space.
- Group name should not end with a space.
- Valid special characters: ( ), ., -, /, +, &, _
Display Name Enter a unique name for the new group. You can use this display name to filter the group while configuring expiry alerts. Constraints:- Group name should not begin with a special character and/or a space.
- Group name should not end with a space.
- Valid special characters: ., -, _
Application ID Enter the organization ID (if any) to associate with the new group. Description Enter the purpose of the certificate group. *: Mandatory fields -
Enter the Other Details for the new certificate group, based on the
organization's requirement.
Table 2. Field descriptions for the Other Details Name Description First Name First name of the point of contact Last Name Last name of the point of contact Contact Name Provide contact person to whom changes should be intimated Line of Business Name Provide the name of the business unit Email Provide contact mail address Alternative Email(s) Provide alternative contact mail address Environment Name Provide environment name Phone Number Provide a phone number for contact Inventory Number Enter the inventory number. Cost Center/ Hierarchy Enter the cost center code/ label. Push Certificate Automatically Select this checkbox to enable the auto push feature for this certificates that will be assigned to this group. Important: The auto-push feature works only when it is enabled at the connector level and disabled at the group level. If enabled at the group level but disabled at the connector level, the feature will not function.The auto push feature is a mechanism that automatically pushes renewed/regenerated certificates to their target endpoints without any manual intervention.
When this checkbox is selected, certificates assigned to this group will be pushed to their target endpoints as soon as they are renewed/regenerated.
Select Application Connectors to Exclude from Cloning From the dropdown list, select a status value to exclude the corresponding application connectors from cloning after certificate renewal, regeneration, and reissue. Renew Automatically To automatically renew certificates assigned to this group, turn on the Renew Automatically toggle. Important: This feature can be enabled only for valid certificates (not for revoked/suspended and expired certificates).*Start Renewing This field is displayed when Renew Automatically is enabled. In the Days Before Expiry field, specify how many days prior to a certificate's expiry the renewal process should start.
Valid range for number of days: 1 to 120
Approval Required This field is displayed when Renew Automatically is enabled. To ensure that the group inherited renewal configuration overwrites the certificate level renewal configuration (specified at the time of enrollment), select this checkbox.
Subscribe Email Alerts for Auto-Renewal This field is displayed when Renew Automatically is enabled. To receive email notifications every time certificates belonging to this group are auto-renewed, select this checkbox.
The email notification includes certificate details, the type of auto action (renewal, in this case), and the outcome (success/failure). These notifications help administrators stay informed of automated lifecycle actions, reducing the overhead to manually track them.
If enabled here, all certificates in this group will inherit the setting. You can override it at the certificate level, unless group-level overrides are enforced.
Regenerate Automatically To automatically regenerate certificates assigned to this group, turn on the Regenerate Automatically toggle. Important:- This feature can be enabled only for valid certificates (not for revoked/suspended and expired certificates).
- When Regenerate Automatically is enabled, by default, the Renew Automatically feature is disabled.
- To enforce AppViewX as the default CSR
generation source everytime certificates in this
group are regenerated, execute the following db
script:
db.cert_metadata.insertOne
({"_id":"CERT_AUTO_REGENERATE_DEFAULT_APPVIEWX_CSR",
"flag":true})
*Start Regenerating This field is displayed when Regenerate Automatically is enabled. In the Days Before Expiry field, specify how many days prior to a certificate's expiry the regeneration process should start.
Valid range for number of days: 1 to 120
Note: This value can exceed the certificate's validity in case of short-lived certificates.Approval Required This field is displayed when Regenerate Automatically is enabled. To ensure that the group inherited regeneration configuration overwrites the certificate level regeneration configuration (specified at the time of enrollment), select this checkbox.
Subscribe Email Alerts for Auto-Regenerate This field is displayed when Regenerate Automatically is enabled. To receive email notifications every time certificates belonging to this group are auto-regenerated, select this checkbox.
The email notification includes certificate details, the type of auto action (regeneration, in this case), and the outcome (success/failure). These notifications help administrators stay informed of automated lifecycle actions, reducing the overhead to manually track them.
If enabled here, all certificates in this group will inherit the setting. You can override it at the certificate level, unless group-level overrides are enforced.
Override For a certificate, auto renewal/regeneration can be configured at the group level as well as at the certificate level at the time of certificate enrollment. To enforce group level auto renewal/regeneration settings across all certificates in the group, select the Override checkbox.
Selecting this checkbox will override any changes made to the auto renewal/reconfiguration settings at the time of certificate enrollment.
*Associated Policy From the dropdown list, select the certificate policy that will be associated with this certificate group. This association helps enforce consistent standards for certificate issuance, renewal, and compliance across all certificates within the group.
-
Click Create button to create the group.
Users can view the group only if it is associated with the Resource of their User Group. To associate the Group to a Resource click the Update Group and Configure the Resources for User Access button instead of Create button. This will create the group and navigates to Resource.The newly created Group is added to the Group inventory. Click the Name (Group name) to view the group details.
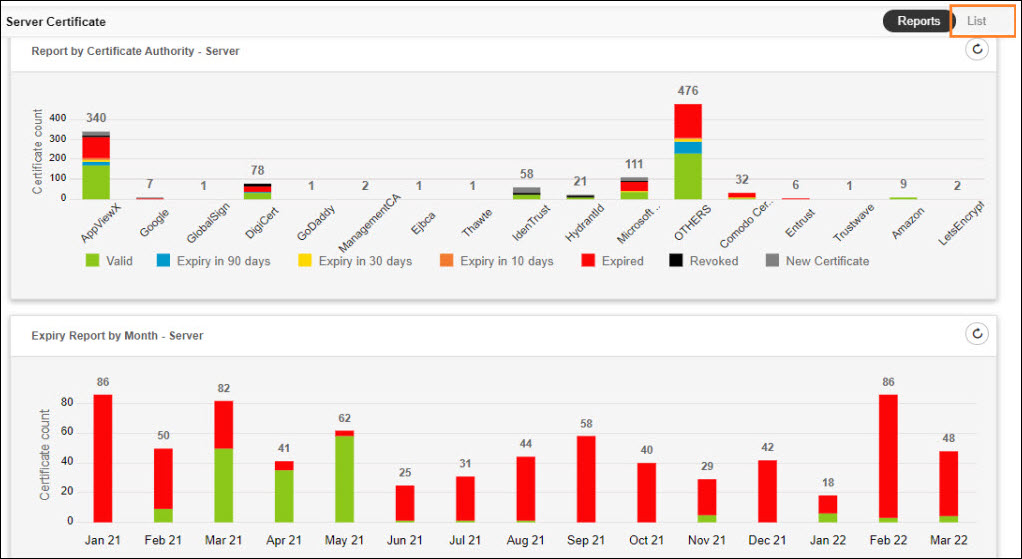
Post certificate discovery, you can view the count of certificates (Server, Client, Device, and Code Signing) associated with this group.
- Click the count in the Server Certificates column to view the certificates.
Assigning a Certificate to a Group
-
Go to
(Menu) > CERT+.
The Server Certificate Inventory is displayed.
-
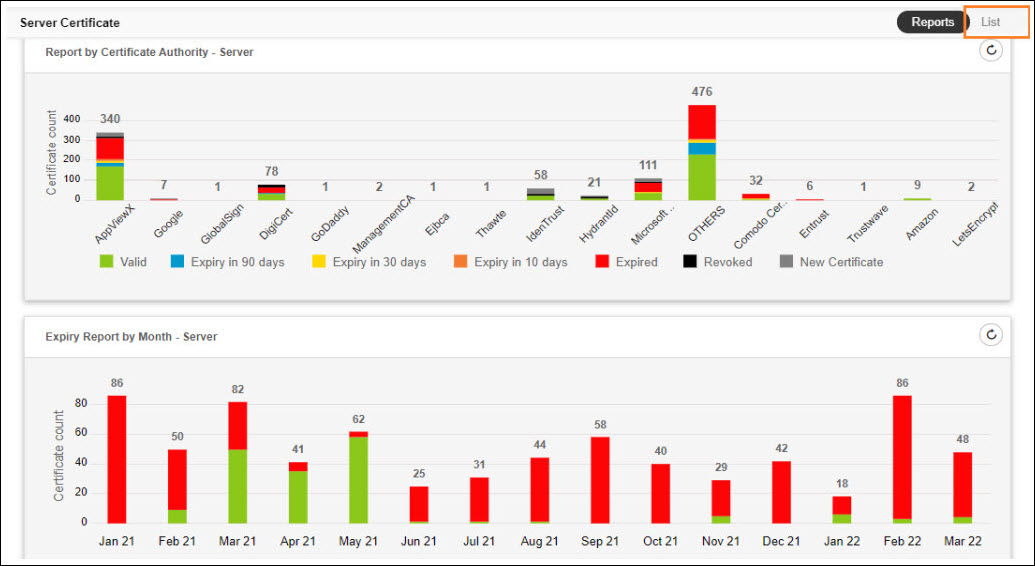
Click List from the upper right corner of the server
certificate inventory screen.
- Select the check box against the certificate(s) you want to assign to a group.
-
Click the Actions dropdown list and select the
Assign Group option from the dropdown list.
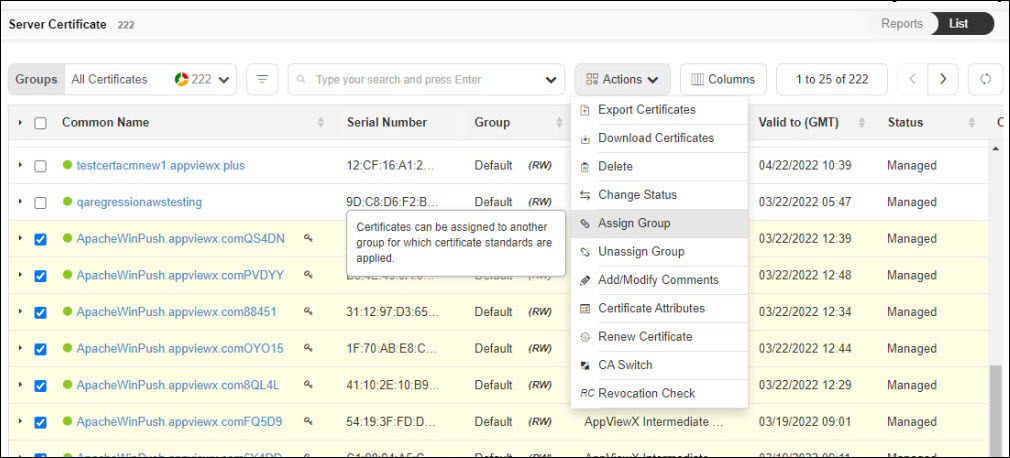 The Assign to Group pop-up is displayed.
 - Select Group from the list.
- Click Assign to move the certificate(s) to the selected Group.
-
From the Groups dropdown list, select the required
Group .
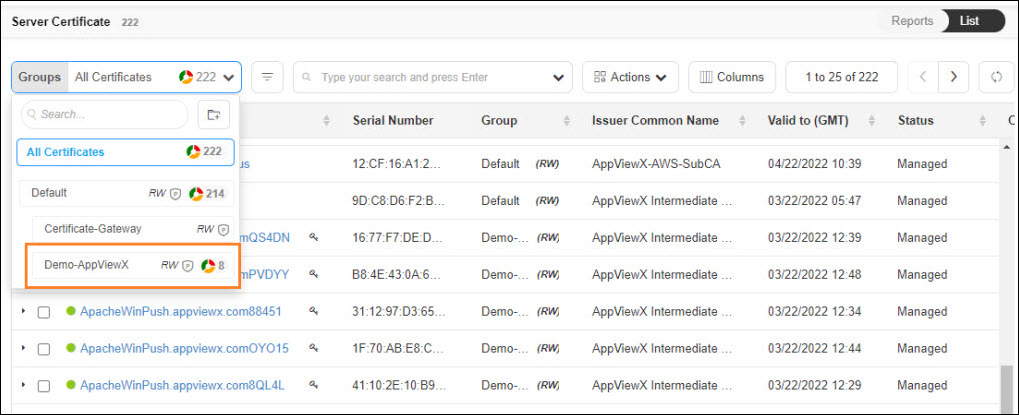 You can view the certificate(s) assigned to the Group.
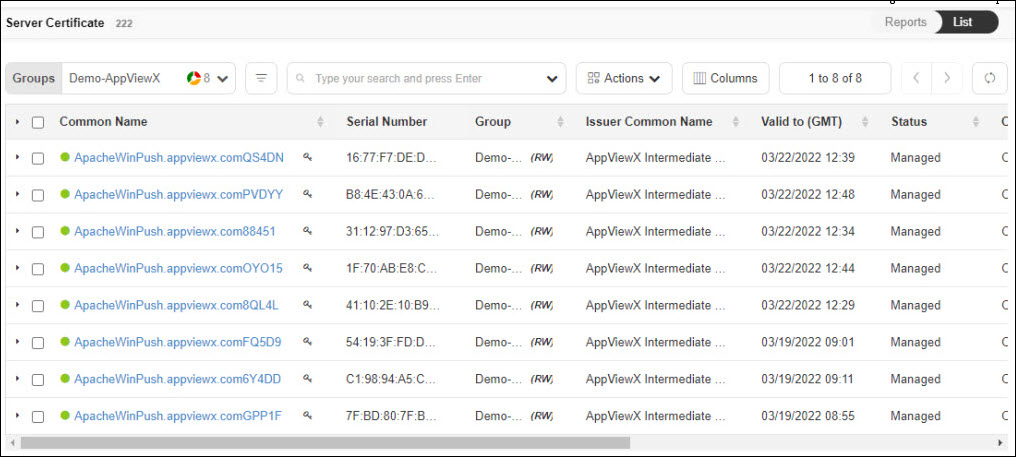
Unassigning a Certificate from a Group
-
Go to
(Menu) > CERT+.
The Server Certificate Inventory is displayed.
-
Click List from the upper right corner of the server
certificate inventory screen.
- From the Groups dropdown list, select the required Group.
- Select the checkbox against the certificate you want to unassign from the group.
-
From the Actions dropdown list, select
Unassign Group .
The certificate is unassigned from your Group and automatically assigned to the Default Group.
A certificate should always assign to a Group to compliance with the Policy. Certificate unassigned from a group will automatically assign to Default Group and compliance against Default Policy.
Modifying a Group
-
Go to
(Menu) > CERT+ >
GROUPS & POLICIES >
Groups.
The Group inventory is displayed. CERT+ is packaged with default certificate groups Default and Certificate-Gateway.
- Click the Name (Group name) to view the group details.
- Modify required fields in the group and click the Update button. You can refer to the field descriptions explained in the Creating a Group section.
Deleting a Group
-
Go to
(Menu) > CERT+ >
GROUPS & POLICIES >
Groups.
The Group inventory is displayed. CERT+ is packaged with default certificate groups Default and Certificate-Gateway.
- In the group inventory, select the check box against the group you want to delete.
-
Click the
 (Delete) icon
in the command bar to delete the Group.
A confirmation pop-up is displayed. Click the Yes button to proceed.
(Delete) icon
in the command bar to delete the Group.
A confirmation pop-up is displayed. Click the Yes button to proceed.The group is deleted and a confirmation message displays.