Configuring Clouflare DNS
-
Go to DDI+ > INTEGRATION HUB, and
then click Add new vendor.
The Select vendor page is displayed.
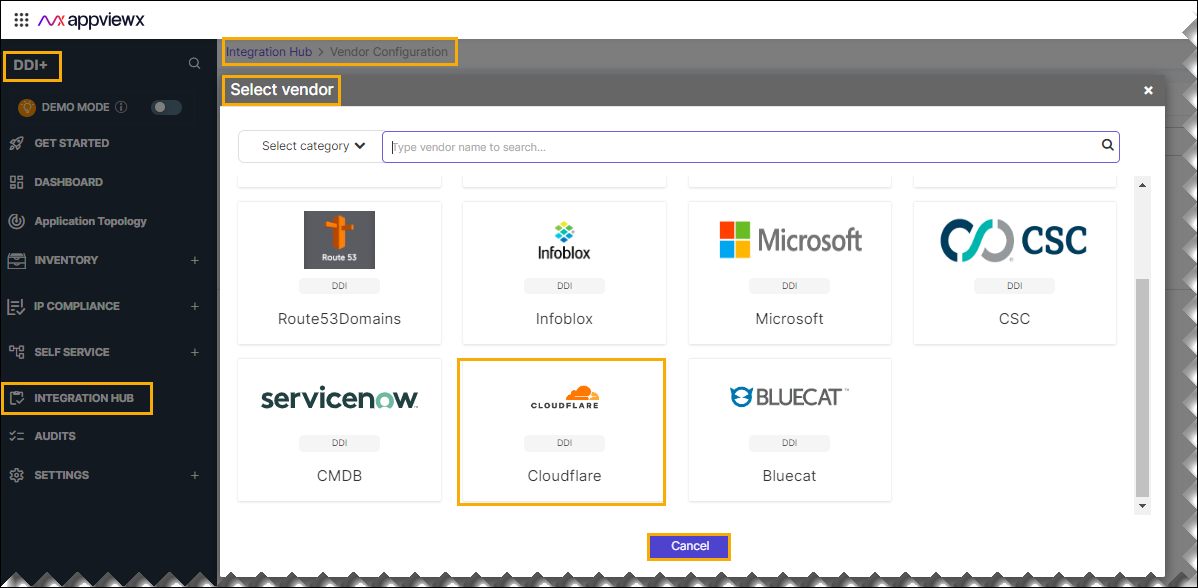
- On the Select Vendor page, click Cloudflare.
-
On the Vendor Configuration page, under the
Information section, enter or select the required
field information.
The following table describes the various fields in this section:
Field Description *Name Enter a unique name to identify the vendor account which is being configured. Description Enter a description for the purpose of configuring this vendor, if required. Data center Select a data center from the options available in the dropdown list. *: Mandatory fields -
On the Vendor Configuration page, under the Credentials section,
enter or select the required field information.
The following table describes the various fields in this section:
Field Description Auth type Displays the Bearer Token method of authentication selected by default. *URL Enter API URL for the vendor with the HTTPS/HTTP protocol. * Token Enter the authentication URL to obtain an access token to authenticate Cloudflare APIs. *Account ID Enter the Cloudflare account ID for API integration *: Mandatory fields - Enable Use Proxy for the vendor.
- Enable Config sync for parsing the vendor.
- On the Vendor Configuration page, under the Configurations section, turn on the Enable Advanced Config toggle to add additional vendor configuration attributes.
- Click Finish.