GlobalSign SSL CA
Configuring GlobalSign SSL
-
Go to
 (Menu) > SIGN+ > ADMINISTRATION > Certificate
Authority.
(Menu) > SIGN+ > ADMINISTRATION > Certificate
Authority.
-
From the displayed CA, Select GlobalSign.
The GlobalSign home page is displayed.
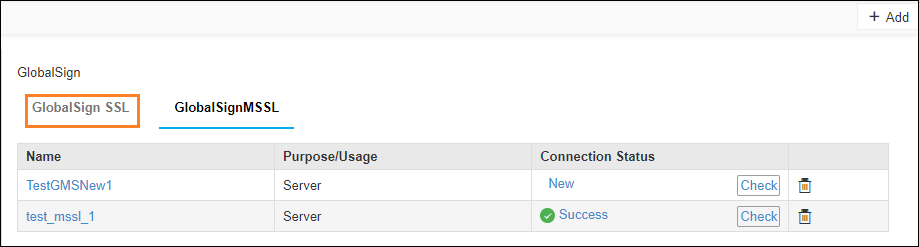
- Click the GlobalSign SSL tab.
-
Click the Configure Now button or +Add icon from the middle
or top-right of the page respectively.
The GlobalSign SSL configuration page is displayed.
-
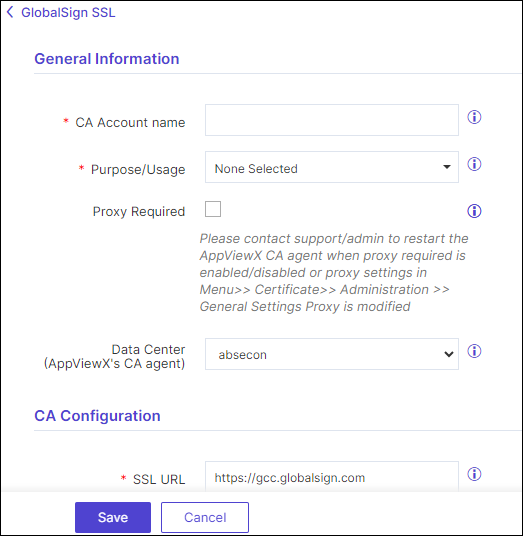
Update the following details in the General
Information section as described in the table.
Table 1. General Information - Field Description Table Fields Description *CA Account name A unique name to identify the CA setting. No special characters other than ‘.’, ‘-’,’_’ are allowed. The name should not start with special characters. *Purpose/Usage Certificate Type for which CLM actions will be enabled. For example, Server and Client. Proxy Required Enable this field if the CA communication needs to happen via Proxy. The proxy details configured in general settings will be used for communication. Data Center (AppViewX's CA agent) Select the data center through which the CA communication needs to happen. *: Mandatory fields -
Update the following details in the CA Configuration
section as described in the table.
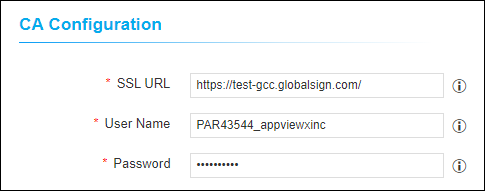
Table 2. CA Configuration - Field Description Table Fields Description *SSL URL Base URL of the SSL API. *User Name Provide a username of the GCC to communicate with the CA. *Password Provide a password for the GCC to communicate with the CA. *: Mandatory fields - Click Save.
Validating GlobalSign SSL
-
Go to
(Menu) > SIGN+ > ADMINISTRATION > Certificate
Authority.
-
From the displayed CA, Select GlobalSign.
The GlobalSign home page is displayed.
-
Click GlobalSign SSL from the left pane of the page.
The GlobalSign SSL home page is displayed.
-
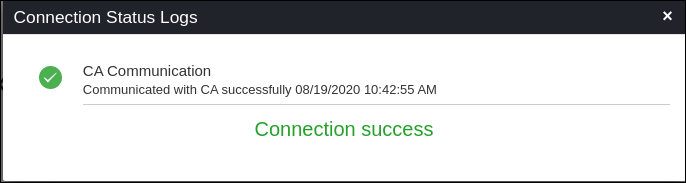
In the Status column of the grid with the listed accounts, click
Check to validate the CA setting that is
created.
CA communication will be validated and the Connection Status will be shown as either Success or Failure.