ClickOnce Deployment with Visual Studio
ClickOnce is a deployment technology that allows users to create self-updating Windows applications with minimal user interaction. Visual Studio fully supports publishing and updating ClickOnce-deployed applications for projects developed in Visual Basic and Visual C#. It also integrates natively to sign artifacts using certificates managed in Windows Key Storage.
Download Visual Studio
- Download from Download Visual Studio Tools - Install Free for Windows, Mac, Linux for Windows.
- Install Visual Studio using the Installation Wizard.
Sign ClickOnce Manifest Files in Microsoft Visual Studio using AppViewX CSP
- Run the AppViewX SIGN+ Installer to set up the prerequisites for using the AppViewX CSP.
- Ensure Visual Studio is installed and that you have a ClickOnce-supported project ready for publishing.
- Open the project in Visual Studio that supports ClickOnce
deployment.
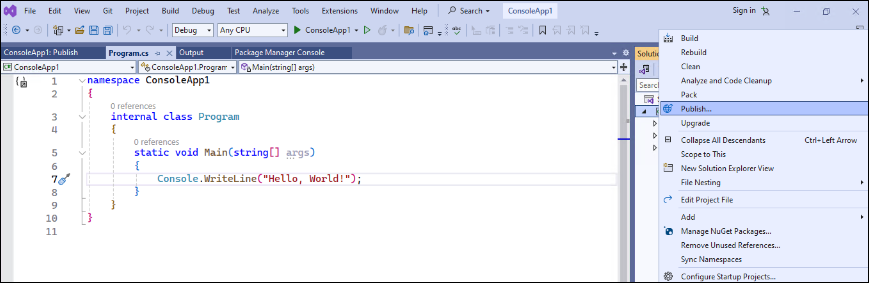
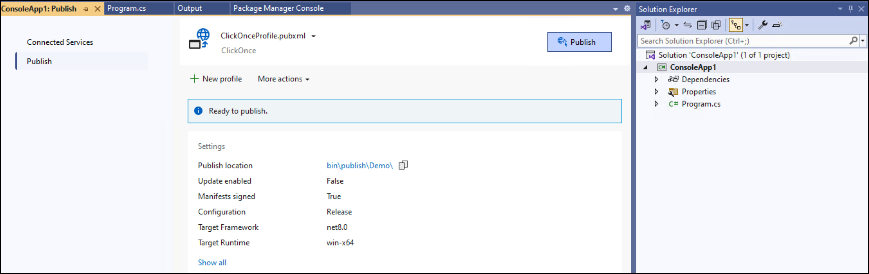
- In the Solution Explorer tab, right-click the project and select "Publish" to create a Publish Profile for the project.
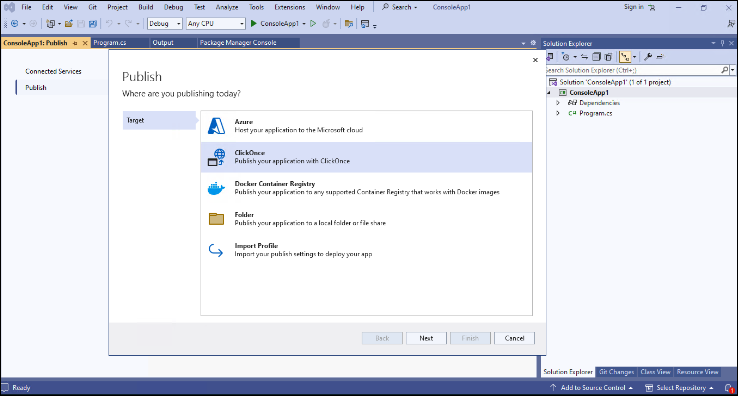
- Select the ClickOnce option.
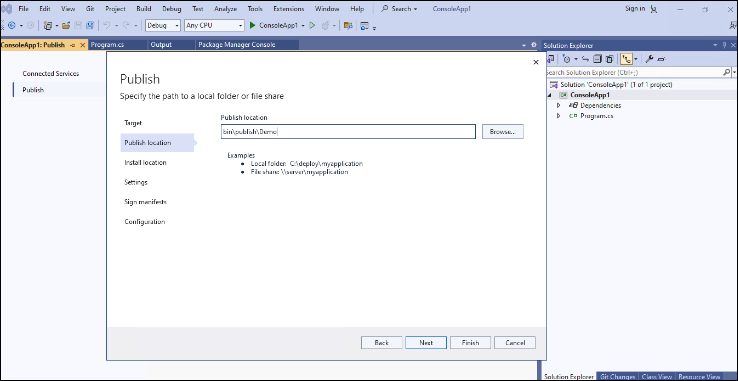
- In the Publish location section, enter the output location for
the artifacts to be generated.
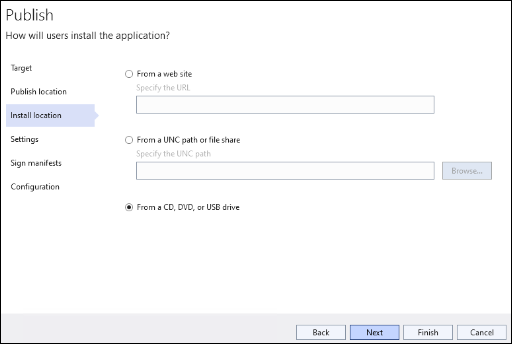
- In the Install location section, select the From CD, DVD or
USB Drive option.
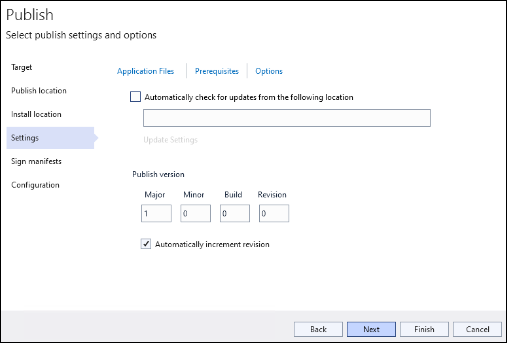
- In the Settings section, specify the required publish settings
for the profile.
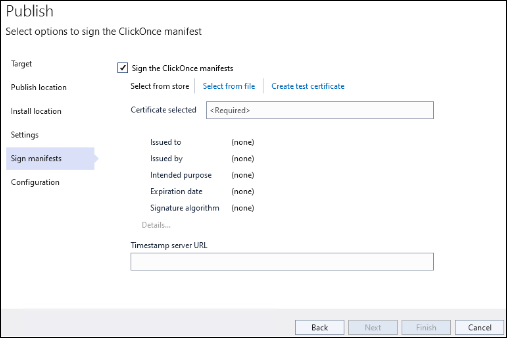
- In the Sign Manifests section, select the Sign the ClickOnce
manifest checkbox and select the Select from Store option
to sign with a certificate from the Windows Key Storage.Note: ClickOnce internally uses Mage and hence supports only RSA Keys.
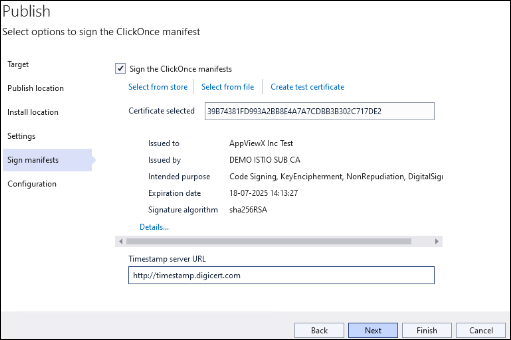
- In the Windows Security popup, select the same signing certificate
(which you selected when downloading the SIGN+ package) and click
OK.

- Enter the Timestamp Server URL. The URL configured in the Signing Policy
can be found in the README generated after running the SIGN+
Installer.
- In the Configuration section, select the required File Publish
options.

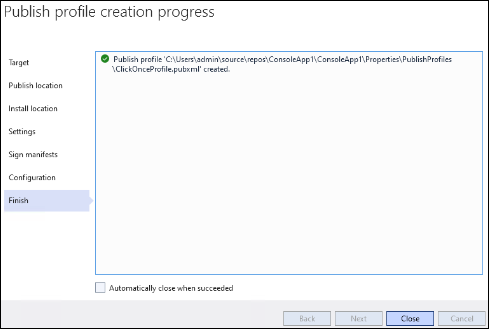
- Click Finish and then Close to create the publish
profile.
- To sign the deployment files using ClickOnce, select the created publish
profile and click Publish.
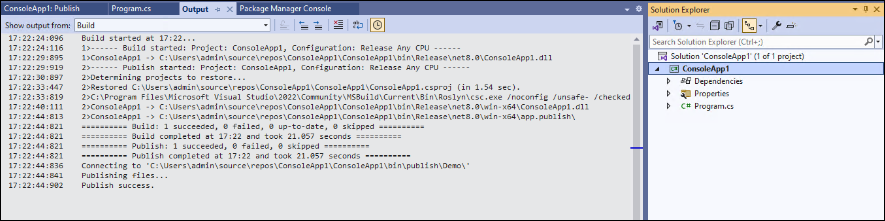
- View the Build and Publish status in the output logs.
- Navigate to the publish directory and verify the digital signature of
the generated artifacts.
 Note: By default only SHA256 is used for hashing.Note: When signing using ClickOnce Deployment Mode, multiple signature units will be consumed depending on the number of file references within the project.For the signing of manifest files, two signature units are consumed in AppViewX SIGN+. This is because two hash signatures are created for different types of content within the manifest:
- The first hash signature is generated for the manifest file itself.
- The second hash signature is generated for the files referenced within the manifest.
Troubleshoot Signing Errors
Error Encountered while signing.
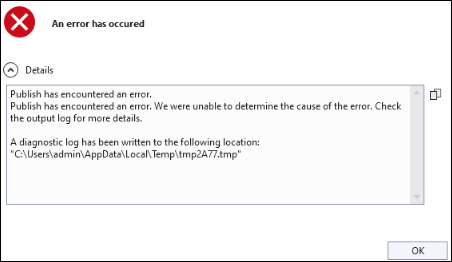
Problem:
This error message occurs due to various reasons like error while establishing connection to the server, authentication error and other validation messages.
Solution:
For more information on the error message refer to the AppViewX_CSP_<Day>.log file in C:\Users\<username>\AppData\Local\Temp path.