Create File Based Signing Policy
-
To configure Signing Policy.
Enter the required policy details:
Fields Description *Policy Name Enter a unique name for the signing policy. No special characters other than ‘.’, ‘-’,’_’ are allowed. The name should not start with special characters. *Hash Function Select the hash function you want to configure for code signing: [Dropdown Options - SHA-1, SHA-256, SHA-384, SHA-512] *Timestamping Choose a trusted timestamping authority from the dropdown list: [Dropdown Options - DigiCert, Entrust, Global Sign, IdenTrust, Sectigo, Other, None]. If you choose Other, kindly provide the timestamping URL.Note: If you select None, the Timestamping will not be applied to the configured signing policy.*Signing Type By default this is set to File Based. *File Types Note: This field is displayed only when the Signing Type is set as File Based.Select one or more file types that should be signed using the signing policy. Supported file types include PS1, EXE, CAT, MSI, JS, JAR, APK, VBS, CAB, WSF, DLL, PSM1, PSD1, PS1XML, JSE, and VBE among others.Note: Selected file types will only be permitted for upload and signing under this policy.Note: Signing operations for the HSM-based certificates for the script files will be supported by upgrading the JSign Version from 3.0 to 6.0. Restriction: CAT files do not work with HSM-based certificates, but work for File Based certificates.*Restriction Type Select None or between IP-based restriction or IP range-based restriction. *Number Of Polls Add the number of polls if the certificate is based on HSM, and Specify the total number of polls to be conducted within the designated polling interval and the value must be an integer between 5 and 20. *Polling Interval Add the Polling Interval if the certificate is based on HSM, Set the time interval between consecutive polls and the value must be an integer between 10 and 300000 milliseconds. *List of IP's Note: This field is displayed when the Restriction Type is set as IP.If you selected IP-based restriction, enter a list of valid individual IP addresses at subnet or system level.*Start IP *End IP
Note: This field is displayed when the Restriction Type is set as IP Range.If you selected an IP range-based restriction, enter the start and end IP addresses, ensuring the end IP is greater than the start IP.Test Policy Enable the toggle to create the policy for internal testing. Enabling this option ignores all signatures associated with the policy in the license counting. Enable Email notification Enable the toggle button to receive email notifications and updates via email when the signing events occur. *: Mandatory fields -
(Optional step) If the Enable Email notification
toggle switch is enabled then enter the Email Configuration details as
follows.
Fields Description *Email Subject Enter the subject line for the email notification to identify the purpose or content of the email. Acceptable characters are letters, numbers, and spaces. *To Enter one or more recipients' email addresses separated by comma. *Event Type Choose the type of events for which notifications are required. The values are Success, Failure, or Both. *Required Field A multi-select dropdown field with values - Policy name, Signing Type, Key Name, IP Address, Signing Time, and Username. Select one or more values whose details are to be displayed in the mail body for comprehensive notification.
*: Mandatory fields -
In the Map Signing Key section, select the required
signing keys from the dropdown.
Note: If one or more signing keys are mapped to a policy then the signing key should be chosen as an option in the Upload & Sign or the default signing key will be used for signing.
-
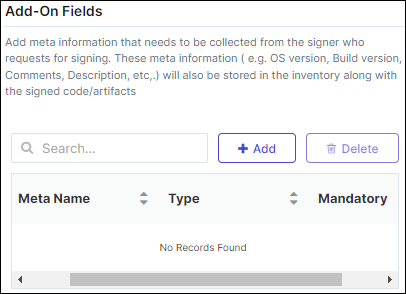
In the Add-On Fields section, add meta information that
needs to be collected from the signer who requests for signing.
-
Click Create.
The Policy Created Successfully message is displayed and policy is added to the signing inventory.

-
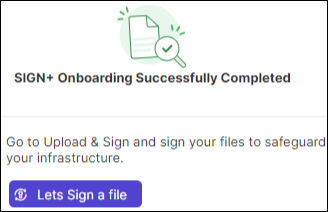
If the SIGN+ Onboarding is Successfully Completed.
-
Click Lets Sign a file.
The Upload and sign page is displayed.
- Configure the Upload and sign.