Create a User Group
To create a user group,
- Log in to AppViewX application with valid credentials.
- Click the menu button located in the upper left corner of the screen.
The left navigation pane appears.
- Navigate to Account, and then click User Group from the list.
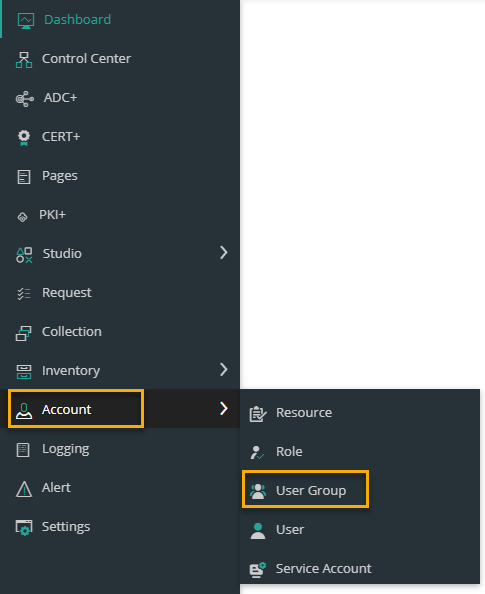 The User Group page appears.
-
Click the
 icon in the command bar to create a new user group.
The Add page appears.
icon in the command bar to create a new user group.
The Add page appears.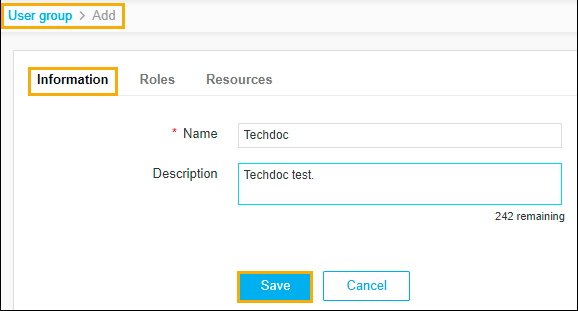 The following table describes the
options available on the User Group page:
The following table describes the
options available on the User Group page: Field Description * Name Enter the name of the user group. Description Enter a brief description of the user group and granular-level access associated with the user group.
Note: You can enter a maximum of 255 words in the field.Note: The asterisk (*) symbol indicates a mandatory field. -
Click Save.
The pop-up message appears as the User group added successfully. Please associate the roles and resources to perform the concerned operations.
- Click the Roles tab.
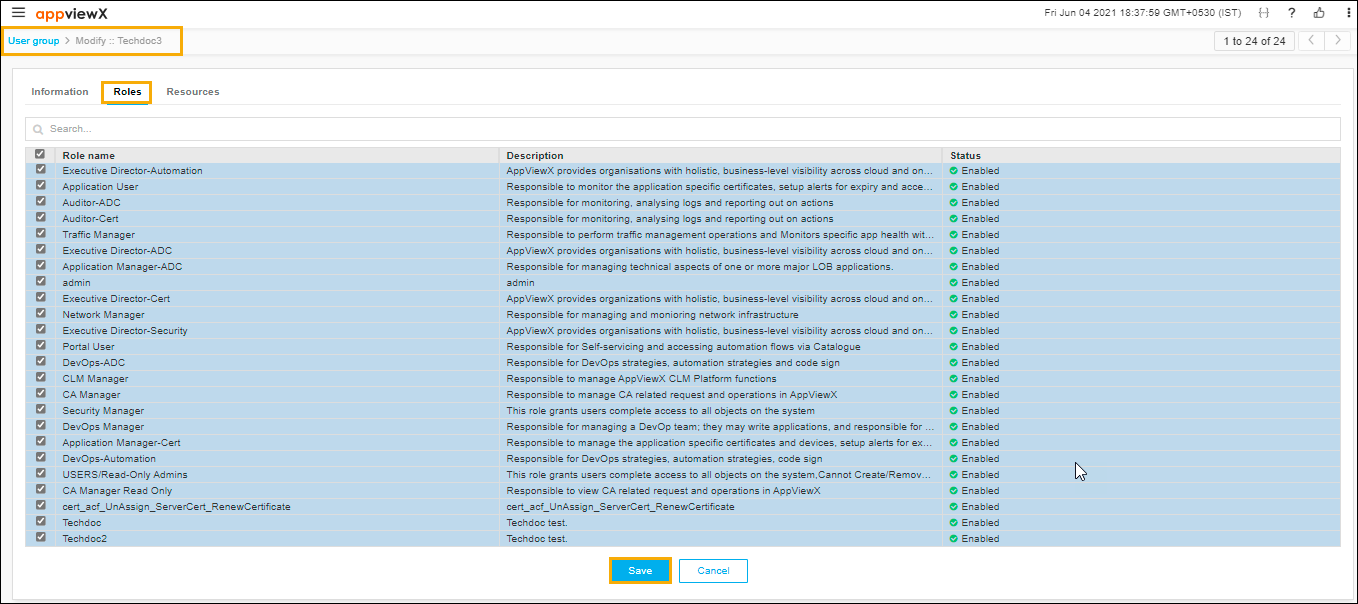
- Select the checkbox against each role you want to assign to the new user group.
- Click Save.
The pop-up message appears as Operation performed successfully.
- Click the Resources tab.

- Select the checkbox against each resource you want to assign to the new user
group.
Note: A user can be assigned to more than one role and resource in the system. A user assigned to more than one role or resource has all of the permissions of all of the roles and resources to which the user is assigned. If one resource has only Read access to a component and another resource has Read/Write access to the same component, the higher-level access permissions (Read/Write) takes precedence and the user will have Read/Write access.
-
Click Save.
The pop-up message appears as Operation performed successfully.