Configuring the MFA Settings
Note: For Onprem deployment, SMTP configuration should
be done before enabling MFA in the settings page. Admin has provision to control
MFA feature from the admin role.
- Admin can Enable/Disable MFA organization level.
- Admin can also give access to enable/disable the MFA feature for the user's profile.
Note: For SaaS deployment, MFA is enabled by default
for tenant admin user.
To configure the MFA settings:
-
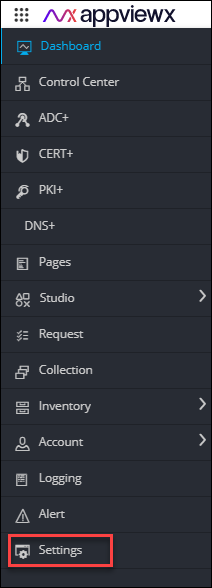
To access the navigation pane, in the top-left corner of the screen, hover the
mouse pointer over the
 icon.
icon.
-
From the menu displayed, click Settings.
- On the Settings page, from the navigation pane on the left, click General.
-
Under General settings, click
Authentication.
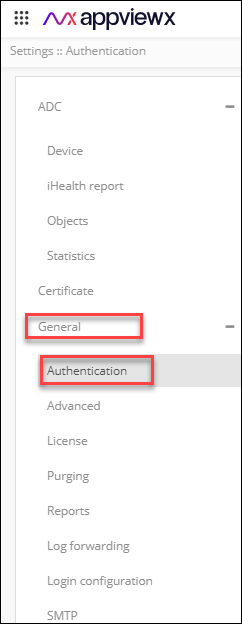
The Settings :: Authentication page is displayed.
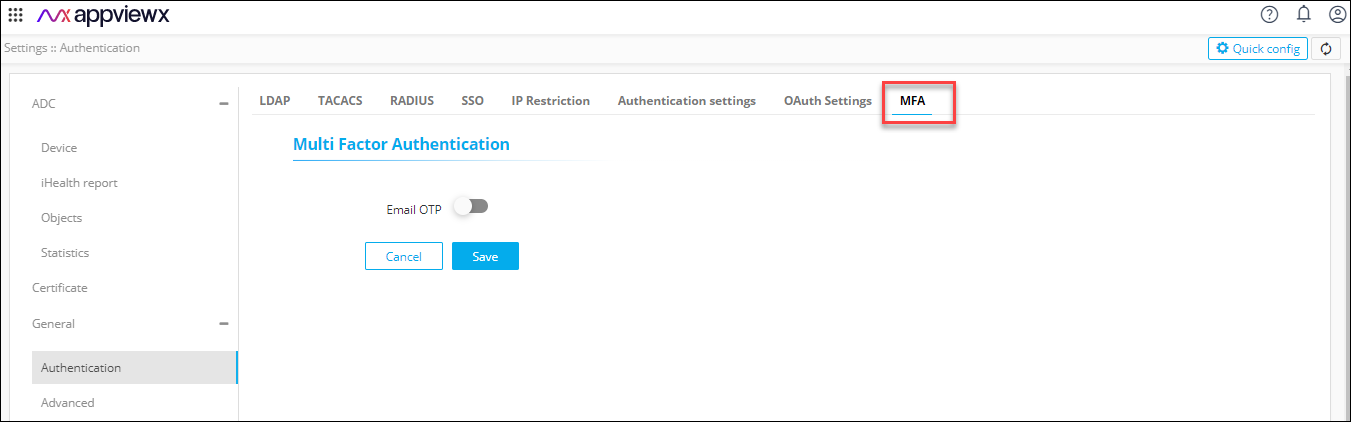
- Click MFA, for the Multi Factor Authentication tab.
- In the MFA tab, select Email OTP to enable multi factor authentication.
- On selecting Email OTP, the Allow user to disable MFA option appears, which can be enabled or disabled based on the user's requirement.
-
If the admin disables the Allow user to disable MFA
option, it will enforce MFA usage for all the users. If enabled by the admin,
users can enable/disable MFA usage from their user profile settings.
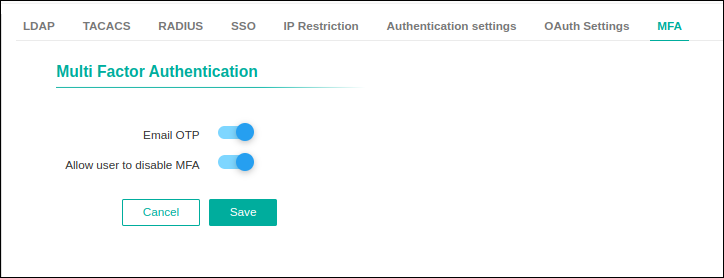
- To save the MFA settings, click Save.