Configuring Microsoft
-
Go to DDI+ > INTEGRATION HUB, and
then click Add new vendor.
The Select vendor page is displayed.
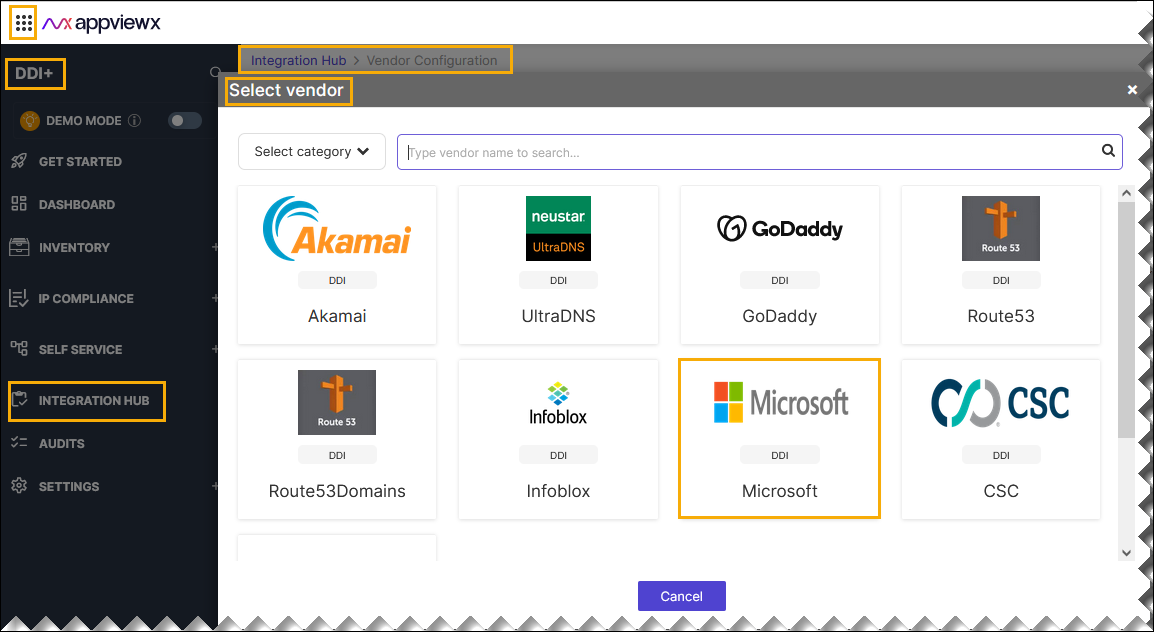
- On the Select Vendor page, click Microsoft.
-
On the Vendor Configuration page, under the
Information section, enter or select the required
field information.
The following table describes the various fields in this section:
Field Description *Name Enter a unique name to identify the vendor account which is being configured. Description Enter a description for the purpose of configuring this vendor, if required. Data center Select a data center from the options available in the dropdown list. *: Mandatory fields -
On the Vendor Configuration page, under the Credentials section,
enter or select the required field information.
The following table describes the various fields in this section:
Field Description Auth type Displays the Basic Auth method of authentication selected by default. *Username Enter the valid user name. AD Account Enable if the provided user credentials correspond to an Active Directory (AD) user. Otherwise, disable for a local user. *Host Name Enter the valid hostname or IP address. *Passowrd Enter the valid password. Computer Names If AD Account is enabled, provide multiple computer names separated by commas. *: Mandatory fields - Enable Config sync for parsing the vendor
-
Enable the Traffic Monitoring button for parsing the DNS
queries of the vendor.
Note: If Traffic Monitoring is enabled, provide the log file path.
-
Enter the Log File Path for the traffic
monitoring.
Note: To enable Traffic Monitoring in DDI+, it is necessary to obtain the debugging log from the Microsoft DNS server. The log file must be located in a shared folder, and user must have read access to this shared folder. This shared folder serves as the path through which the debugging log is retrieved for the Traffic Monitoring functionality in DDI+ platform.
- On the Vendor Configuration page, under the Configurations section, turn on the Enable Advanced Config toggle to add additional vendor configuration attributes if required.
- Click Finish.