Assign Objects to Resource
- Go to Menu > Account > Resource.
-
Click on the
 (Add) icon to navigate to the resource addition
page.
(Add) icon to navigate to the resource addition
page.
-
From the Resource Add page, configure the group details as given below and
click Save.
Field Type Description Validation *Name Text Name of the resource to be added. Resource name cannot be empty. Description Text Description of the resource. A maximum of 255 alphanumeric characters and space are allowed. *: Mandatory fields 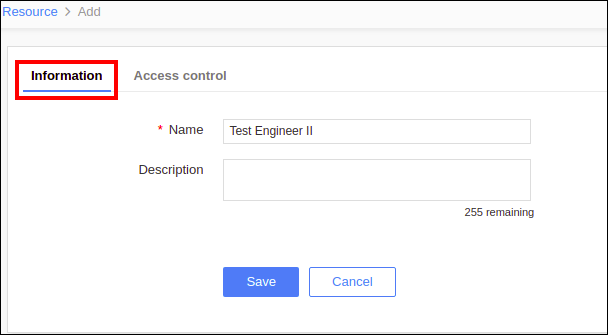
-
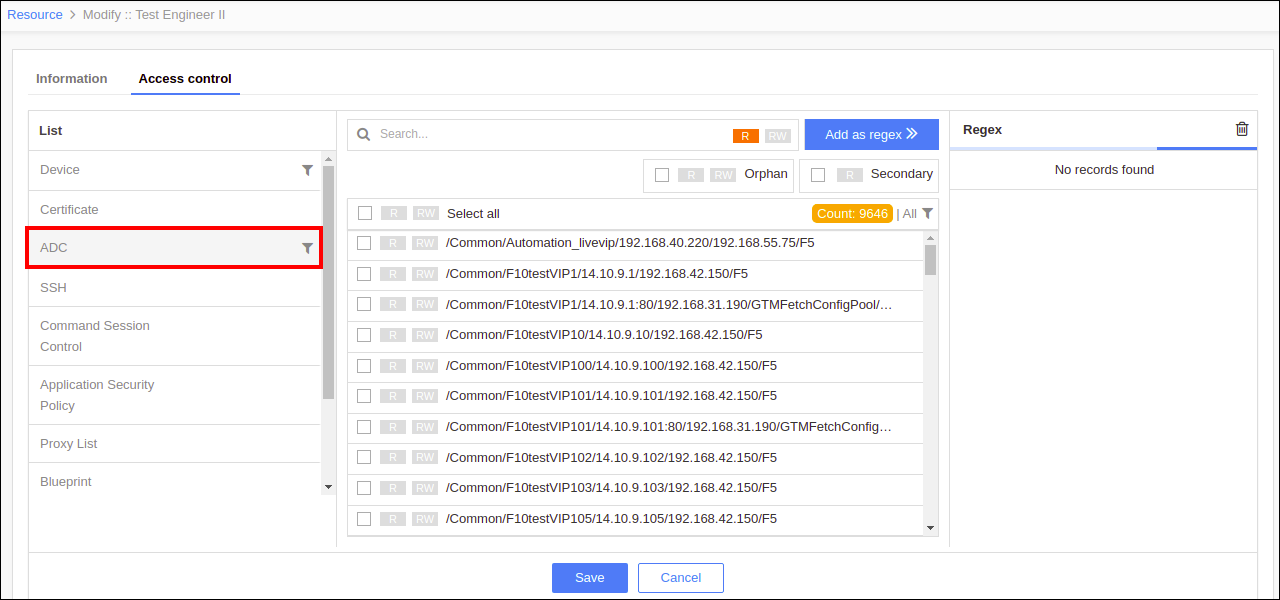
From the Resource Access control page, select ADC from the list in the left
panel.
-
Select the filter icon, select the ADC vendor in the filter list and the object
type(s), and then click Apply Filter.
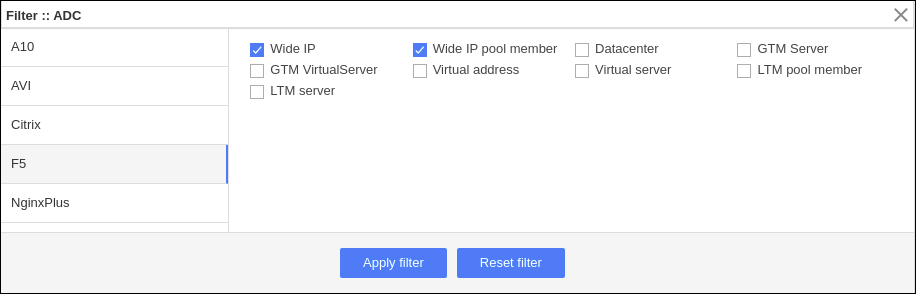 Note: For F5 devices, the LTM Class object type is also displayed and by selecting this object type, the permission for class objects can be managed. The applied permission for the class objects from here will reflect in Dashboard, Control Center, and Restore/Compare.
 -
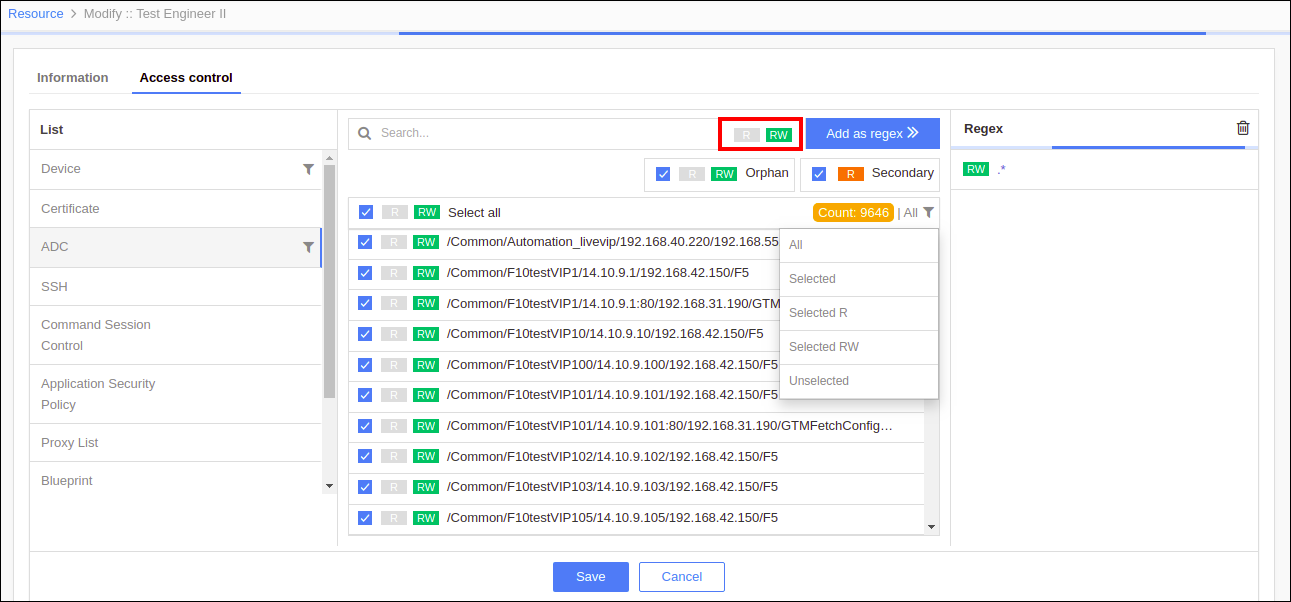
Search for the regex of the object display name(s).
-
Select R/RW permission for the object(s).
-
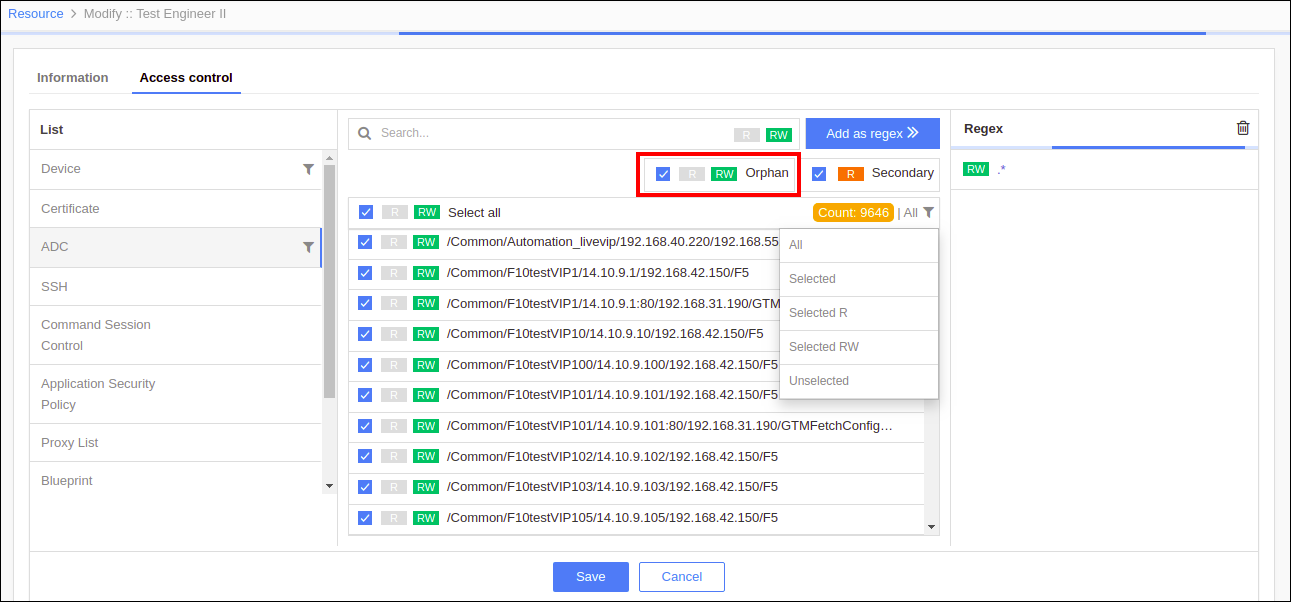
Select R/RW permission for the orphan object(s)(optional).
-
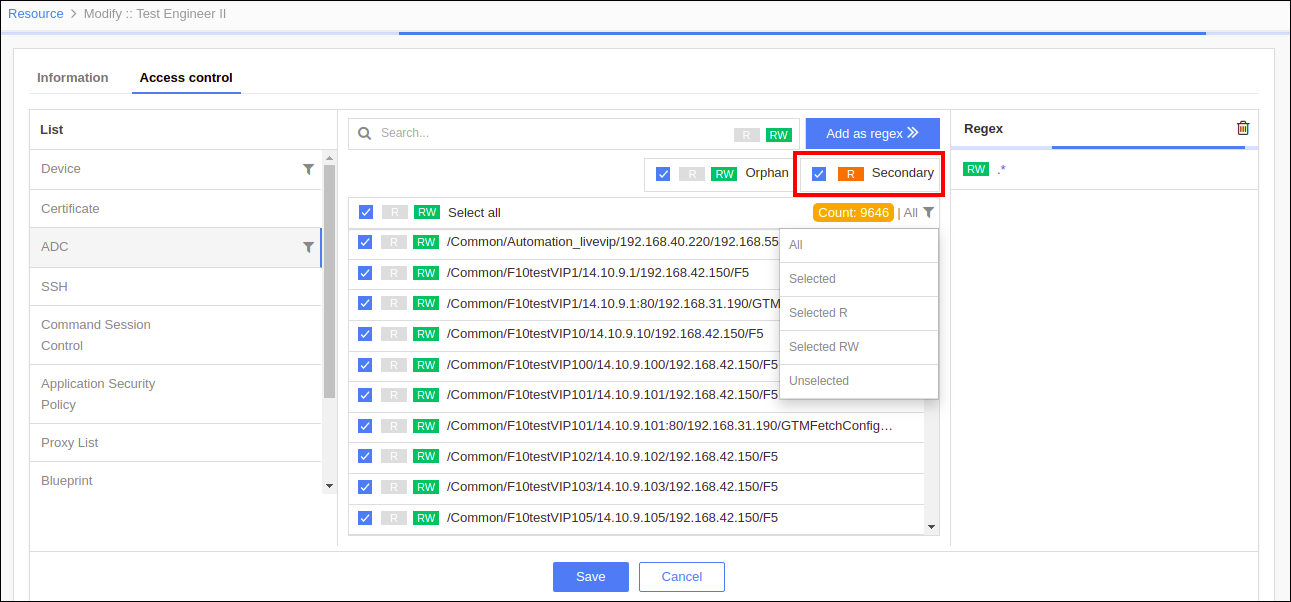
Select R permission for the secondary object(s)(optional).
-
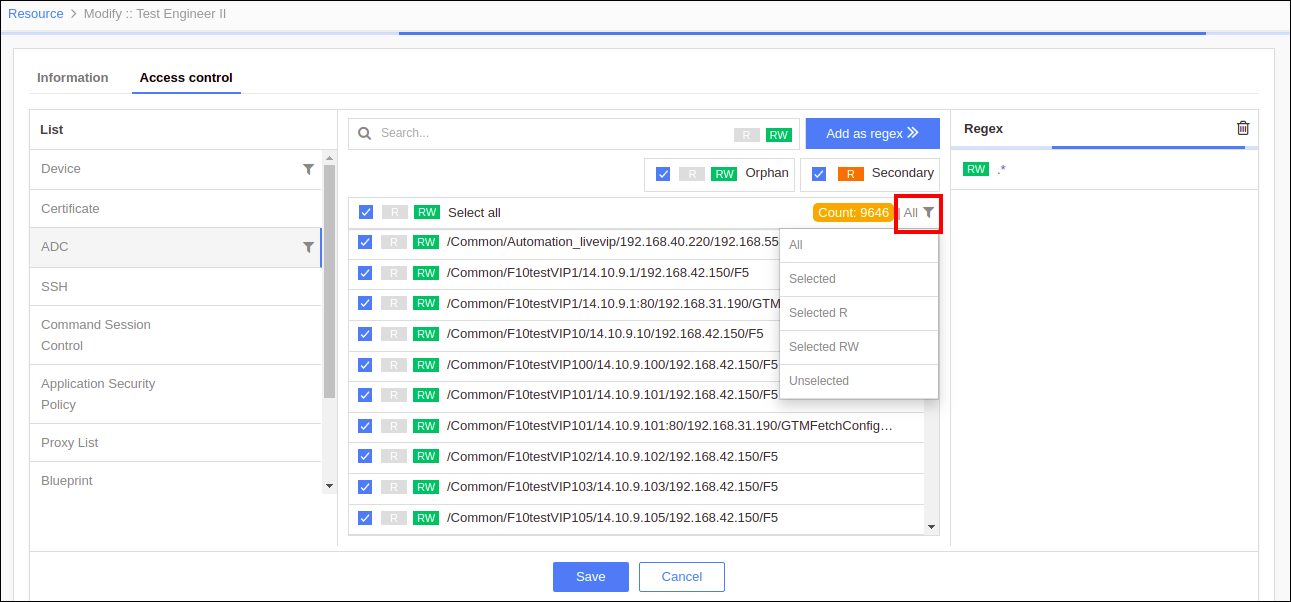
Click the ALL filter icon to filter the objects based on the given permission.
-
Click All to get all the objects.
-
Click Selected to get the objects with any permission.
-
Click Selected R to get the objects with Read permission.
-
Click Selected RW to get the objects with Read/Write permission.
-
Click Unselected to get the objects without any permission.
-
-
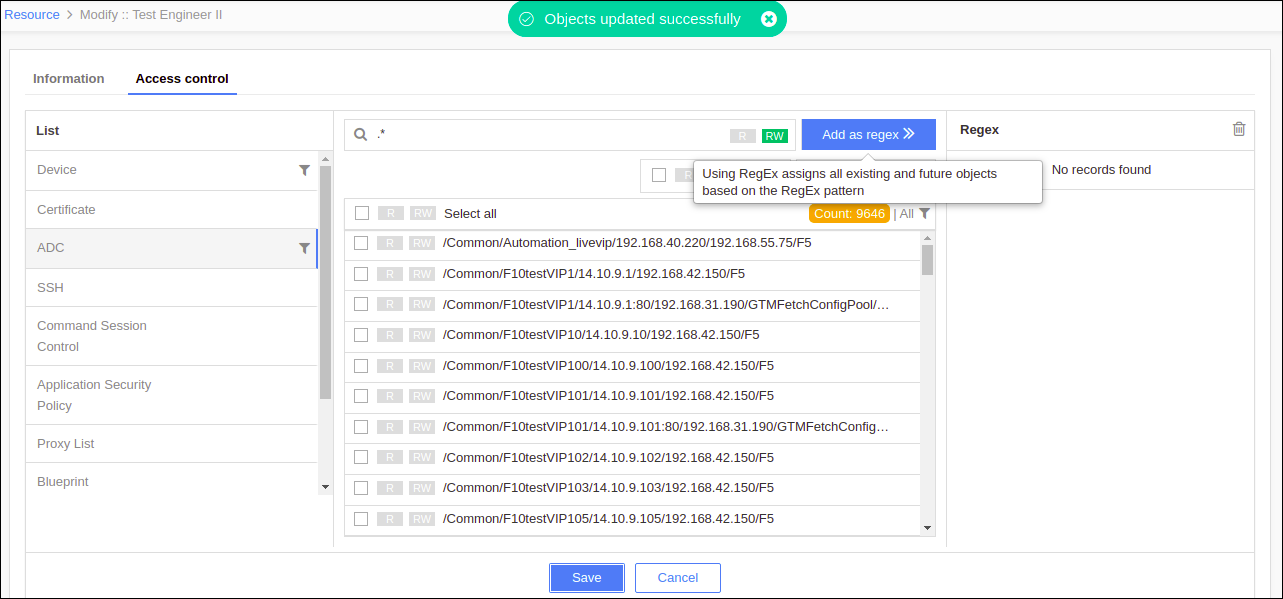
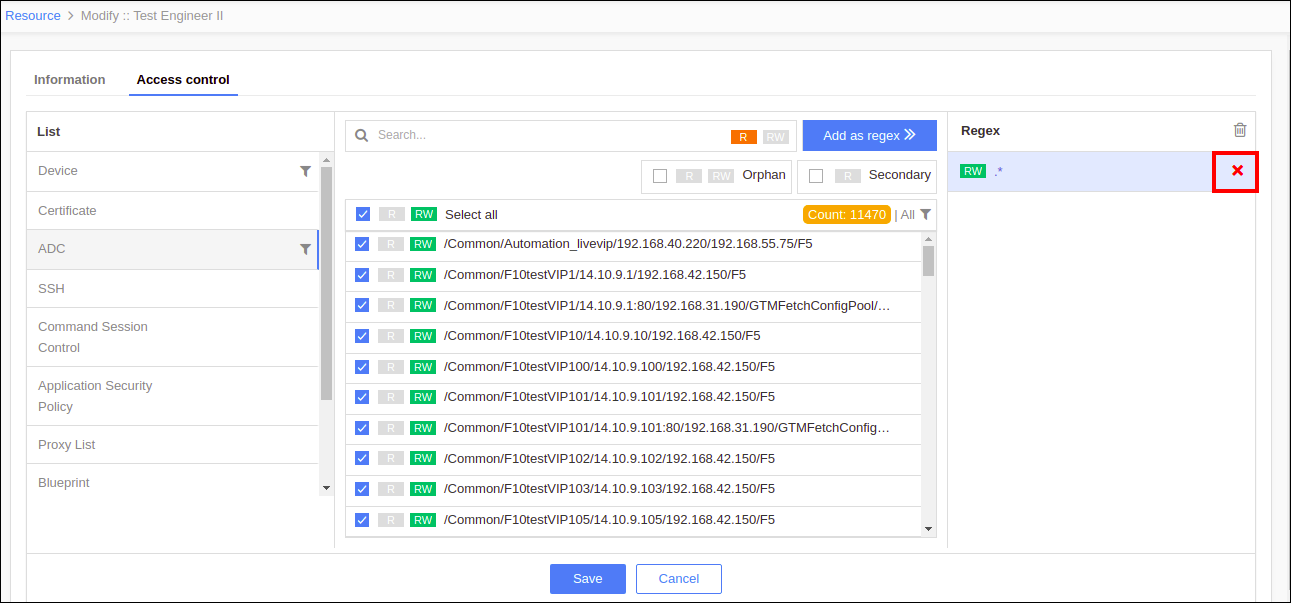
Click Add as Regex to assign the objects(s) to the resource.
-
Click the cross icon to delete any regex from the resource.
-
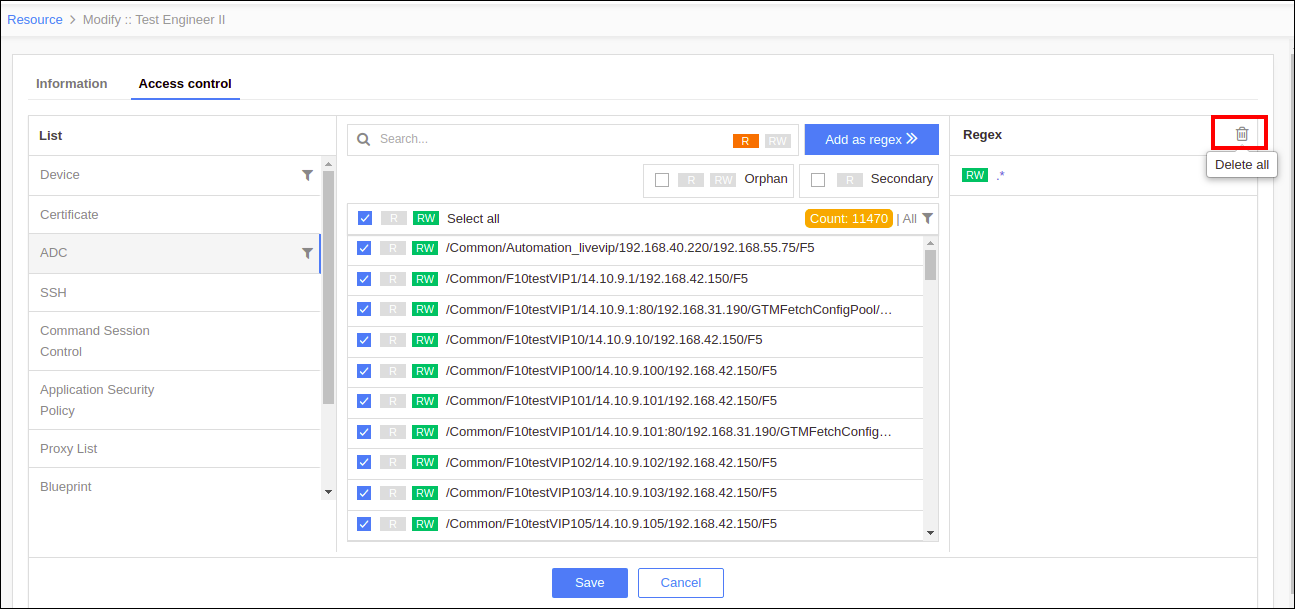
Click the delete icon to delete all the regex from the resource.
-
- Click Save.