Configuring Akamai
-
Go to DDI+ > INTEGRATION HUB, and
then click Add new vendor.
The Select vendor page is displayed.
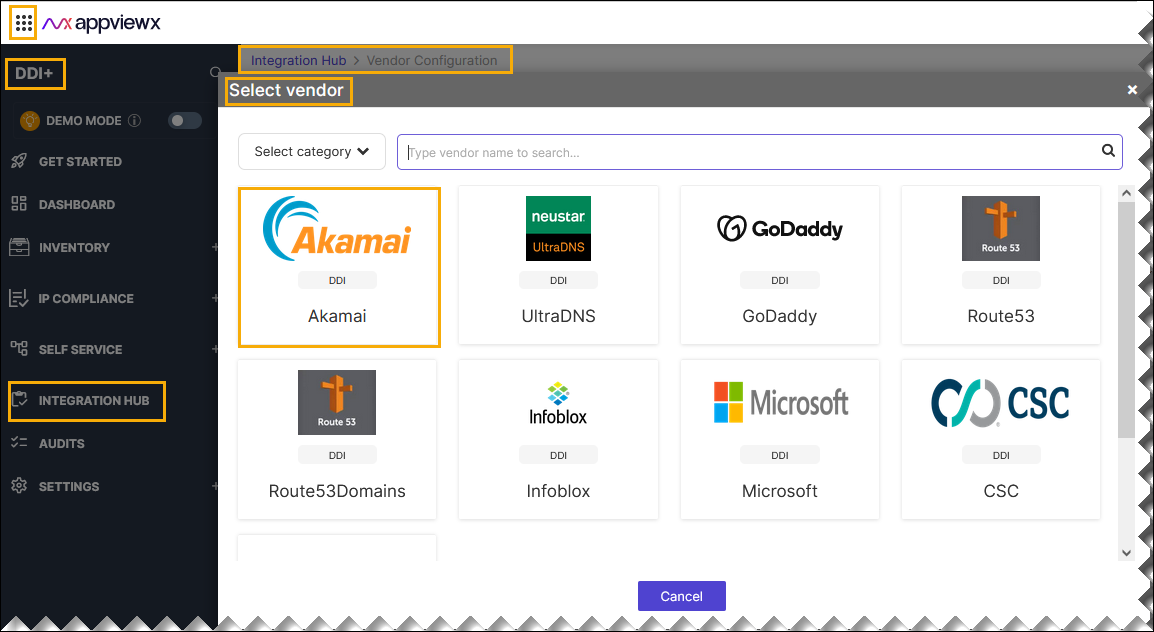
- On the Select Vendor page, click Akamai.
-
On the Vendor Configuration page, under the General section,
enter or select the required field information.
The following table describes the various fields in this section:
Field Description *Name Enter a unique name to identify the vendor account which is being configured. Description Enter a description for the purpose of configuring this vendor, if required. Data center Select a data center from the options available in the dropdown list. *: Mandatory fields -
On the Vendor Configuration page, under the Credentials section,
enter or select the required field information.
The following table describes the various fields in this section:
Field Description Auth type Displays the Akamai EdgeGrid method of authentication selected by default. *URL Enter API URL for the vendor with the HTTPS/HTTP protocol. *Access Token Enter the Access token provided by Akamai. *Client Secret Enter the Client secret provided by Akamai. *Client Token Enter the Client token provided by Akamai. *Contract ID Enter the Akamai contract id for API integration. Advanced Configs If you want to enter the more details click the advanced configs radio button. Note: Default values are automatically generated for some of these below fields unless values are explicitly entered.Fields Description *Nonce Random string generated by the client. *Timestamp UTC time in such format as specified in the API client authentication section of the Akamai developer portal. *Base URL Enter the base URL, without the protocol. *Headers to sign Comma-separated list of headers needs to be signed. *: Mandatory fields - Enable Config sync for parsing the vendor
- On the Vendor Configuration page, under the Configurations section, turn on the Enable Config toggle to add additional vendor configuration attributes.
- Click Finish.