Create a Custom Role
-
Click
 and select Account > User group >
Quick Config.
and select Account > User group >
Quick Config.
- Navigate to Roles stage as part of the RBAC Configuration wizard flow.
-
Click Create Custom Role.
The Create Custom Role screen opens.
- On the Information tab, specify a role name, such as Admin.
- Enter a brief description of what users assigned to the role can do and/or what features or functionalities are associated with the role.
- Click Save.
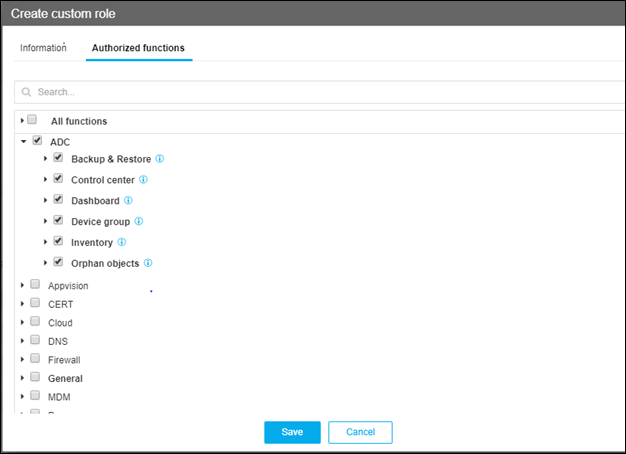
- Click the Authorized Functions tab.
- Select the checkboxes beside each of the functionalities that you want to associate with the role that you are creating.
-
To assign functions at a more granular level, click the expand icon beside a
function checkbox and then select individual sub-options within that function.
In the image below, for example, you can select ADC+, which automatically assigns all six suboptions and the sub-sub-options within them, or you can expand the ADC+ function and select only the sub-options or sub-sub-options you want to assign.
- Click on Information help icon against each ACF explaining the significance of the functionality.
- Click Save.