Configuring Authentication Settings
-
To access the navigation pane, in the top-left corner of the screen, hover the
mouse pointer over the
 icon.
icon.
-
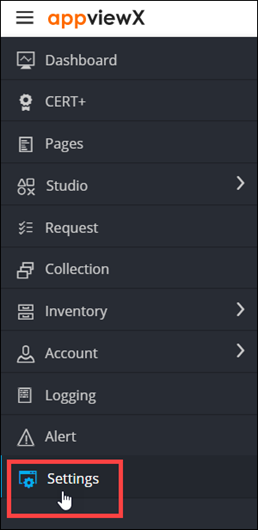
From the menu displayed, click Settings.
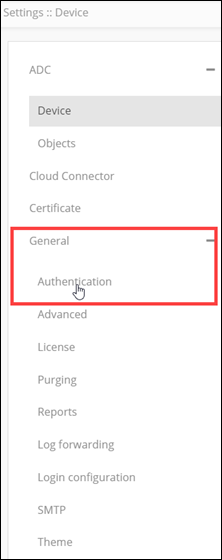
- On the Settings page, from the navigation pane on the left, click General.
-
Under General settings, click
Authentication.
The Settings :: Authentication page is displayed, with the LDAP tab open by default.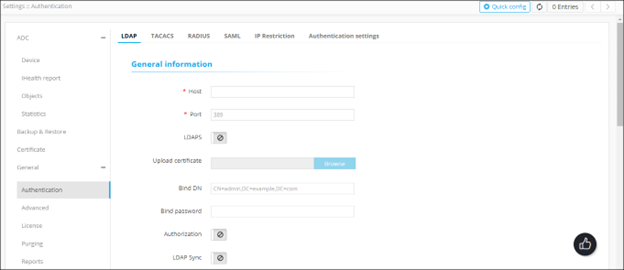
-
From the top-right corner of the screen, click Quick Config.
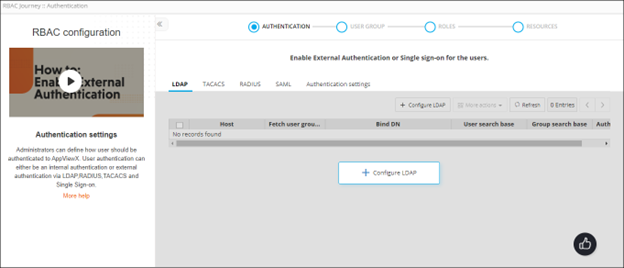
The RBAC Journey :: Authentication page is displayed.
-
On the RBAC Journey :: Authentication page, click the
Authentication Settings tab.
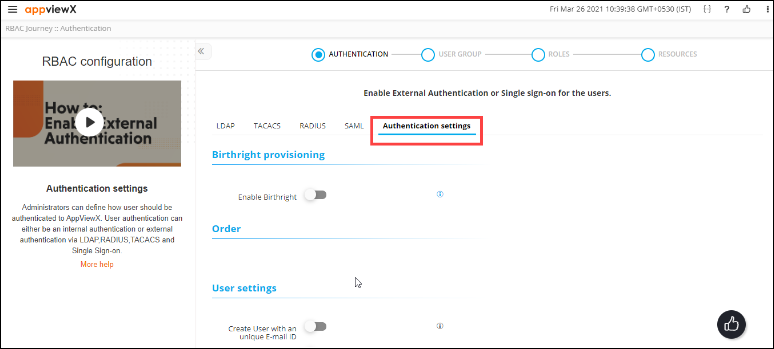
- To enable Birthright provisioning for new users who log into the system with a predefined set of permissions (associated with the user group), turn on the Enable Birthright toggle.
-
To define the order in which the authentication settings will be checked, in
the Order section, drag and drop the authentication
labels to the required corresponding levels.
If the level 1 check is set to Local and the level 2 check is set to LDAP, user credentials will be authenticated locally first and then on the LDAP server.Note: You can also disable, and then enable a level of authentication. To do this, click the green tick

next to the server name. -
In the User settings section, enter the required field
information.
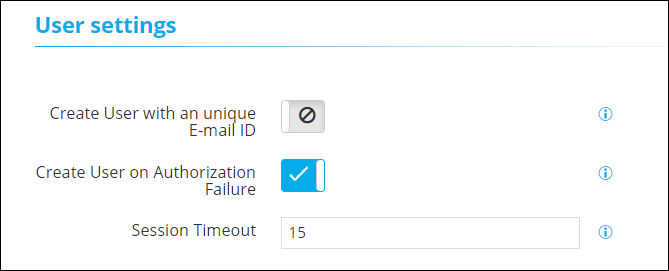
The following table describes the field information in this section:Field Description Create User an unique E-mail ID To ensure that every AppViewX user has a unique email ID, turn on this toggle. Create User on Authorization Failure To create a user even if authorization fails (but the user is authenticated successfully), turn on this toggle. Session Timeout AppViewX lets you set a session timeout limit between 2 and 480 minutes. To set a web session timeout limit, enter the value in minutes. -
If the AppViewX node password has been changed, in the Node
Settings section, enter the updated Node Password.
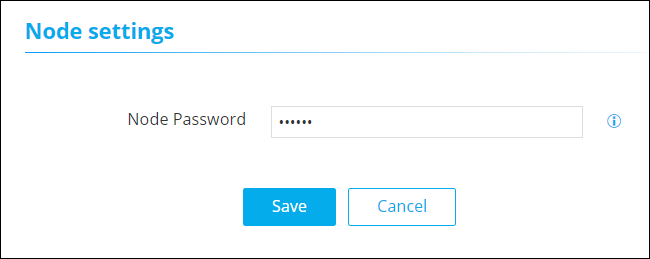
Note: The value entered in the Node Password field should be the same as the node password. To apply the changes, restart the avx-config-server pod in every datacenter. - Click Save.