Configuring Server Inventory Settings
To configure server inventory settings:
-
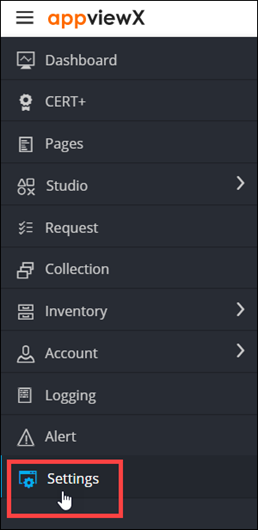
To access the navigation pane, in the top-left corner of the screen, hover the
mouse pointer over the
 icon.
icon.
-
From the menu displayed, click Settings.
-
On the Settings page, from the navigation pane on the
left, click General and select Log
Forwarding.
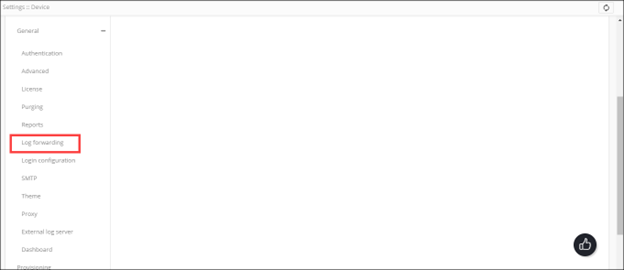
The Settings :: Log Forwarding page is displayed, with the Server inventory tab open by default.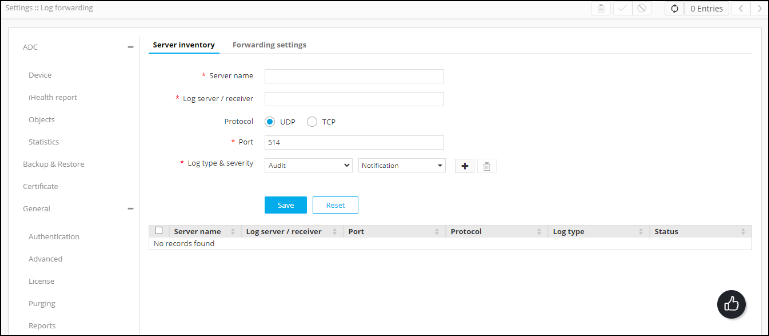
-
In the Server inventory tab, enter the following details (sample values
are shown in the image below the table):
Field Description *Server name Name of the external server to which the logs will be forwarded *Log server/receiver The IP address of the external server to which the logs will be forwarded *Protocol Select a protocol from the following options: - UDP (default)
- TCP
*Log type & severity You can choose to forward logs of a specific type and a specific severity to an external server. To add a log type and severity entry:
- From the first drop-down menu, select a
log type from the following:
- Audit (default)
- Certificate
- ADC
- AppViewX
-
From the second drop-down menu, select the severity of the log type from the following:
- Notification (default)
- Debug
- Warn
- Error
- Fatal
- Critical
Note: You can select more than one severity value for a log type.
To add multiple log types and severity entries:
- From the Log type & severity
field, click
 .
. - From the first drop-down menu, select a log type.
- From the second drop-down menu, select a severity for the log type.
- To add another log type and severity entry, repeat steps a to c.
To delete a log type and severity entry, from the Log type & severity field, click
 .Note: It is mandatory to have at least one log type and severity entry.
All * marked fields are mandatory. -
To save the server inventory settings, click Save.
The settings configured in the fields above are displayed in the table shown at the end of the page.