Configuring the SMTP Server Settings
To configure the SMTP server:
-
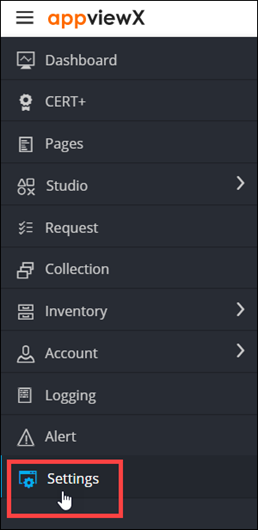
To access the navigation pane, in the top-left corner of the screen, hover the
mouse pointer over the
 icon.
icon.
-
From the menu displayed, click Settings.
- On the Settings page, from the navigation pane on the left, click General.
-
Under General settings, click
SMTP.
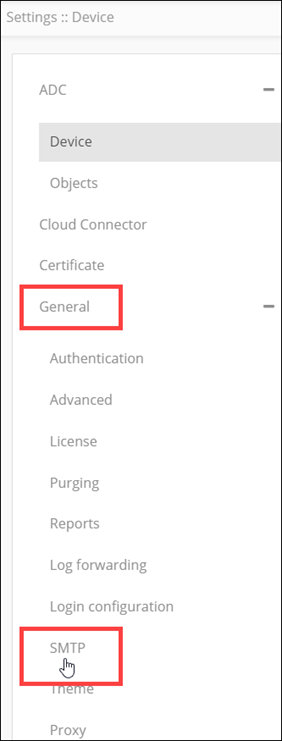
The Settings :: SMTP page is displayed.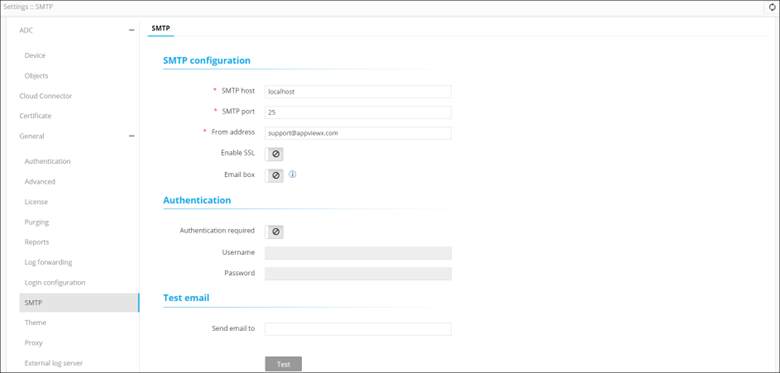
-
In the SMTP configuration section, enter the following details:
Field Description *SMTP host Host name of the SMTP server. *SMTP port Port number of the SMTP server. *From address Enter the email address that will be used to email the logs and alerts. Enable SSL To allow SSL encryption, enable this toggle key. Email box To use the mailbox feature to read emails in Visual Workflow, turn on this toggle. *Email Note: This field is displayed only if the Email box key is enabled.*Email Email address of the IMAP server used for the mailbox feature. Note: This field is displayed only if the Email box key is enabled.*Password Password of the IMAP server used for the mailbox feature. Note: This field is displayed only if the Email box key is enabled.*Host name Host name of the IMAP server used for the mailbox feature. All * marked fields are mandatory. -
In the Authentication section, enter the following details:
Field Description Authentication required To enable authenticated mail server communication, turn on this toggle. *Username Username for the authenticated mail server. Note: This field is enabled only if the Authentication required key is turned on.*Password Password for the authenticated mail server. Note: This field is enabled only if the Authentication required key is turned on.All * marked fields are mandatory. - In the Test email section, to test the SMTP settings,enter the email address to which a test email should be sent.
- Click Test to send the test email.
- To save the SMTP configuration settings, click Save.