Managing Proxy Settings
To configure the proxy settings:
-
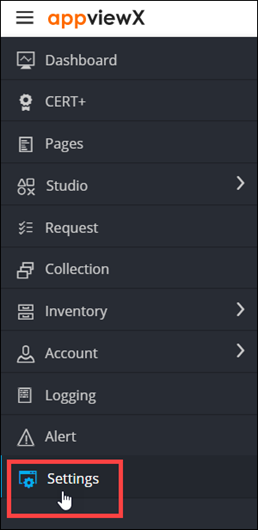
To access the navigation pane, in the top-left corner of the screen, hover the
mouse pointer over the
 icon.
icon.
-
From the menu displayed, click Settings.
- On the Settings page, from the navigation pane on the left, click General.
-
Under General settings, click
Proxy.
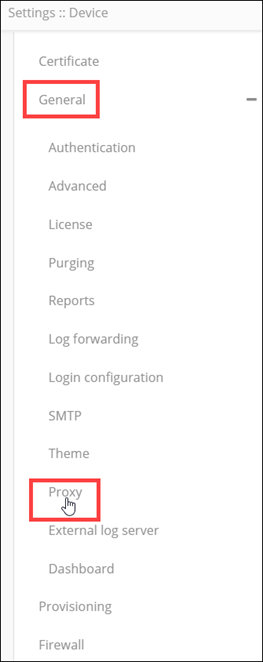
The Settings :: Proxy page is displayed.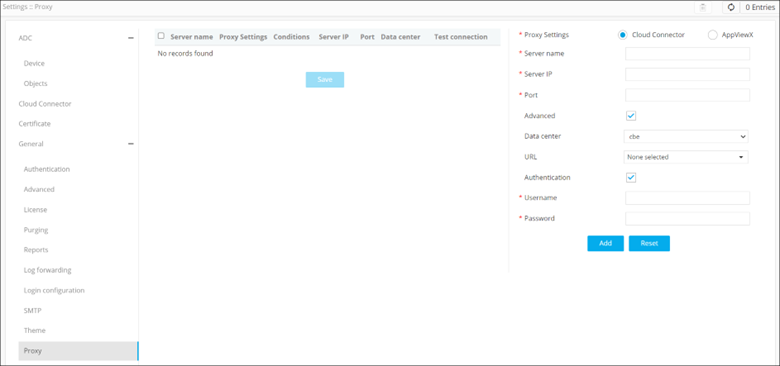
-
Enter the following details:
Field Description *Proxy Settings Select the Proxy settings from the following options: - Cloud Connector
- AppViewx
*Server name Name of the proxy server. *Server IP IP address of the proxy server. *Port Port number of proxy server. Advanced To enable advanced settings, select this check box. Data center From the drop-down menu, select a data center. Note: This field is displayed only when the Advanced check box is selected.URL From the drop-down menu, select the URL. Note: This field is displayed only when the Advanced check box is selected.Authentication To enable authentication, select this check box. *Username Enter the username. Note: This field is displayed only when the Authentication check box is selected.*Password Enter the password. Note: This field is displayed only when the Authentication check box is selected.All * marked fields are mandatory. -
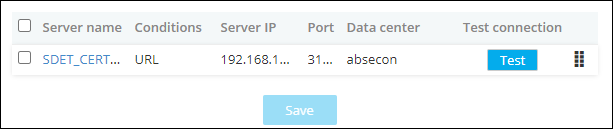
To save the proxy settings configured above, click Add.
The settings are saved and displayed in the table shown in the left half of the screen.
- To reconfigure the proxy settings, click Reset.