Modifying a User Group
-
To access the navigation pane, in the top-left corner of the screen, hover the
mouse pointer over the
 icon.
icon.
-
From the menu displayed, select Account >
User Group.
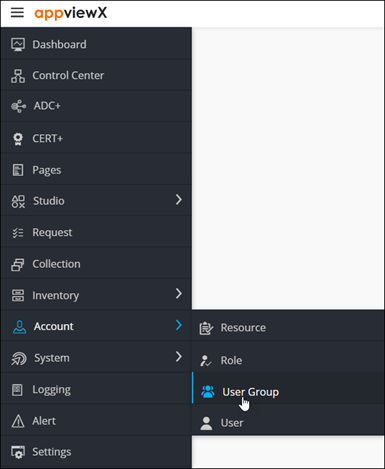
The User Group page is displayed.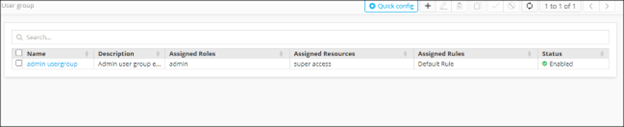
-
From the User Group page, select the user group you want to
modify.

-
From the top right corner of the screen, click
 .
.
-
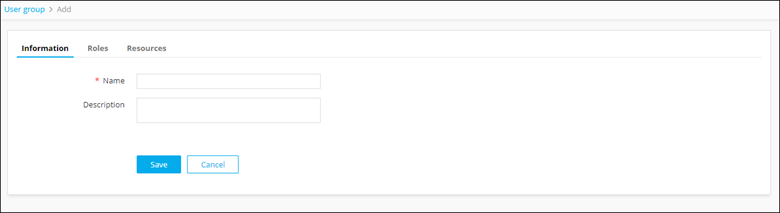
The Modify page is displayed, with the
Information tab open by default.
-
Update the required details:
Field Description *Name User group name. Description Brief description of the group (which makes it easy for the administrators to decide if a user should be assigned to this group or not). All * marked fields are mandatory. - Click Save.
-
To modify the role assignment for this user group, in the
Roles tab, select/clear the check boxes against the
required roles and resources
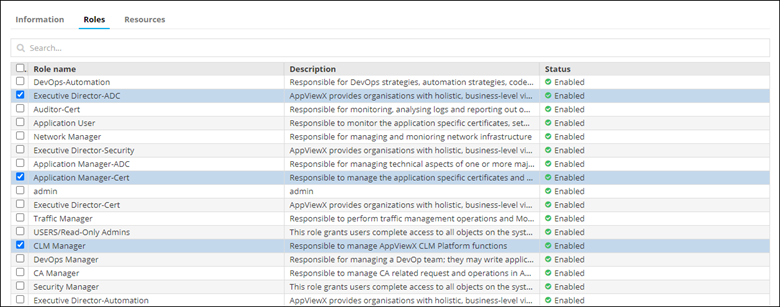
.