Scheduled Discovery Process
Steps to schedule the scheduled discovery process,
- Log in to AppViewX application with valid credentials.
- Click the menu button located in the upper left corner of the screen.
The left navigation pane appears.
-
Click CERT+.
The CERT+ left navigation pane appears.
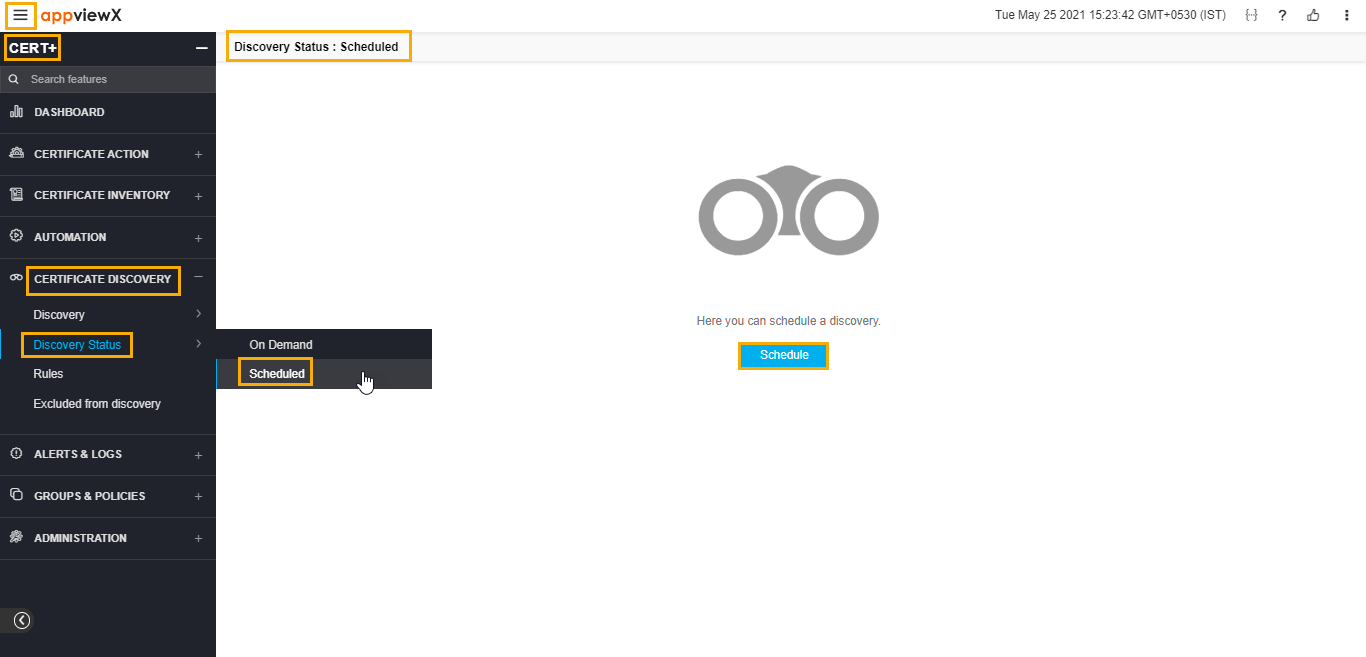
- Expand CERTIFICATE DISCOVERY.
-
Click Discovery Status, and then select Scheduled.
The Scheduled discovery page appears.
-
Click Schedule.
The Add Discovery page appears.
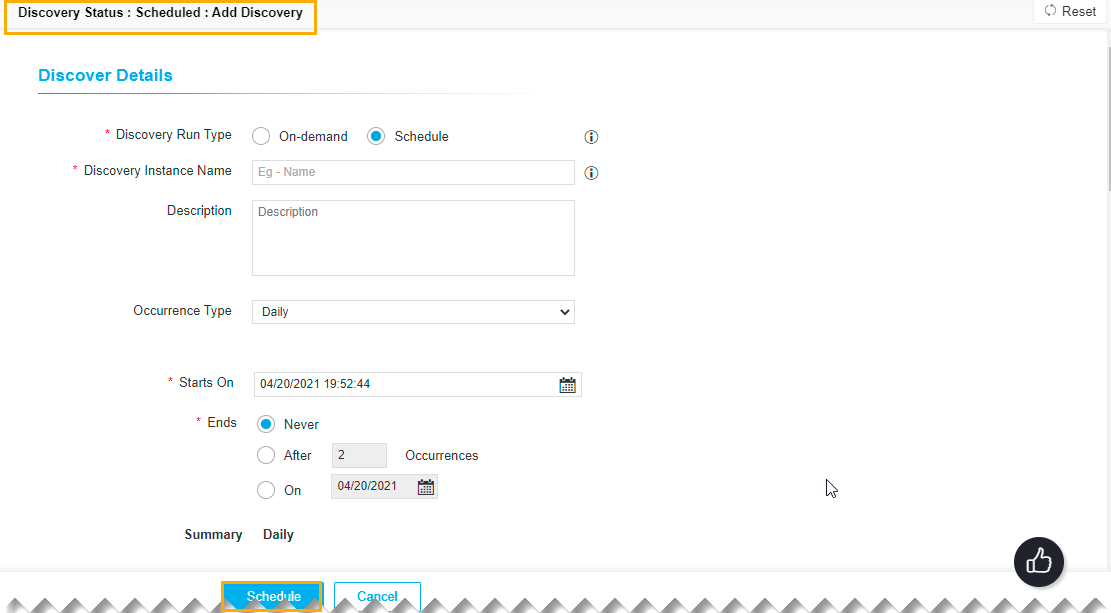
- Select Discovery Run Type as Schedule on the Add Discovery page.
- Enter the Discovery Instance Name and Description in the respective fields.
- Occurrence Type: You can select the frequency of the discovery process in this section. You can choose between Daily, Weekly, Monthly, and Yearly.
- Starts On: You can select the start date and time for the discovery process in this field.
- Ends: In this section, you can choose between the following:
- Never: You can select this option if you never want the discovery process to end.
- After a specific number of occurrences: You can enter the number of occurrences after which you want the discovery process to stop in this field.
- On: You can enter the date by when you want to end the discovery process.
- In the Discover By section, you can either manually enter the details or upload a file.
- Click Add.
- Make sure that the detail is listed in the record section.
- Select the Execute Batches Sequentially check-box if required.
- Increase the Scanning Intensity as required.
- Select the Skip Full Scan if required.
- In the Device discovery option, select the required discovery from the drop-down list.
- In the Discovery Rules section, select the Associate Rule from the drop-down list.
- In the After Discover section, enter/select the details as required.
- Click Password Vault if you want to discover any encrypted certificate.
- Click Schedule.