GlobalSign Atlas CA
Configuring GlobalSign Atlas
Before you Begin
The prerequisites for configuring GlobalSign Atlas CA are
-
Login and password to access AppViewX.
-
Base URL, API Key, API Secret Key.
-
A client certificate provided by the GlobalSign Atlas team.
To configure the GlobalSign Atlas CA:
- Go to > > > .
- Click the +Add icon on the top right of the page.
- Select the GlobalSign in the left side vendor list, and then select the GlobalSign Atlas tab.
- If creating a CA for the first time click Configure Now or click + Add button on the top right.
-
Update the following details in the General Information section as
described in the table.
Table 1. General Information - Field and Description Table Field Name Description *API Credential Friendly name Enter the API Credentials Friendly name (which is the CA Account name that will be used for the CA Policy and Enrollment). *Purpose/Usage Select the purpose of the certificate that can be requested using this account.
NOTE: Users can select Server, Client or both.
Proxy Required Select the checkbox if communication to the Certificate Authority (CA) has to use the proxy details provided in the general settings Data Center (AppViewX's CA agent) Select the data center that will be used to establish the communication with the CA. *: Mandatory fields -
Update the following details in the CA Configuration section as
described in the table.
Table 2. CA Configuration - Field and Description Table Field Name Description *Base URL Enter the base URL required for constructing the API request. *API Key Enter the API key which is the unique identifier used to authenticate a user.
NOTE: The API Key will be displayed as asterisks (*)
*API Secret Enter the API secret to communicate with the CA.
NOTE: The API Secret will be displayed as asterisks (*)
*Client Authentication Upload the certificate for client authentication in the .p12 or .pfx format only. The uploaded file format is invalid. Please upload in PKCS12 (.p12 or .pfx) file format only.
*: Mandatory fields -
Click the Fetch Validation Policy and Save button.
A confirmation message will appear “Validation Policy fetched and settings have been updated.” and the CA is created successfully. The connection status for the CA is displayed as New.
Validating GlobalSignAtlas
Once the GlobalSign Atlas settings are added, validation needs to be done to check whether the connection between AppViewX and GlobalSign is properly configured.
- Go to > > >
-
Select the GlobalSign in the left side vendor list,
and then select the GlobalSign Atlas tab.
The newly created and older settings are displayed in the grid.
- Click Check to validate the CA setting that is created.
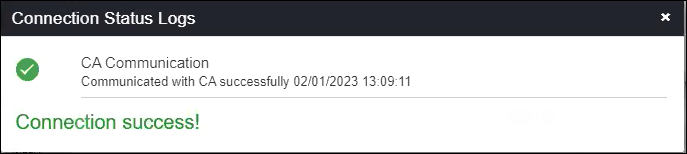
-
CA communication will be validated and the Connection Status will be shown
as either Success or Failure.