Customizing the Logo
To add a custom logo:
-
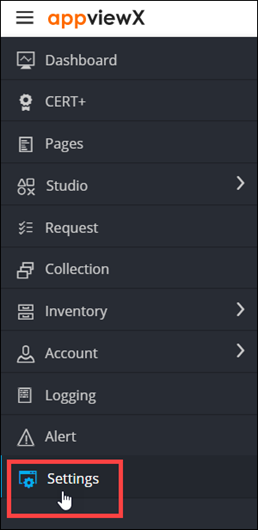
To access the navigation pane, in the top-left corner of the screen, hover the
mouse pointer over the
 icon.
icon.
-
From the menu displayed, click Settings.
- On the Settings page, from the navigation pane on the left, click General.
-
Under General settings, click
Theme.
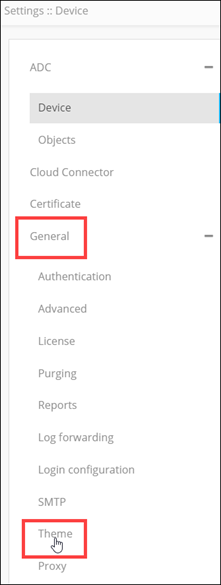 The Settings :: Theme page is displayed, with the Logo tab open by default.
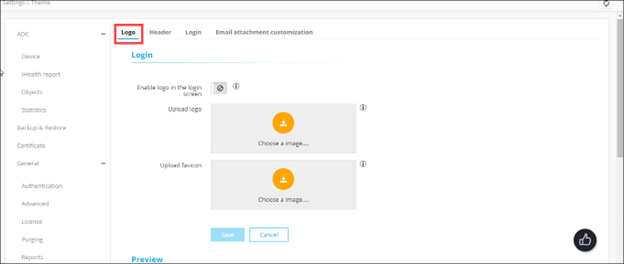
-
In the Login section, enter the following details:
Field Description Enable logo in the login screen To display your organization’s logo on the AppViewX screen, turn on this toggle. Note: If this toggle key is disabled, AppViewX’s default theme settings are applied.Upload logo Note: This field is enabled only when the Enable logo in the toggle screen toggle is turned on.To choose a logo image:
- Click
 .
. - From Windows Explorer, navigate to the
location of the logo image, select the image, and
click Open.Note:
- Image formats allowed for upload: .png and .svg
- Maximum image resolution allowed: 865 X 185 (width X height)
- Image size: < 5 MB
- Recommended image dimensions: 175 X 37 (width X height)
- In the Confirmation Message dialog box, click Yes.
Upload favicon Note: This field is enabled only when the Enable logo in the toggle screen toggle is turned on.To choose a favicon image:
- Click .
- From Windows Explorer, navigate to the
location of the logo image, select the image, and
click Open.Note:
- Image formats allowed for upload: .png
- Maximum image resolution allowed: 64 X 64 (width X height)Ima
- Image size: < 5MB
- In the Confirmation Message dialog box, click Yes.
- Click
- In the Preview section, view a preview of the login screen after your custom logo and favicon have been uploaded.
- To apply the changes, click Save.