Modifying a User
-
To access the navigation pane, in the top-left corner of the screen, hover the
mouse pointer over the
 icon.
icon.
-
From the menu displayed, click Account >
User.
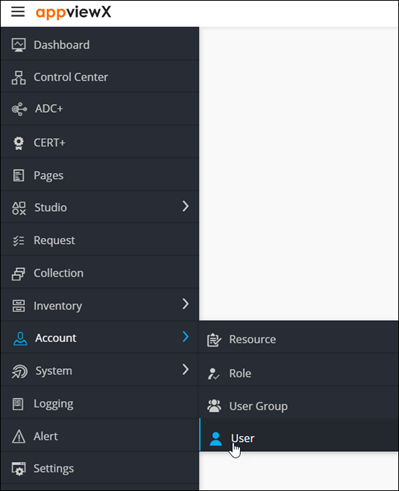
The User page is displayed.
-
From the User page, select the check box against the user you want to
modify.

-
From the top right corner of the screen, click
 .
.
-
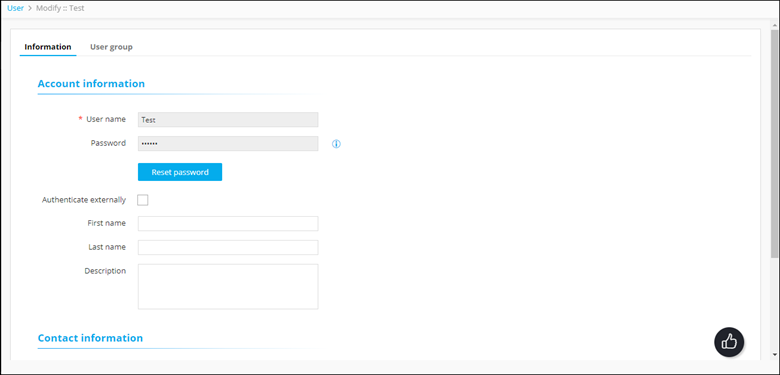
The Modify page is displayed, with the
Information tab open by default.
-
In the Account Information section, update the required
details:
Field Description *User name Enter the user name for the new user. *Password Enter the password for the new user. Note: The new password should have:- At least one uppercase, lowercase, and numeric character
- At least one special character (~!@#$^&*_-+=|())
- 6 to 24 characters
Note: The new password should not contain:- The user name
- The same character more than three times consecutively
- Blank spaces
*Confirm Password Reenter the password for confirmation. Authenticate externally To allow authentication by external enterprise servers such as LDAP, TACACS, RADIUS, and so on, select this check box. Note: The Password and Confirm Password fields are disabled if Authenticate externally option is selected.First name New user’s first name. Last name New user’s last name. Description Descriptive information about the user such as their work location, workgroup, specialty, or any other details. All * marked fields are mandatory. -
In the Contact information section, update the required
details:
Field Description *Preferred mode of contact From the following options, select the user’s preferred mode of contact: - Email address
- Phone number
*Email address New user’s email address. *Phone number New user’s phone number. Note: This field is mandatory only if the preferred mode of contact is Phone number.All * marked fields are mandatory. - Click Save.
-
To modify the user and user group mapping, by adding a new user group/deleting
an existing user group, click the User group tab.

- To add the user to a group, select the check box for that user group.
- Click Save.