Create F5 LTM VIP – Basic
To run this workflow,
-
Go to
 Menu > Request >
View/Run.
The Workflow Catalog page appears.
Menu > Request >
View/Run.
The Workflow Catalog page appears. -
In the Workflow Catalog page, hover over the Create F5 LTM VIP –
Basic workflow.
The Run and Schedule buttons are shown.
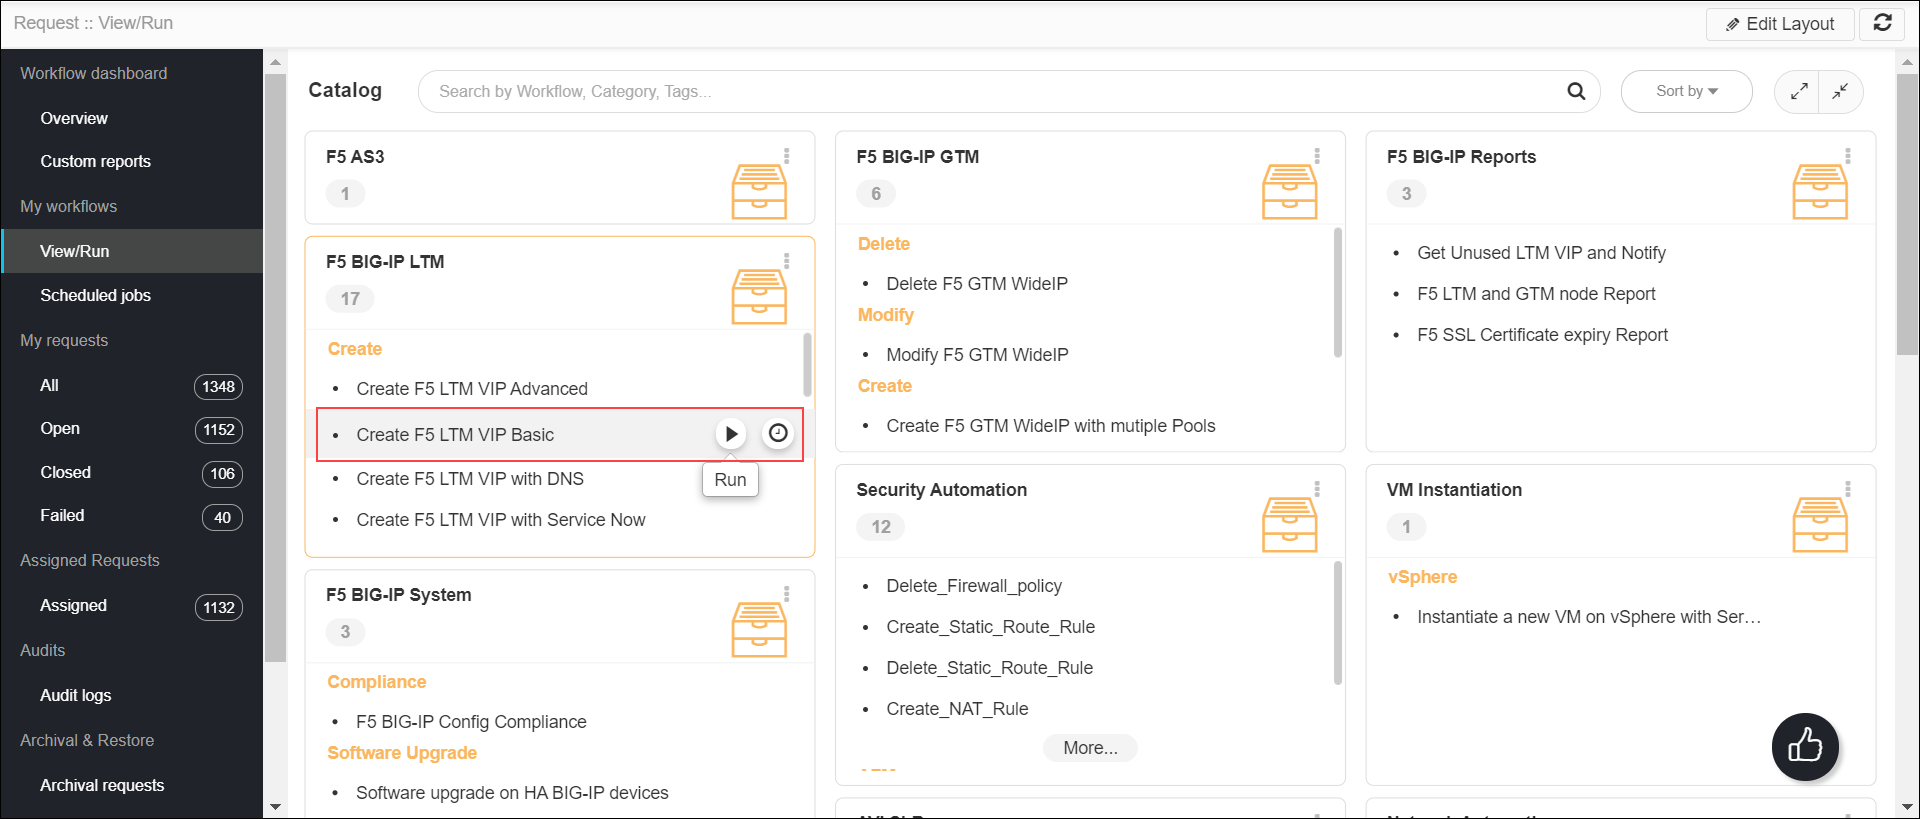
- Click the Run
 button.
The Form Input page opens:
button.
The Form Input page opens: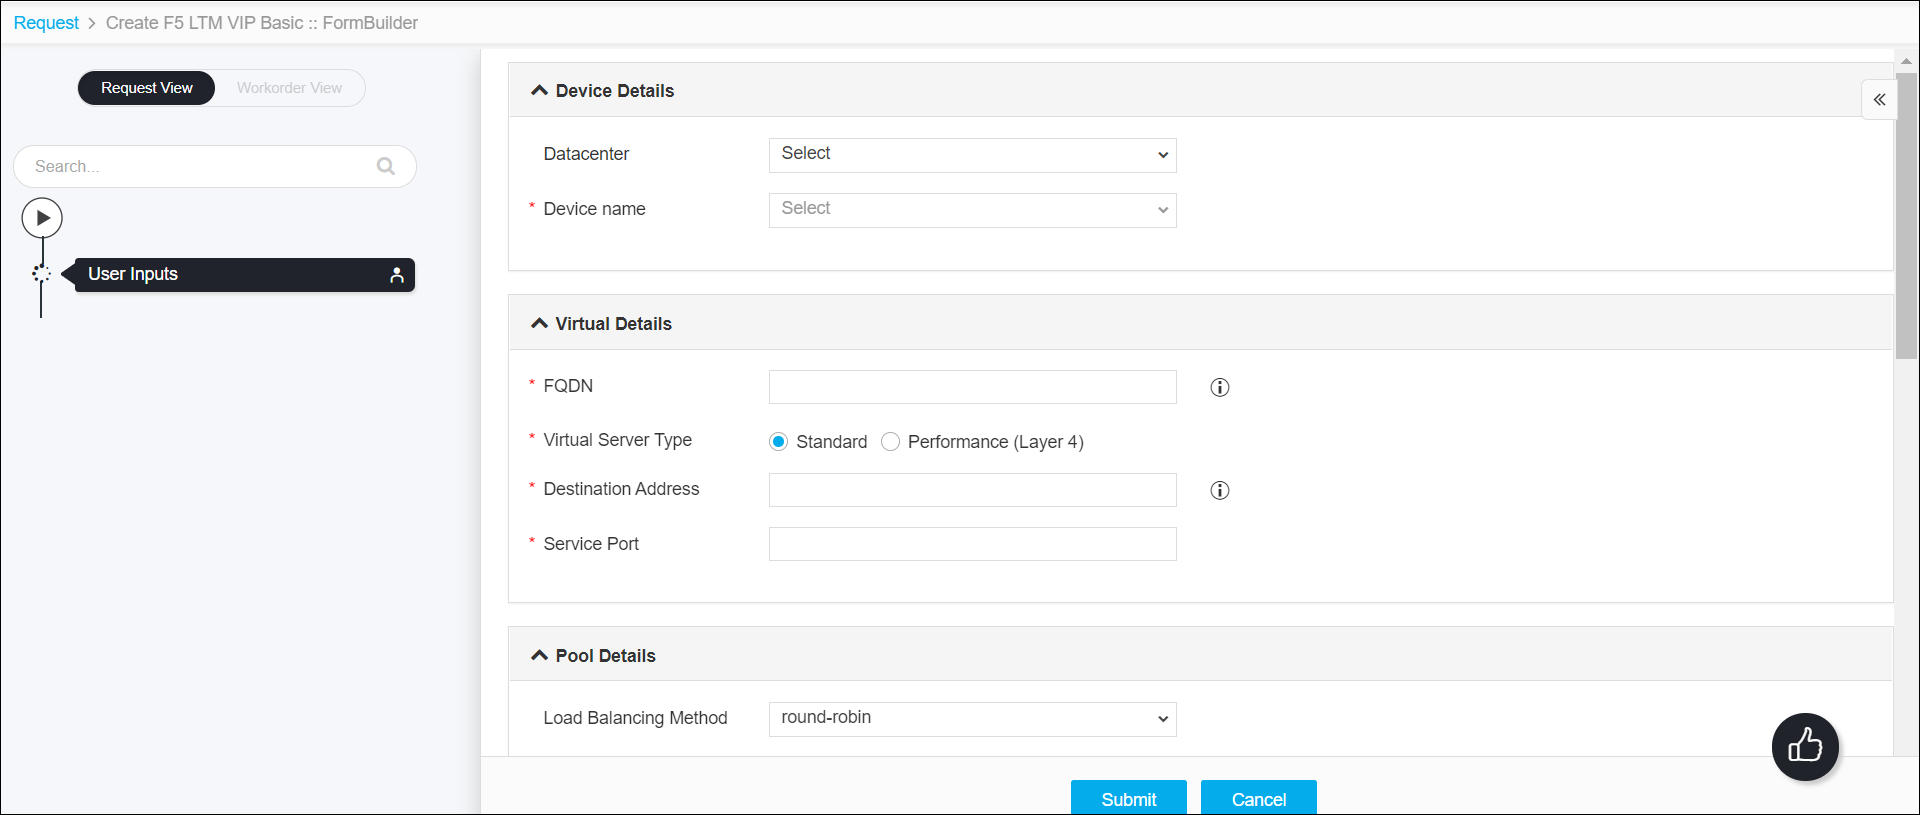
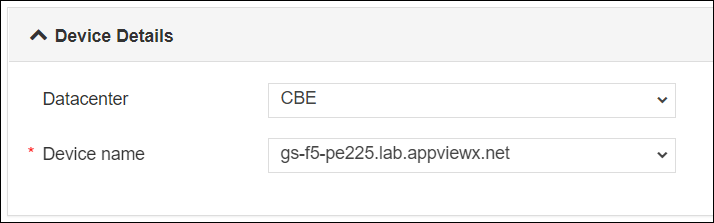
- Enter or select the field information in the Device Info
section of Form Input.
-
The following table provides the field description for the Device
Info section of Form Input:
Field Description *Datacenter Displays the list of datacenters of the devices, which are created in the Device Inventory. Select the datacenter of a device from the drop-down option for which this request is to be added. For the devices, which are created without a datacenter in the Device Inventory, select the datacenter as None. *Device Name Displays the list of devices associated with the selected datacenter. If the datacenter is selected as None, the devices that are created without datacenter details are listed. Select the desired device from the drop-down option. -
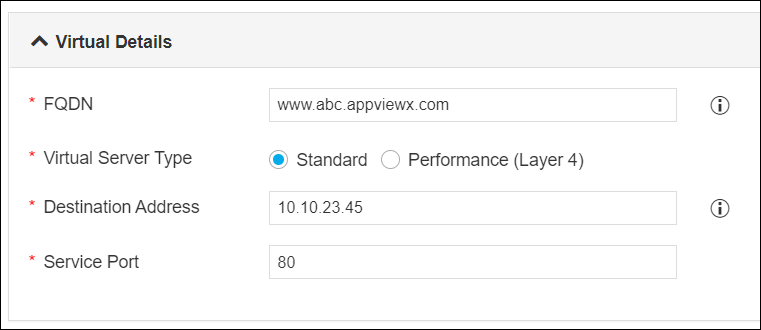
Enter or select the field information in the Virtual
Details section of Form Input.
-
The following table provides the field description for the Virtual
Details section of Form Input:
Field Description *FQDN Enter the FQDN of the virtual server. *Virtual Server Type The attributes of this virtual server. The default is Standard.
- Standard - A virtual server that directs client traffic to a load balancing pool and is the most basic type of virtual server. When you first create the virtual server, you assign an existing default pool to it. From then on, the virtual server automatically directs traffic to that default pool.
- Performance (Layer 4) - A virtual server that shares the same IP address as a node in an associated VLAN.
*Destination Address Enter the destination IP address information for the virtual server. *Service Port Enter a service port. -
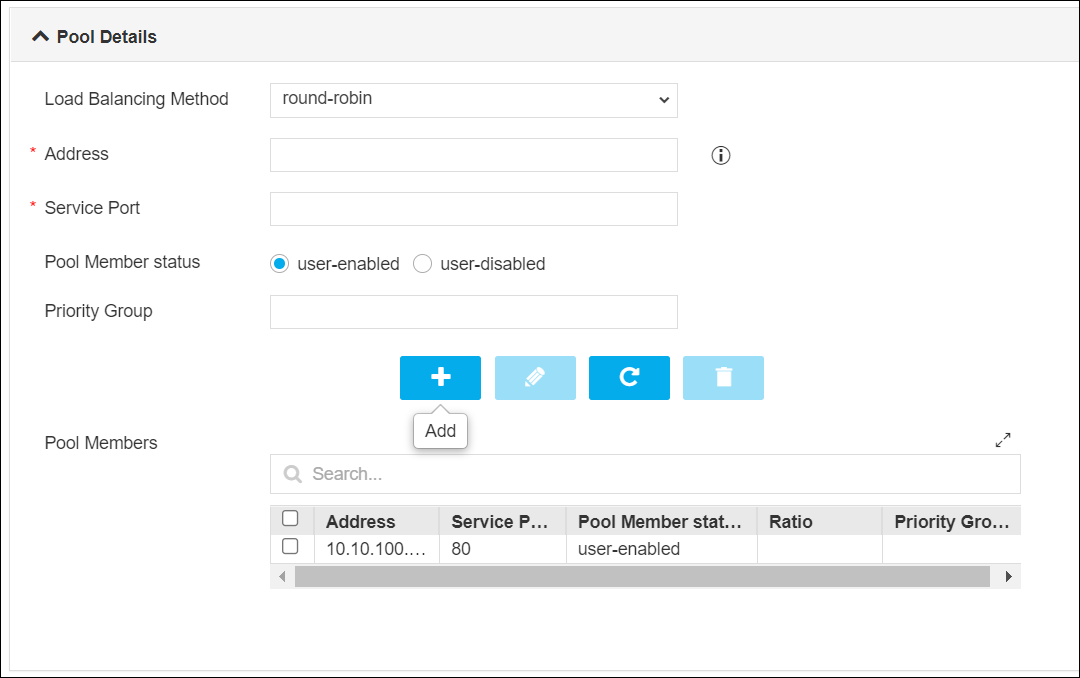
Enter or select the field information in the Pool Details
section of Form Input.
-
The following table provides the field description for the Pool
Details section of Form Input:
Field Description Load Balancing Method The load balancing method is used to select a pool in this VS. The default is round-robin. The methods are:
- round-robin - the system selects the pools sequentially.
- least-connection-node - The system passes a new connection to the node that has the least number of current connections out of all pools of which a node is a member. This method works best in environments where the servers or other equipment you are load balancing have similar capabilities. This is a dynamic load balancing method, distributing connections based on various aspects of real-time server performance analysis, such as the number of current connections per node, or the fastest node response time.
- least-connection-member - The system passes a new connection to the node that has the least number of current connections in the pool. This method works best in environments where the servers or other equipment you are load balancing have similar capabilities. This is a dynamic load balancing method, distributing connections based on various aspects of real-time server performance analysis, such as the current number of connections per node or the fastest node response time.
- ratio-member - The number of connections that each machine receives over time is proportionate to a ratio weight you define for each machine within the pool.
Address Enter the IP address of the pool. Service Port Enter a service port. Pool Member Status The current state of the pool members. The statuses are:
- user-enabled - when you select this option, the system sends traffic to this pool member regardless of the pool member's state.
- user-disabled - when this option is selected, the pool member can handle only persistent or active connections.
Priority Group A number representing the priority group for the pool members. To specify a priority, you must activate priority group usage when you create a new pool or when adding or removing pool members. When activated, the system load balances traffic according to the priority group number assigned to the pool member. Pool Members Enter the IP address of the pool member. And then click the Add  button. Any number of pool numbers can be added to the pool. After adding the
pool, you can manage them.
button. Any number of pool numbers can be added to the pool. After adding the
pool, you can manage them. -
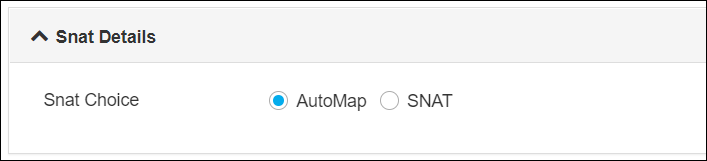
Enter or select the field information in the Snat Details section of Form Input.
-
The following table provides the field description for the Snat Details section of Form
Input:
Field Description Snat Choice Select the SNAT choice for any connections using this pool. The options are:
- AutoMap -This option allows you to select a translation address from the available self IP address.
- SNAT - This option allows you to select a floating self IP as a translation address.
-
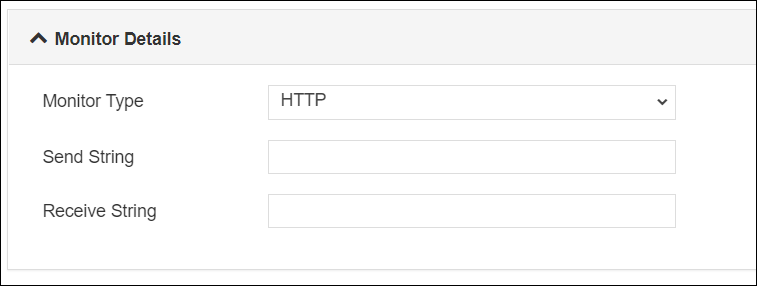
Enter or select the field information in the Monitor Details section of Form
Input.
-
The following table provides the field description for the Monitor Details section of
Form Input:
Field Description Monitor Type Select the health monitors that are available to add for the pool:
- HTTP
- HTTPS
- TCP
- TCPHALFOPEN
- Gatewaylcmp
Send String The text string that the monitor sends to the target object. You must include \r\n at the end of a non-empty Send String. To retrieve a specific page from a website, specify a fully qualified path name. Receive String The regular expression representing the text string that the monitor looks for in the returned resource. The most common receive expressions contain a text string that is included in an HTML file on your site. The text string can be regular text, HTML tags, or image names, and the associated operation is not case-sensitive. -
Click the Submit button.
The Confirmation popup opens.Note:
- If you want to save this form to edit it later, click the Save Draft button, and then click Ok in the Confirmation popup window. The form will be saved as Open request under Request > My Request.
- If you want to cancel this form, click the Cancel button.
-
Click Ok to submit the form.
The validation starts automatically and reaches the Review stage.Note:
- If there is any failure at this stage, start a new request by providing the correct data.
- Alternatively, select the failed request and clone it. Update the correct input data in the form input, and submit the workflow again. x
-
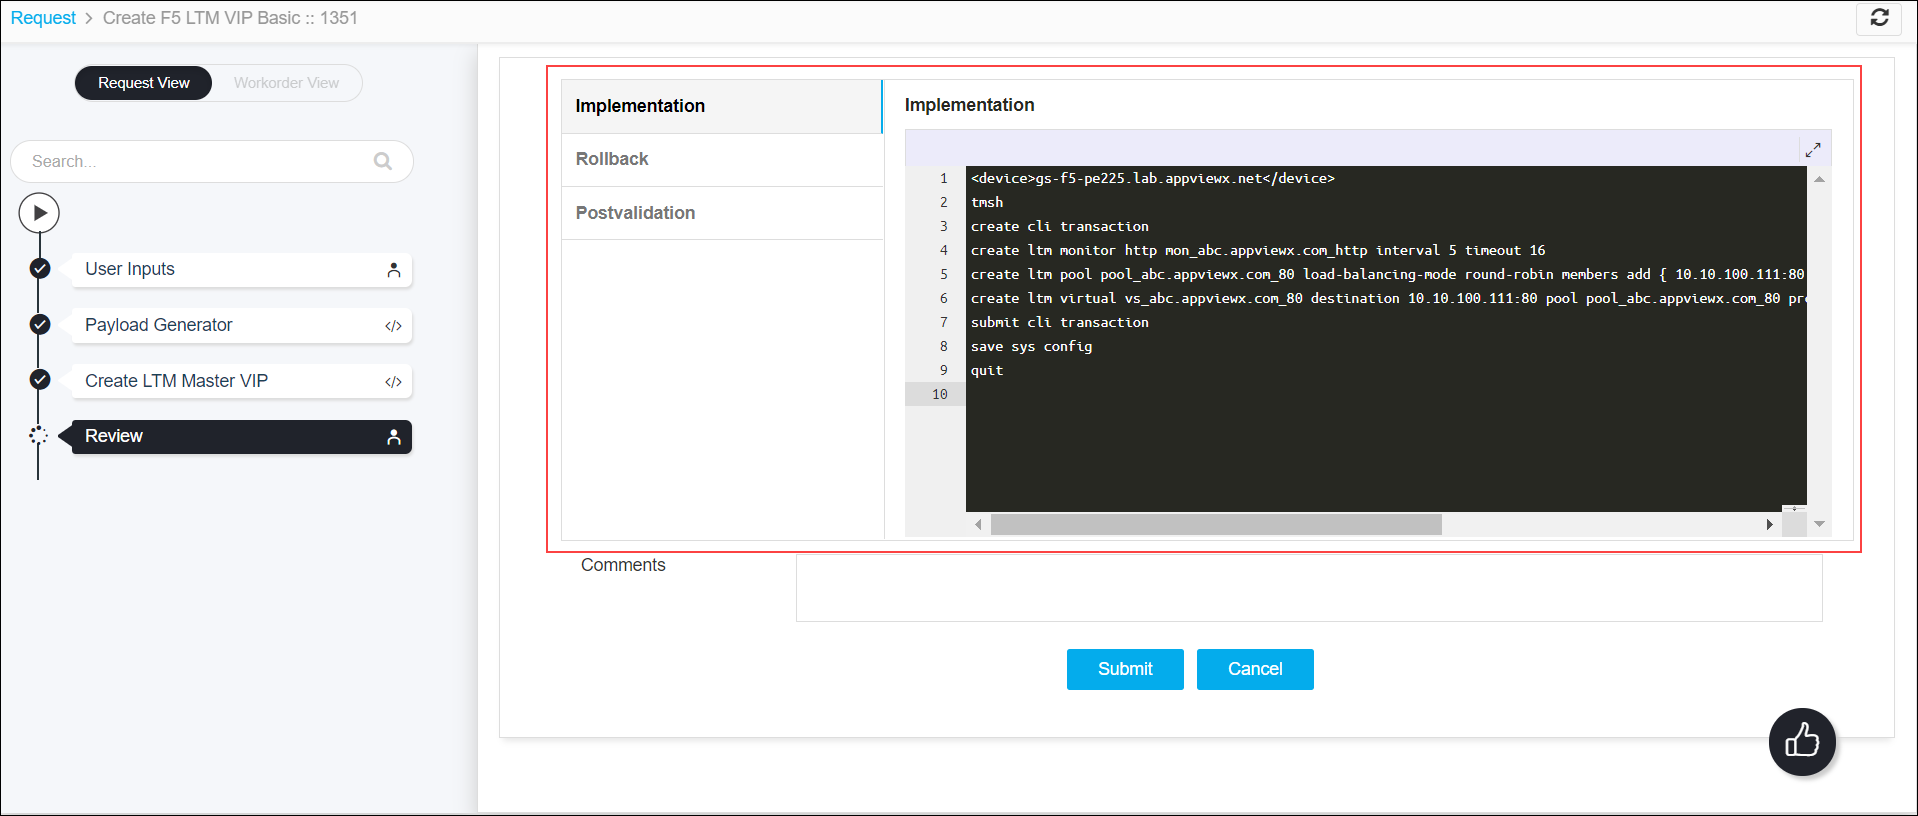
Review the input data under the implementation,
rollback, and postvalidation tabs:
-
(Optional) If you need to update any data at this stage, you can do so by clicking the
right-side of the mouse on the data and selecting the desired option.
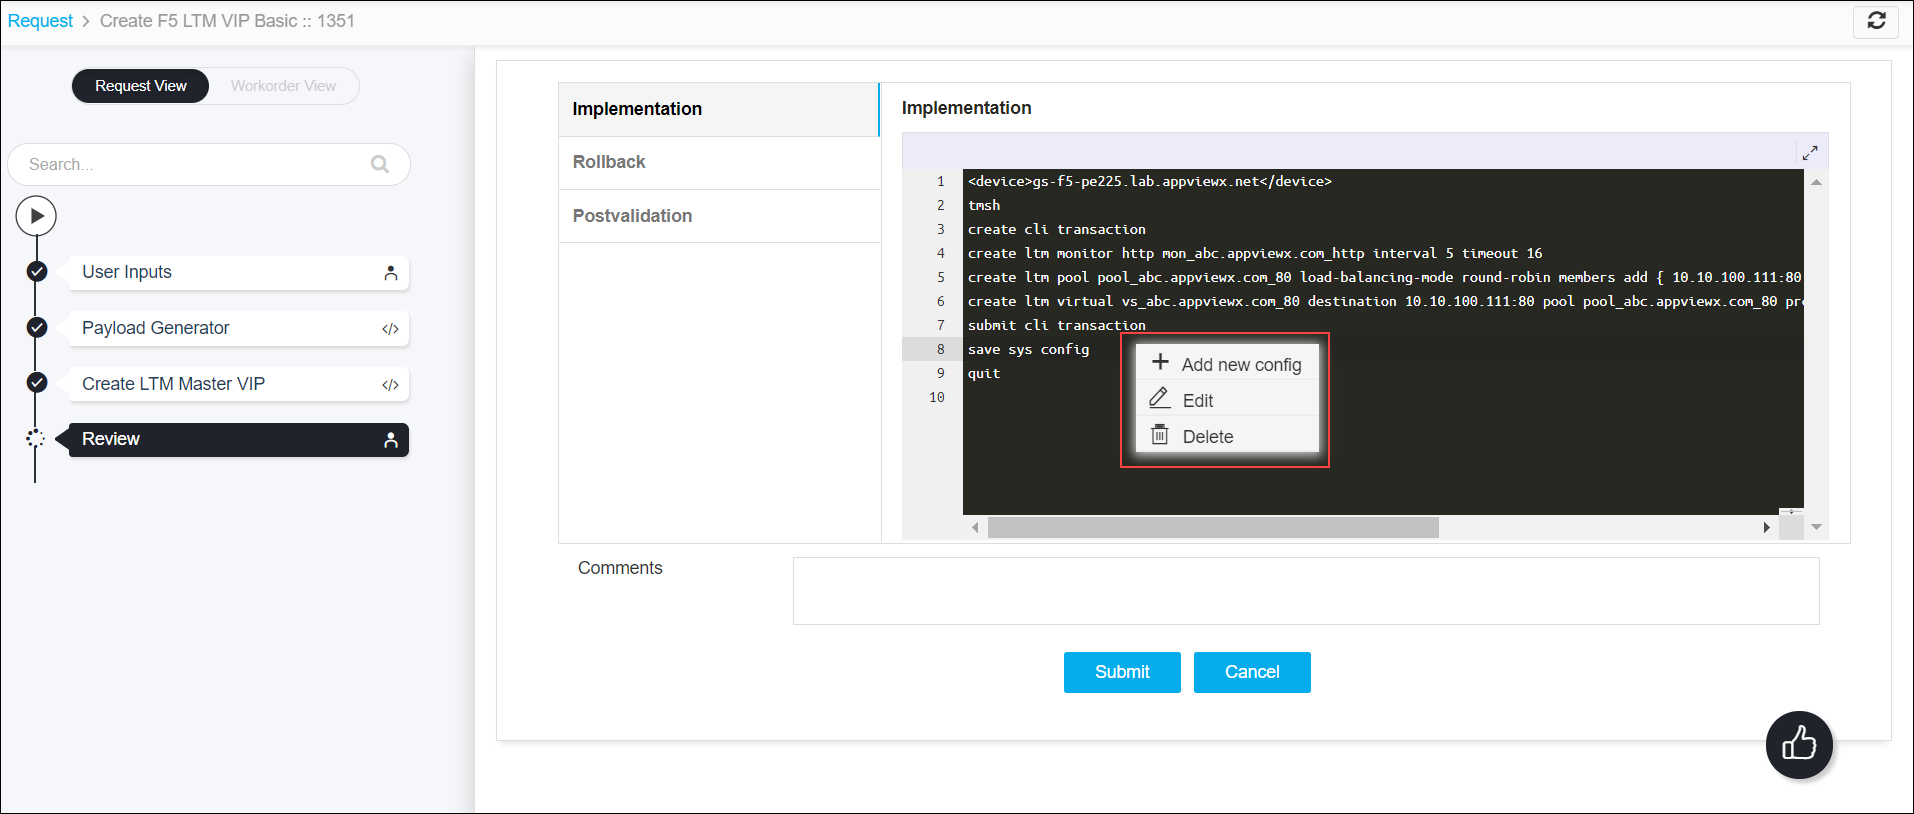
-
After the review, click the Submit button.
The Confirmation popup opens.Note: Click Cancel to stop running the workflow creation.
-
Click Ok to continue the workflow creation.
It takes a while to complete the request.
-
The workflow is created and the email is triggered to the configured email IDs.
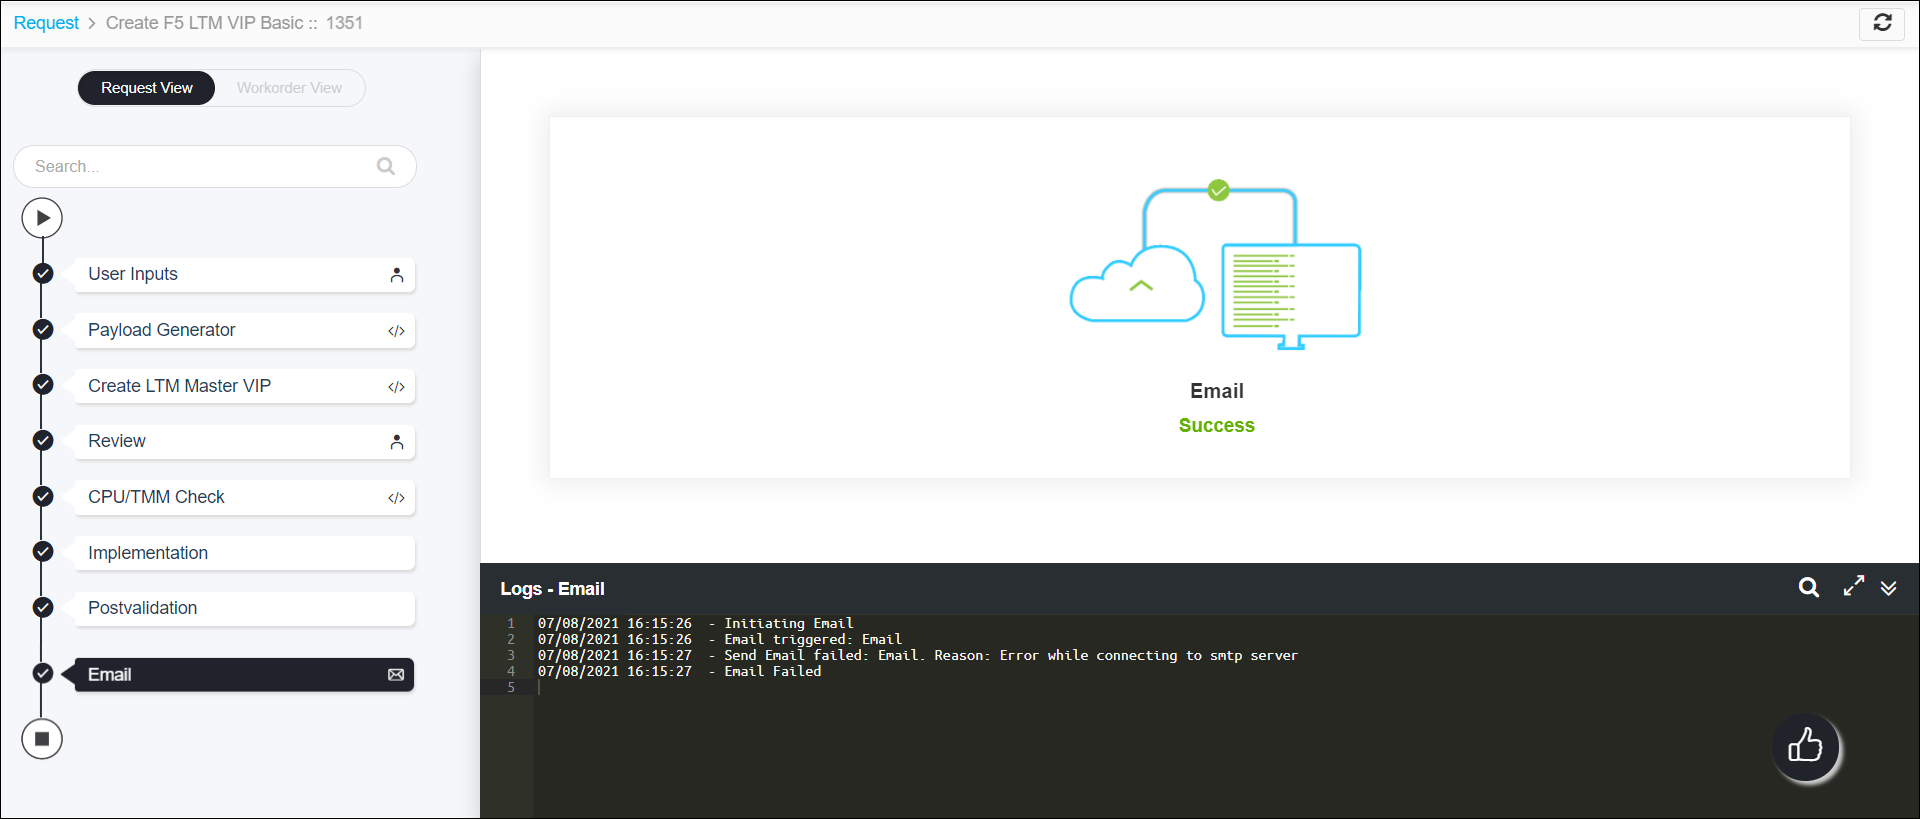
Note: The stages of the request are shown in the left-side of the screen. To view a particular stage of the request, click the respective stage.