Configuring Authentication Settings
To configure the authentication settings:
-
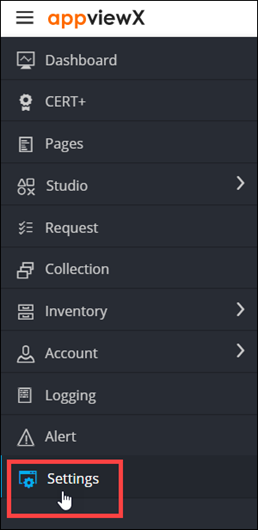
To access the navigation pane, in the top-left corner of the screen, hover the
mouse pointer over the
 icon.
icon.
-
From the menu displayed, click Settings.
- On the Settings page, from the navigation pane on the left, click General.
-
Under General settings, click
Authentication.
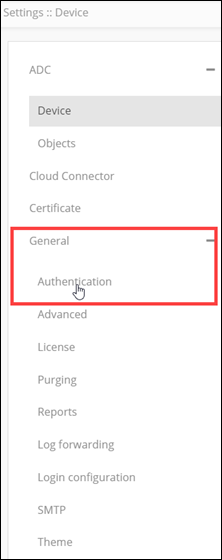
The Settings :: Authentication page is displayed, with the LDAP tab open by default.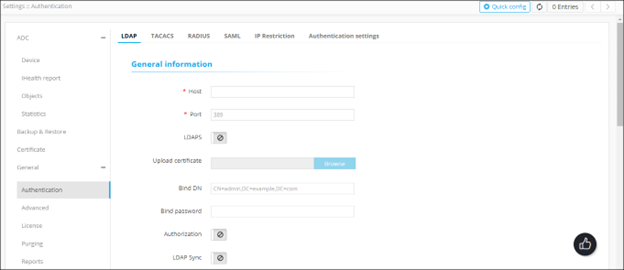
-
On the Settings :: Authentication page, click the
Authentication settings tab.
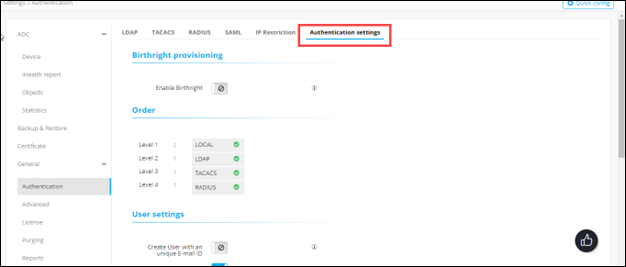
-
To enable Birthright provisioning for new users who log
into the system with a predefined set of permissions (associated with the user
group), turn on the Enable Birthright toggle.
To do this, the admin should select the user group (Assigned with the defined permissions), which will act as a default user group for all the users logging in to AppViewX. Fore more details, refer to the content on creating a role and associating it with a user group.
-
To define the order in which the authentication settings will be checked, in
the Order section, drag and drop the authentication
labels to the required corresponding levels.
If the level 1 check is set to Local and the level 2 check is set to LDAP, user credentials will be authenticated locally first and then on the LDAP server.Note: You can also disable, and then enable a level of authentication. To do this, click the green tick

next to the server name. -
In the User settings section, enter the required field
information.
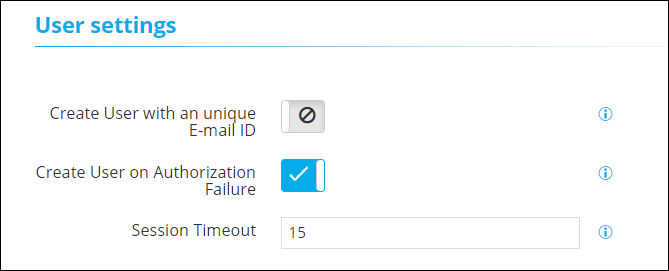
The following table describes the field information in this section:Field Description Create User an unique E-mail ID To ensure that every AppViewX user has a unique email ID, turn on this toggle. Create User on Authorization Failure To create a user even if authorization fails (but the user is authenticated successfully), turn on this toggle. Session Timeout AppViewX lets you set a session timeout limit between 2 and 480 minutes. To set a web session timeout limit, enter the value in minutes. -
If the AppViewX node password has been changed, in the Node
Settings section, enter the updated Node Password.
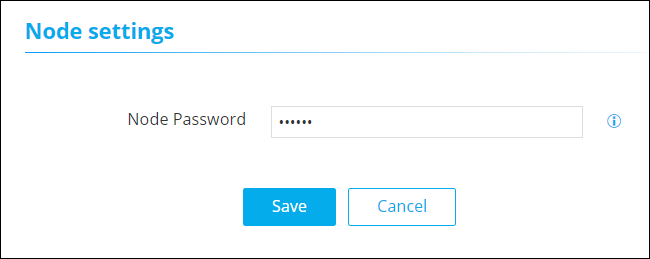
Note: The value entered in the Node Password field should be the same as the node password. To apply the changes, restart the avx-config-server pod in every datacenter. - Click Save.