Configuring the TACACS Authentication
To configure the TACACS authentication:
-
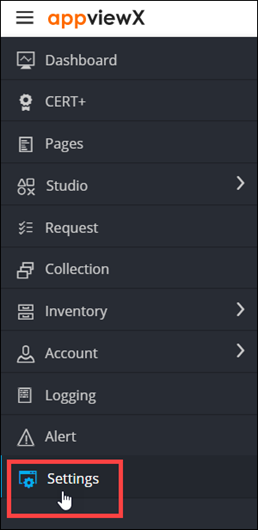
To access the navigation pane, in the top-left corner of the screen, hover the
mouse pointer over the
 icon.
icon.
-
From the menu displayed, click Settings.
- On the Settings page, from the navigation pane on the left, click General.
-
Under General settings, click
Authentication.
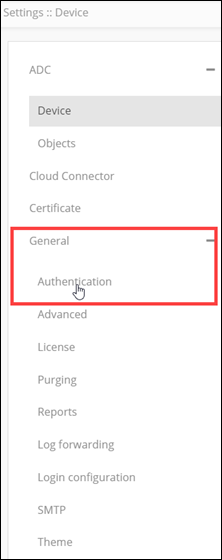
The Settings :: Authentication page is displayed, with the LDAP tab open by default.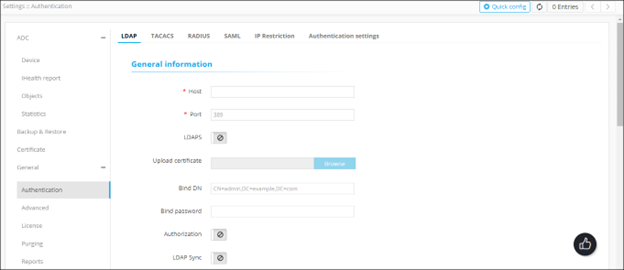
-
To configure the TACACS authentication settings, on the
Settings :: Authentication page, click the
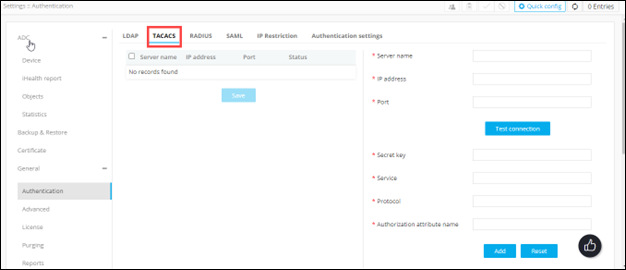
TACACS tab.
-
Enter the following details (sample values are shown in the image below the
table):
Field Description *Server name Name of the TACACS server. *IP address IP address of the TACACS server. *Port Port number of the TACACS server. All * marked fields are mandatory. 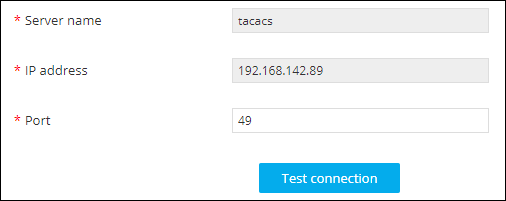
- To test the connectivity between AppViewX and the IP address mentioned above, click Test connection.
-
Enter the following details (sample values are shown in the image below the
table):
Field Description *Secret key A unique key for authentication between the AppViewX server and the TACACS server. *Service Name of the service used by the user requested to be authorized. Specifying the service name is mandatory because it enables the TACACS+ server to behave according to the type of each authorization request.
Commonly, the Point-to-Point Protocol (PPP) is used for authorization checks.
*Protocol The protocol associated with the value specified in Service Name, which is a subset of the associated service being used for client authorization or system accounting Commonly, the Internet Protocol (IP) is used as the modifier with PPP to indicate the protocol layer for authorization check.
*Authorization Attribute Name Attribute that will be returned from the TACACS server to authenticate and authorize the connection between the AppViewX server and the TACACS server. All * marked fields are mandatory. 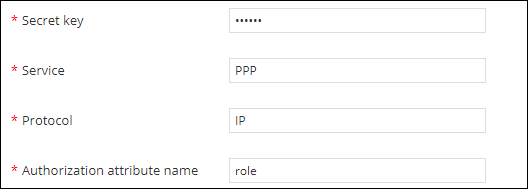
-
To save the TACACS authentication settings, click Add or to reconfigure
the settings, click Reset.
The TACACS authentication settings thus configured are saved and displayed in the table shown in the left half of the screen:
 Note: In the case of multiple TACACS servers, to define/update the order in which the servers will be authenticated, drag and drop the entries in this table.