Register a Domain
-
Go to DDI+ > Self Service >
Domain Lifecycle, and then click Register
Domain.
The workflow execution page is displayed with the workflow inputs requested at the first stage.Note: You can navigate back to the DDI+ home page, by clicking
 (Home) icon from
the top left corner of the screen.
(Home) icon from
the top left corner of the screen. - In the Info field, read the workflow usage instructions.
-
In the Requester Details section, enter the Requester
Name, Requester Email Address, and
Team DL in the respective field.
Note: Multiple email addresses must be entered as comma-separated values. The field information for the first two fields will be fetched automatically from the logged in user information.
- In the Domain Search section, enter the Domain Registrar, Domain Account, and Domain Name that you want to register.
-
To check if the requested domain name is available, click Check
Domain Availability.
- If the domain name is already registered, the following header
notification is displayed on the top of your screen in red:

- If the domain name is available, the following header notification is
displayed on the top of your screen in green and the remaining fields in
the Domain Search section are auto-populated:

The following table describes the other fields in this section:Field Description *Domain Price (USD) Displays the price (per annum) for registering the domain. *Auto Renewal Select Off or On depending on whether you want to enable Auto Renewal. Note: If Auto Renewal field selection is On, the domain name is automatically renewed when it is about to expire. If the selection is Off, an expiry notification will be sent to the approver to renew the domain name.*Validity Period Years) By default, this value is auto-populated as 1 year. You can change the value for up to 10 years. *NameServer Selection Select the method for NameServer Selection: - Registrar’s Default: A default NameServer is provided by the Registrar.
- Auto: NameServer will be fetched from the values configured during the Registrar integration.
- Manual: You can manually add custom NameServers.
*: Mandatory fields - If the domain name is already registered, the following header
notification is displayed on the top of your screen in red:
-
In the Additional Domain Info section, enter or select the required
field information.
Field Description Business Unit Select the business unit as configured during the Registrar integration. Tags Enter tags to be associated with the domain (if required). Comments Enter any comments (if required). -
Click Submit.
At the Verification stage of the workflow execution, an email for domain name approval is sent to the approver. Once the approver approves the request, the domain is procured.
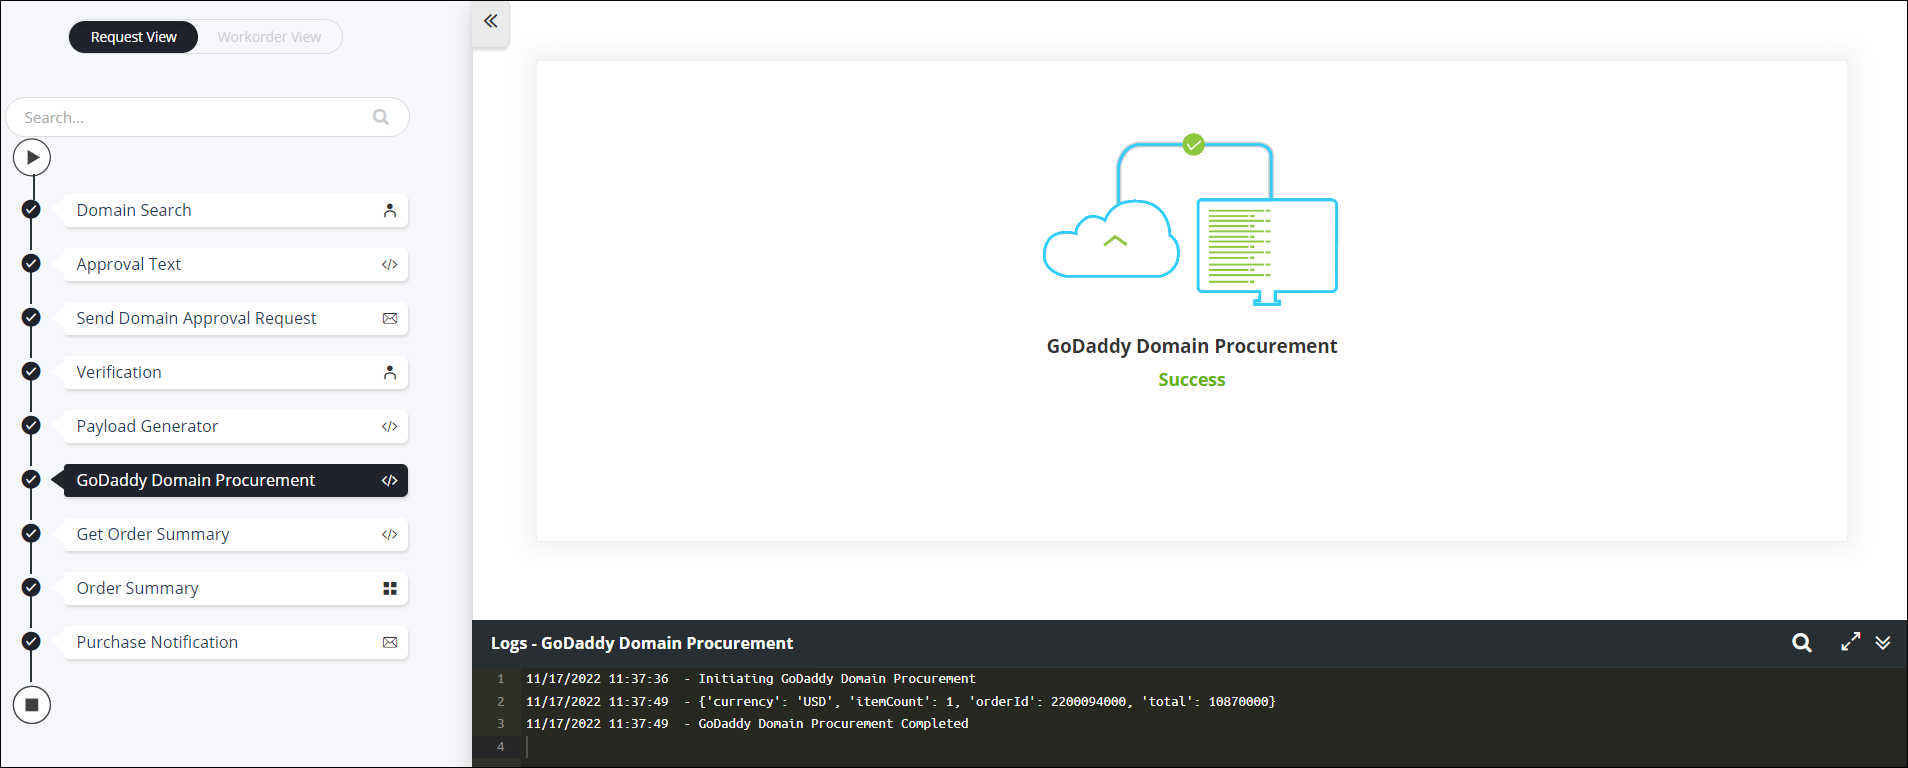
- To view the order details, go to the Order Summary stage of workflow execution.
-
To download a copy of the order summary, from the top right corner of the
screen click
 (Download) icon.