Enabling a Role
-
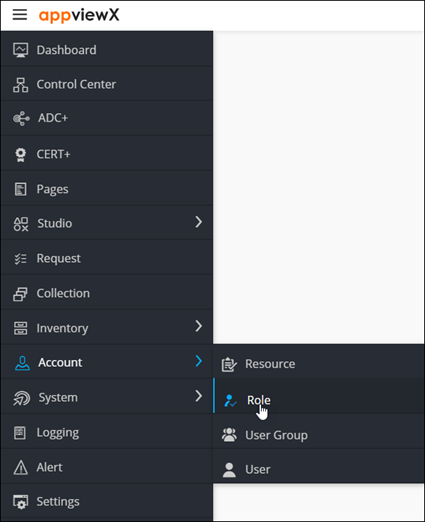
To access the navigation pane, in the top-left corner of the screen, hover the
mouse pointer over the
 icon.
icon.
-
From the menu displayed, click Account >
Role.
The Role page is displayed.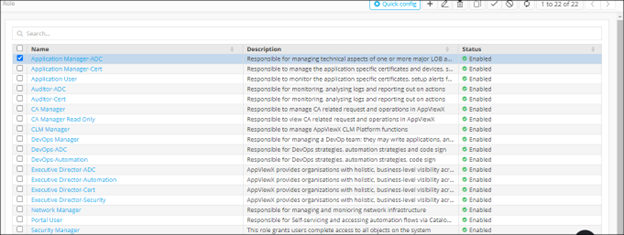
-
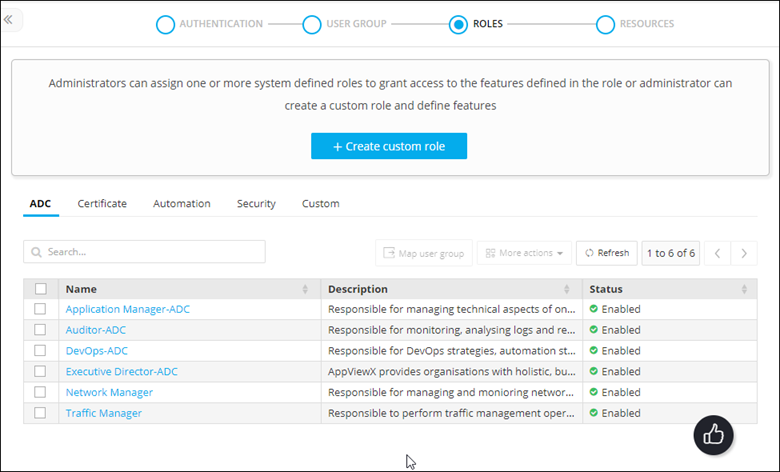
From the top-right corner of the screen, click Quick Config.
The RBAC Journey :: Authentication page is displayed.
-
Navigate to the Role stage as part of the wizard flow to add roles into
AppViewX.
- To enable a role, select the check box against that role.
-
From the More actions dropdown menu, select Enable.
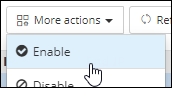
- In the Enable role(s) dialog box, click Yes.