Create a Folder
To create a folder in a workflow:
-
Click
 and select
Studio > Workflow.
and select
Studio > Workflow.
-
On the Workflow screen, create a new workflow or select an existing workflow to
which you want to add a folder.
Each workflow will have a Default folder. All the tasks added to this folder will be deleted once you exit the workflow.
-
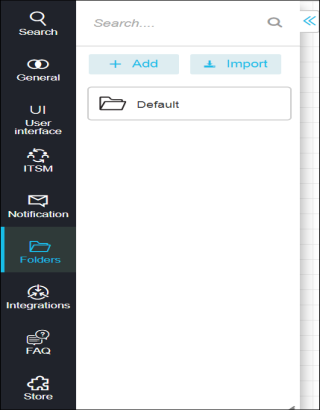
Click Folders.
 Note: For more information on the sections and tasks that appear on the left-hand side, refer to steps 6 and 7 in the Create a workflow section of this guide.
 - Click Add. The Create Folder screen appears.
- In the Folder name box, enter a name for the folder you want to create.
- Enable the option Global if you want the folder to be accessible by all the users. If you want the folder to be accessible only by you, leave the option Global disabled.
-
Click Add.
The new folder that you created is displayed on the left-hand side of the screen.