Form Field - Tabular
-
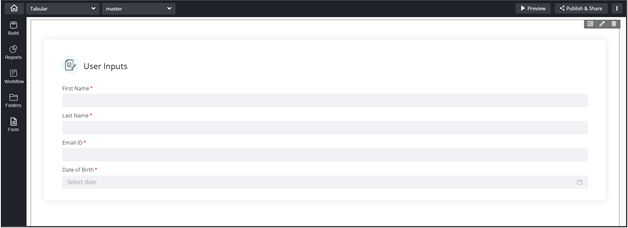
To add a Tabular element to the form first design a form by adding form fields
to the design canvas.
-
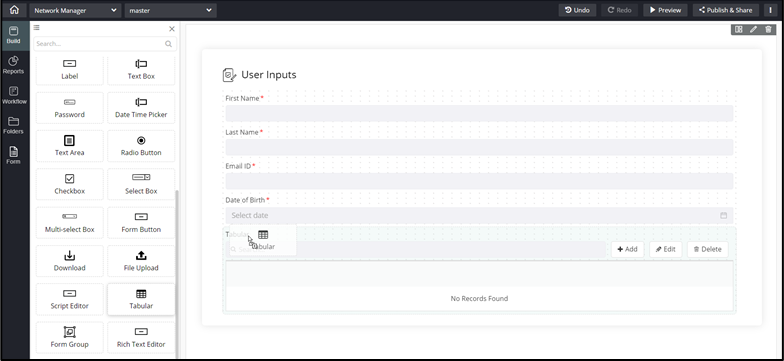
Drag and drop the Tabular field in the form.
-
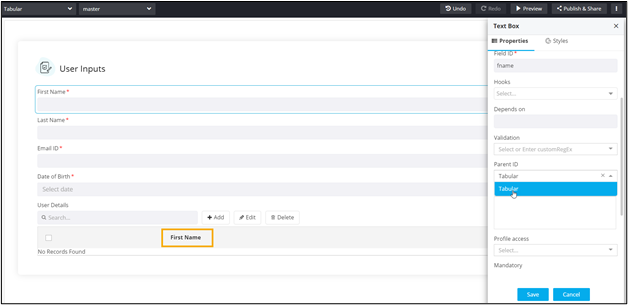
Hover your mouse over a field, for example First Name, and click
 .
The Text Box pop-up window opens with the Properties tab open by default.
.
The Text Box pop-up window opens with the Properties tab open by default. -
In the Text Box pop-up window, under
Properties, select the Parent ID
as Tabular.
The field, First Name, is added to the Tabular.
-
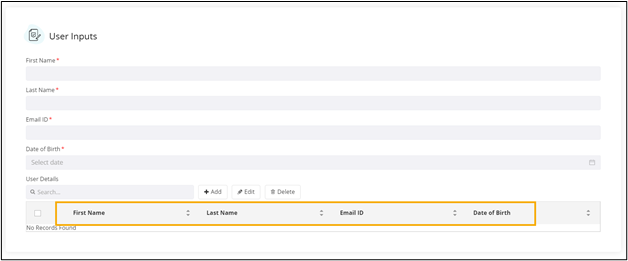
Associate the Tabular’s field ID as the Parent ID for
other fields that are to be added to the form.
Note: When the Tabular field within a Form Group only the form fields present within that group can be added to that group’s Tabular. -
Click Preview.
The Tabular opens in a new tab.
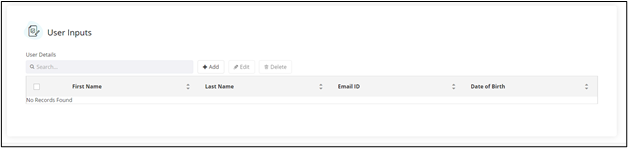 Note: Any form fields not associated with the Tabular field will be displayed outside the Tabular.
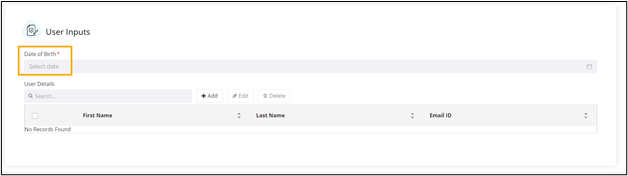
-
To add data in the Tabular component, click Add.
The User Details’s fields window opens with the fields of the tabular displayed.
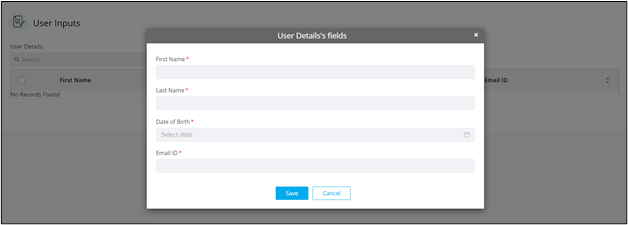
- In the User Details’s fields window, enter the values for the form fields.
-
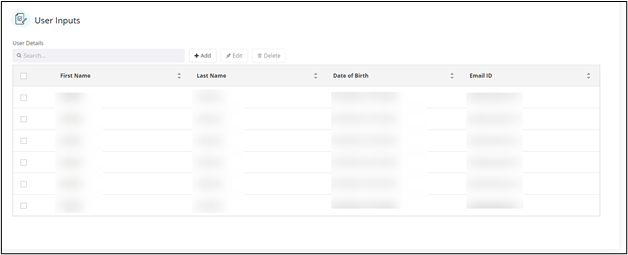
Click Save.
The values are added to the Tabular.
 Note: The User Details’s fields window remains open for the user to add more fields.
 - To close the Tabular’s fields window, click Cancel.
-
To edit a row in the Tabular, select the row to be edited.
The Edit button is enabled.
-
Click Edit.
Note: The Edit button is enabled only when you select exactly one row in the tabular. Selecting zero or more than 1 row will disable the Edit button.
- In the User Details’s fields window, modify the form field(s).
-
Click Update.
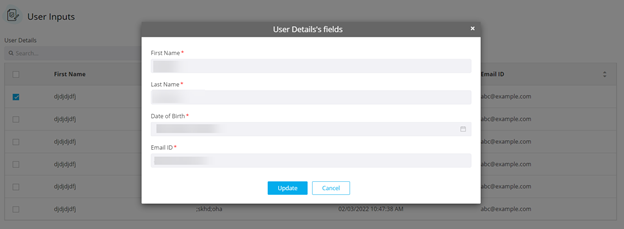
The Tabular’s fields window closes. - To delete a row in the Tabular, select the row to be deleted.
-
Click Delete.
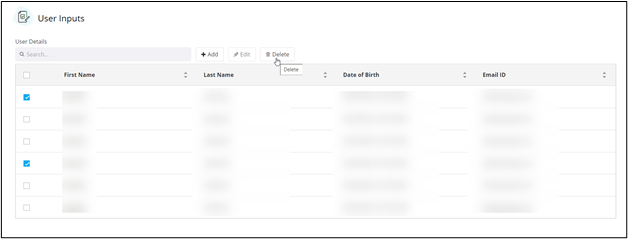
Note: The Delete button is enabled only when you select a single or multiple rows.