Add a Programmable Application Connector
Note: By default, the Windows JKS had been pre-configured.
To add a scripted application in AppViewX:
-
Click
 and select
CERT+ > Administration.
and select
CERT+ > Administration.
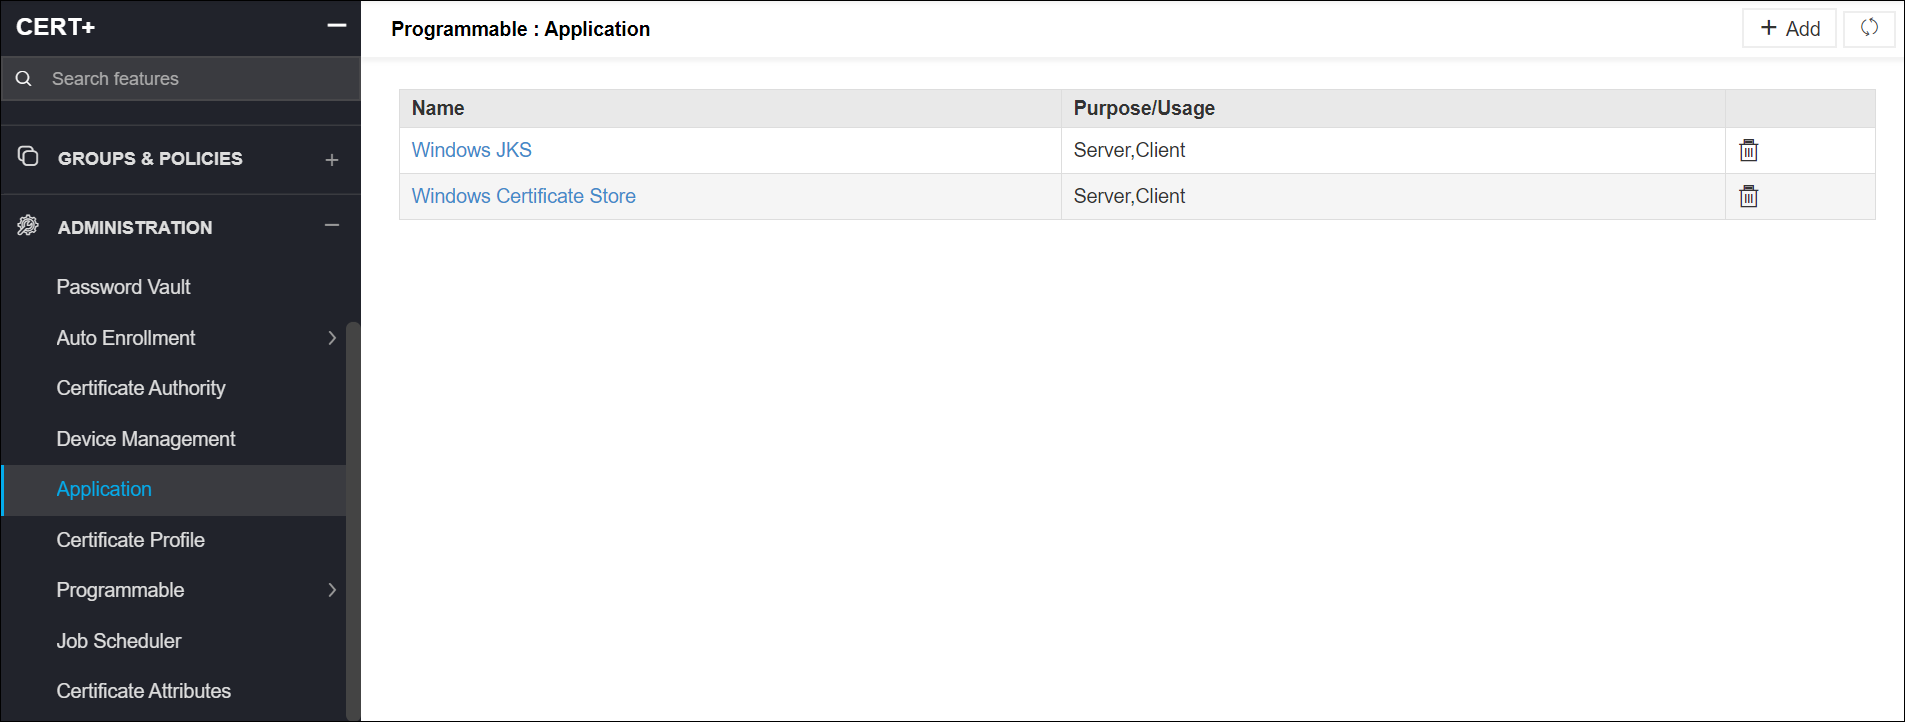
- Under Administration, click Application.
- On the Programmable Application page, click + Add on the top-right.
- Under the General Information section, in the Name field, provide a name for the new application connector to help users identify it.
- From the Purpose/Usage dropdown, select the type of certificate from the list or if the list is extensive, use the search field in the dropdown to find.
- In the Upload Vendor Logo field, click Upload to browse and go to the image you want to display on the server addition page. Click Open.
- In the Upload Vendor Icon field, click Upload to browse and go to the image you want to display on the device inventory and holistic view. Click Open.
- Select the Windows or Linux radio button depending on the type of server you want to use.
-
Under the Application Configuration section, provide the location of the Python
script files (containing the actions to be performed on the templates) in the following
fields:
- Discovery script
- Discovery script parameters
- Device Validation script
- Device Validation script parameters
- Pre - Push script
- Pre - Push script parameters
- Push script
- Push script parameters
- Post - Push script
- Post - Push script parameters
- Monitor script
- Monitor script parameters
- Rollback script
- Rollback script parameters
-
Click Save.
The connector and its details are added and listed in the table at the bottom of the screen.
-
To edit settings for a particular application, click that connector.
Fields corresponding to that connector will be editable.
-
Make relevant changes and click Update.