Create a CA Policy
-
Click
 and select
CERT+ > Groups&Policies.
and select
CERT+ > Groups&Policies.
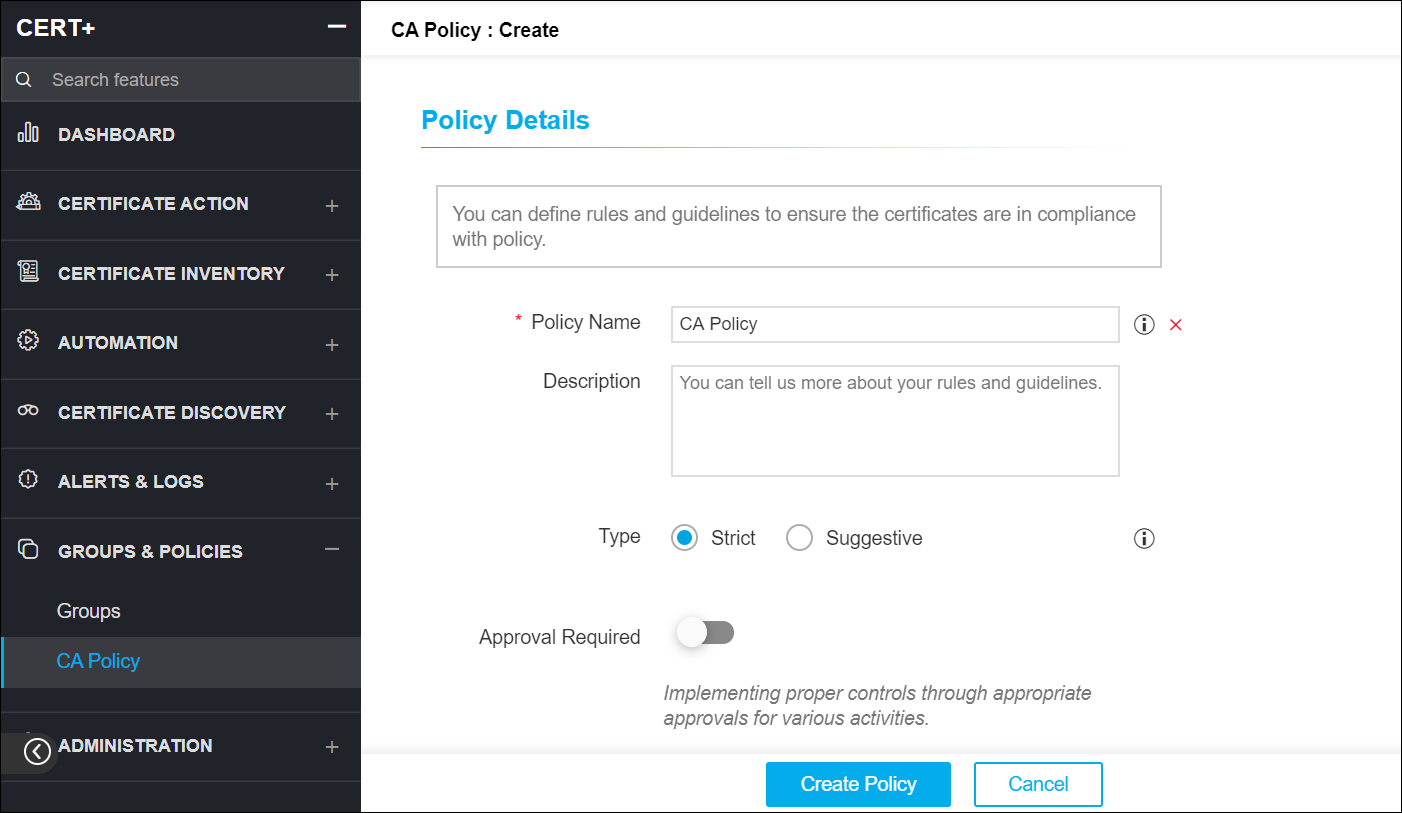
- Under Groups & Policies, click CA Policy.
- On the CA Policy list view page, click + Create on the top-right.
- On the Policy Details page, enter a policy name.
- In the Description field, enter the policy information.
- Choose the Policy Type as
Strict or Suggestive:
- Strict - While adding or updating the Certificate Authority (CA) connector, values provided as part of the Certificate Signing Request (CSR) information should match the values provided by the user in the policy. If the values do not match the policy, the user cannot save the CA connector details.
- Suggestive - While adding or updating the Certificate Authority (CA) connector, values provided as part of the Certificate Signing Request (CSR) information do not have to be an exact match to the values provided by the user in the policy. A user can modify the values provided, but the certificate is then considered to be non-compliant.
- Enable Approval Required to implement proper control through appropriate approvals for various actions performed on the policy.
- Enable Private Key Access option to allow the private key of the policy to be exported.
- Enable Include Root and Intermediate Certificates for Compliance Check to perform a compliance check.
-
In the CA Details section, enter the following required information:
- On the left pane, a window with a list of available Certificate Authorities is displayed.
- Select the CA to associate the policy.
- Known CA List - Choose any compliant Certificate Authorities.
-
Certificate Parameters section is optional and can be used later to help
distinguish between multiple policies within the system.
- Common Name - The fully qualified domain name (FQDN) or common name that exactly matches your web browser.
- Organization - The name of the organization requesting the certificate.
- Organizational Unit - The division of the organization requesting the certificate.
- Locality - The location of the organization requesting the certificate.
- State - The state in which the organization is located.
- Country - The country in which the organization is located.
- Email - The email contact details of the person responsible for maintaining the certificate.
- Subject Alternative Name - Any additional hostnames, such as alternative websites, IP addresses, and so on, that have to be protected with the single SSL certificates.
- Bit Length-Key Type - Choose the key length you want to generate and the key type depending on the type of security algorithm you want to use.
- Hash Function - Select the hash function depending on the hash algorithm you want to use.
-
Under the Group Selection section, select the group(s) you want to include in
the policy or create a new group to which the policy must be assigned.
Note: You can search for the required group and add the frequently used keywords as favorites.
- Under the Compliance Check section, you can enable the Perform Compliance Check option if the respective policy that you have configured is compliant.
-
Click Create Policy.
 Note: If you want to make any changes to the policy in the future, you can select the policy and make the respective changes. If you want to completely reset the policy data, click the Reset icon beside the CA name on the right pane as shown in the below image.